Tag Archives: format

terraPin Kaiju 6×18 Pinhole Camera

Early this year, Kirk Lau and I were looking at reference designs online to print our own 3D camera.  Out of all the designs, I picked the terraPin Kaiju (http://www.thingiverse.com/thing:876457).  We sent this to a 3D printhouse and a couple of days later, I received a bag of parts and started to put the camera together.  This really reminded me of the time when I used to put car and ship models (Tamiya ones!) together when I was a kid.

This article discuss my adventure with this camera and all the pain I went through with it until it produced amazing images.

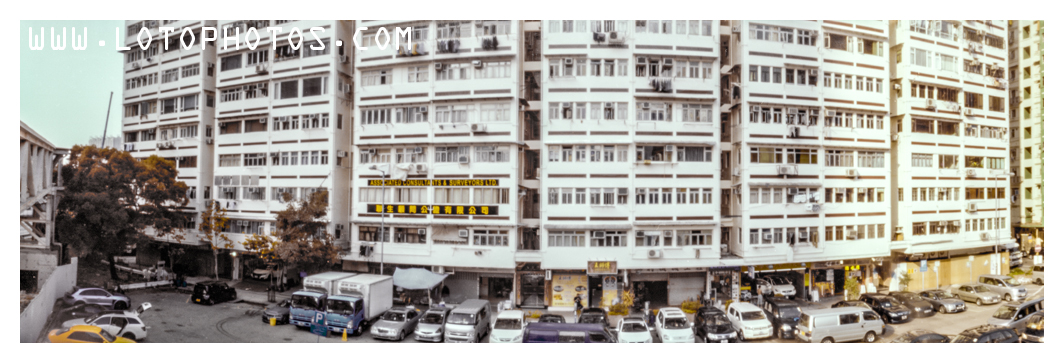
After assembling it, this is what it looked like.

terraPin Kaiju 6x18 medium format camera
terraPin Kaiju 6×18 medium format camera

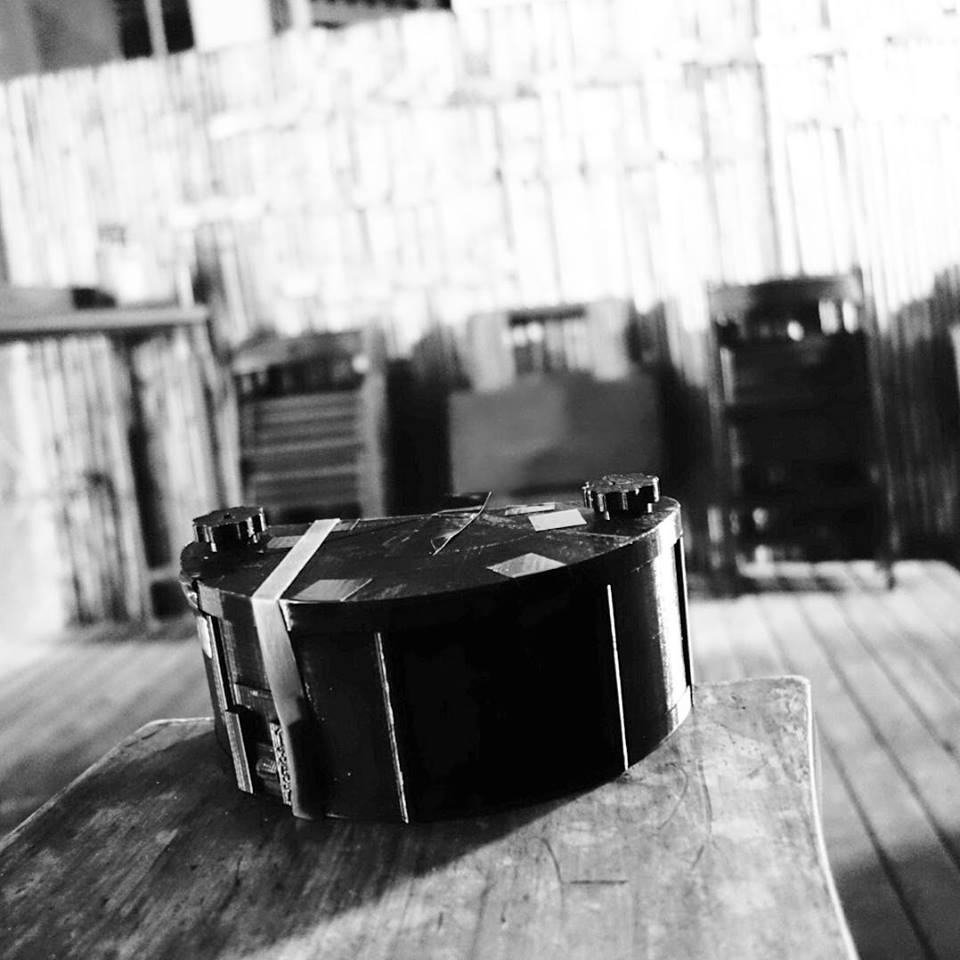
Notice there are rubber bands in the photo, I usually just throw this in my backpack and it rolls around alot, so the rubber bands are just there to make sure it doesn’t pop open.

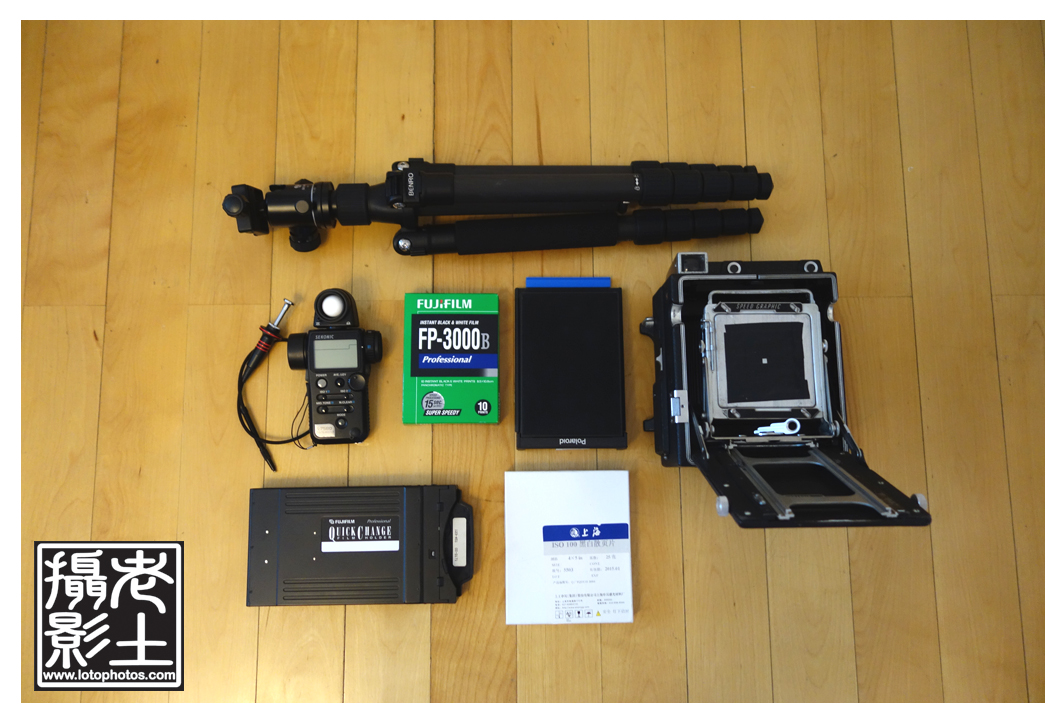
Selection of pinholes.  I looked around and decided to use pinhole plates that are made by James Guerin from Au Premier Plan (https://aupremierplan.fr/custom-cameras/laser-drilled-pinholes/).   Like a lens is the soul of every conventional camera, the pinhole itself is also the most important part for pinhole cameras.  The quality of these amazing pinholes will speak for itself in the photos.

I first tested the camera indoors (big mistake) with Fuji Acros film.  The exposure was 30 minutes to an hour and came back okay, but not great.  It was mainly to test for light leaks.

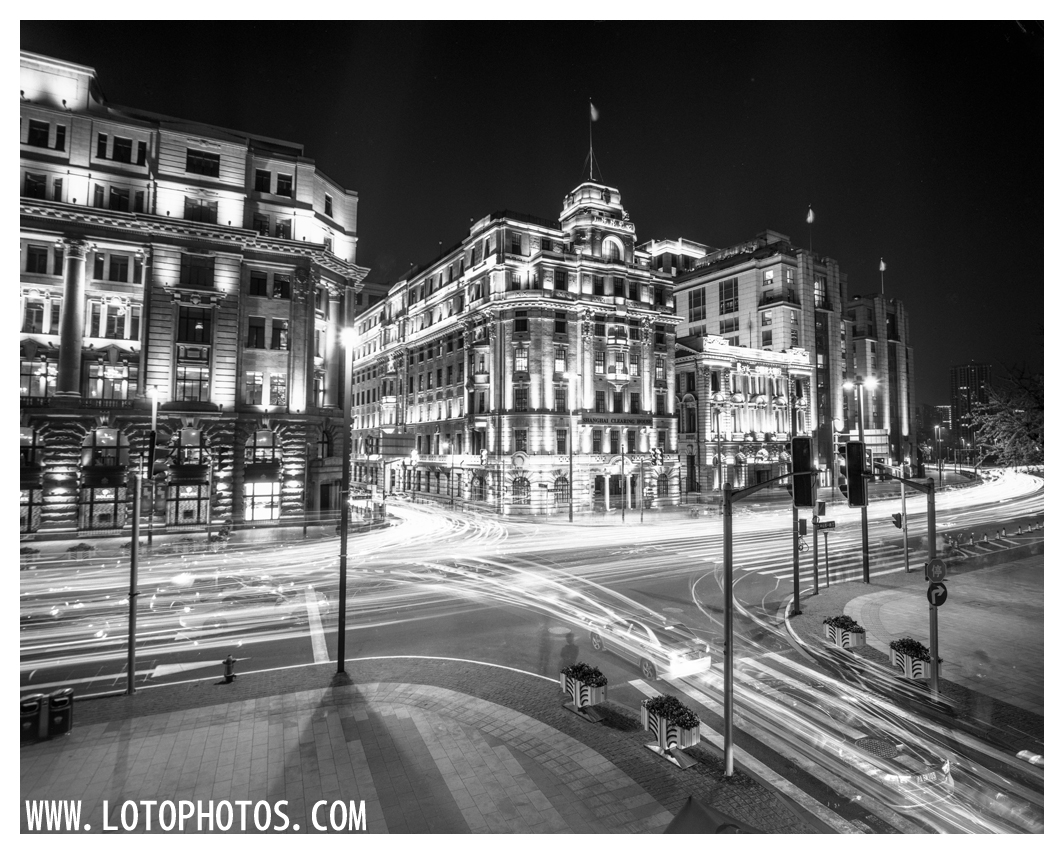
The first outdoor shoot was tested with a roll of Fuji Pro 160.  Here is the test image.

Fuji Pro 160 test shot on a bridge near Kowloon Station, Hong Kong

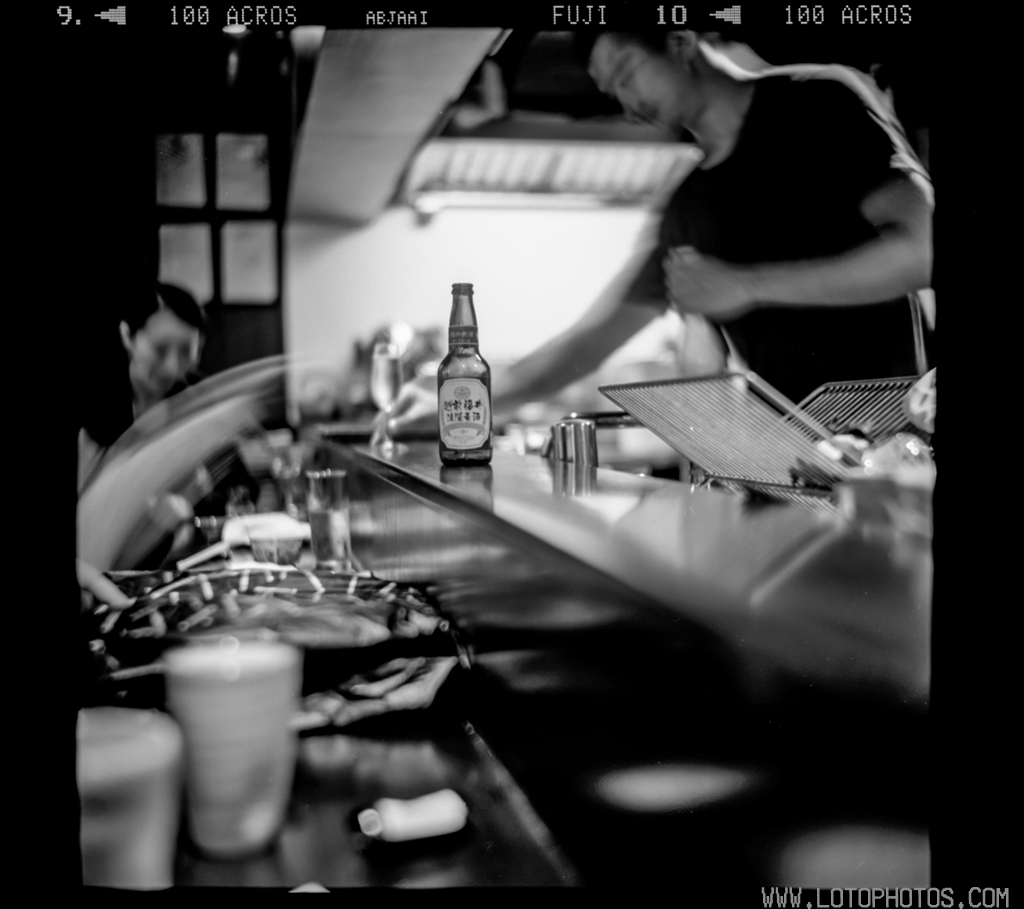
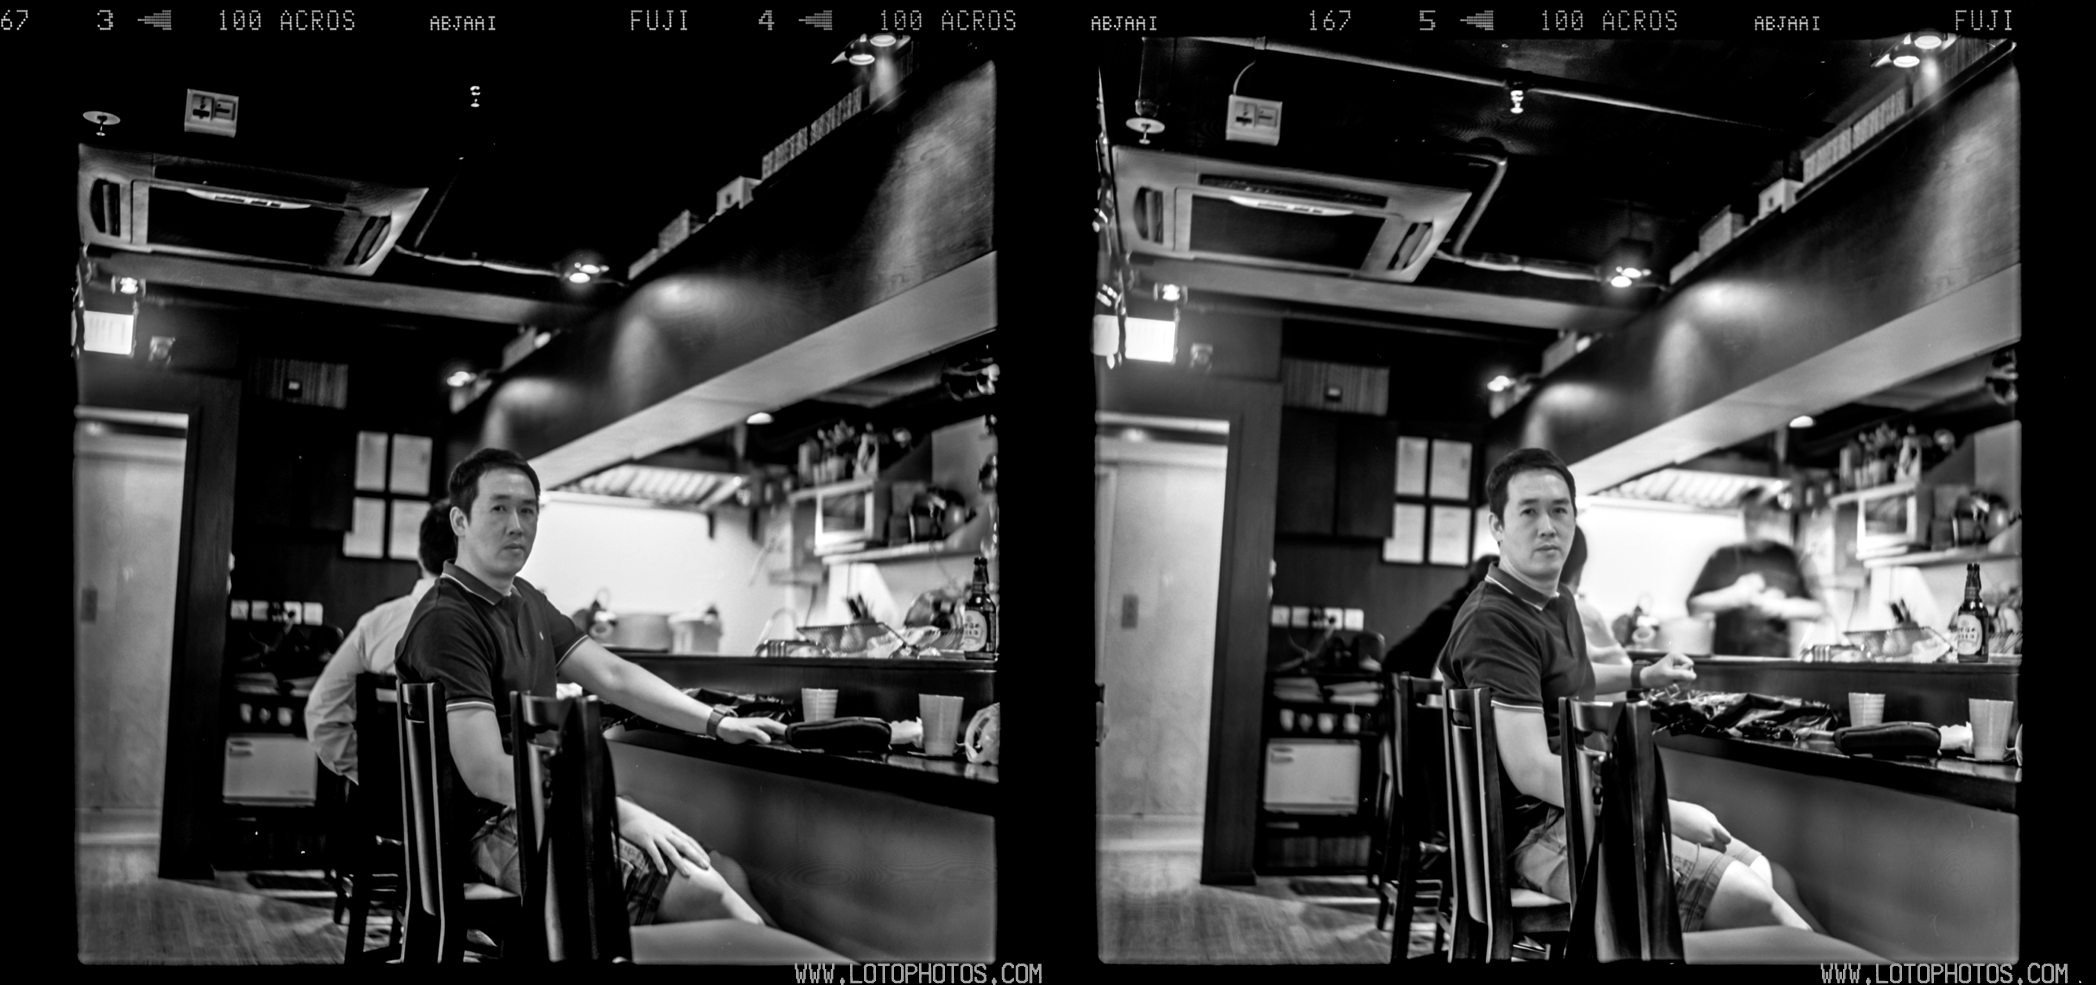
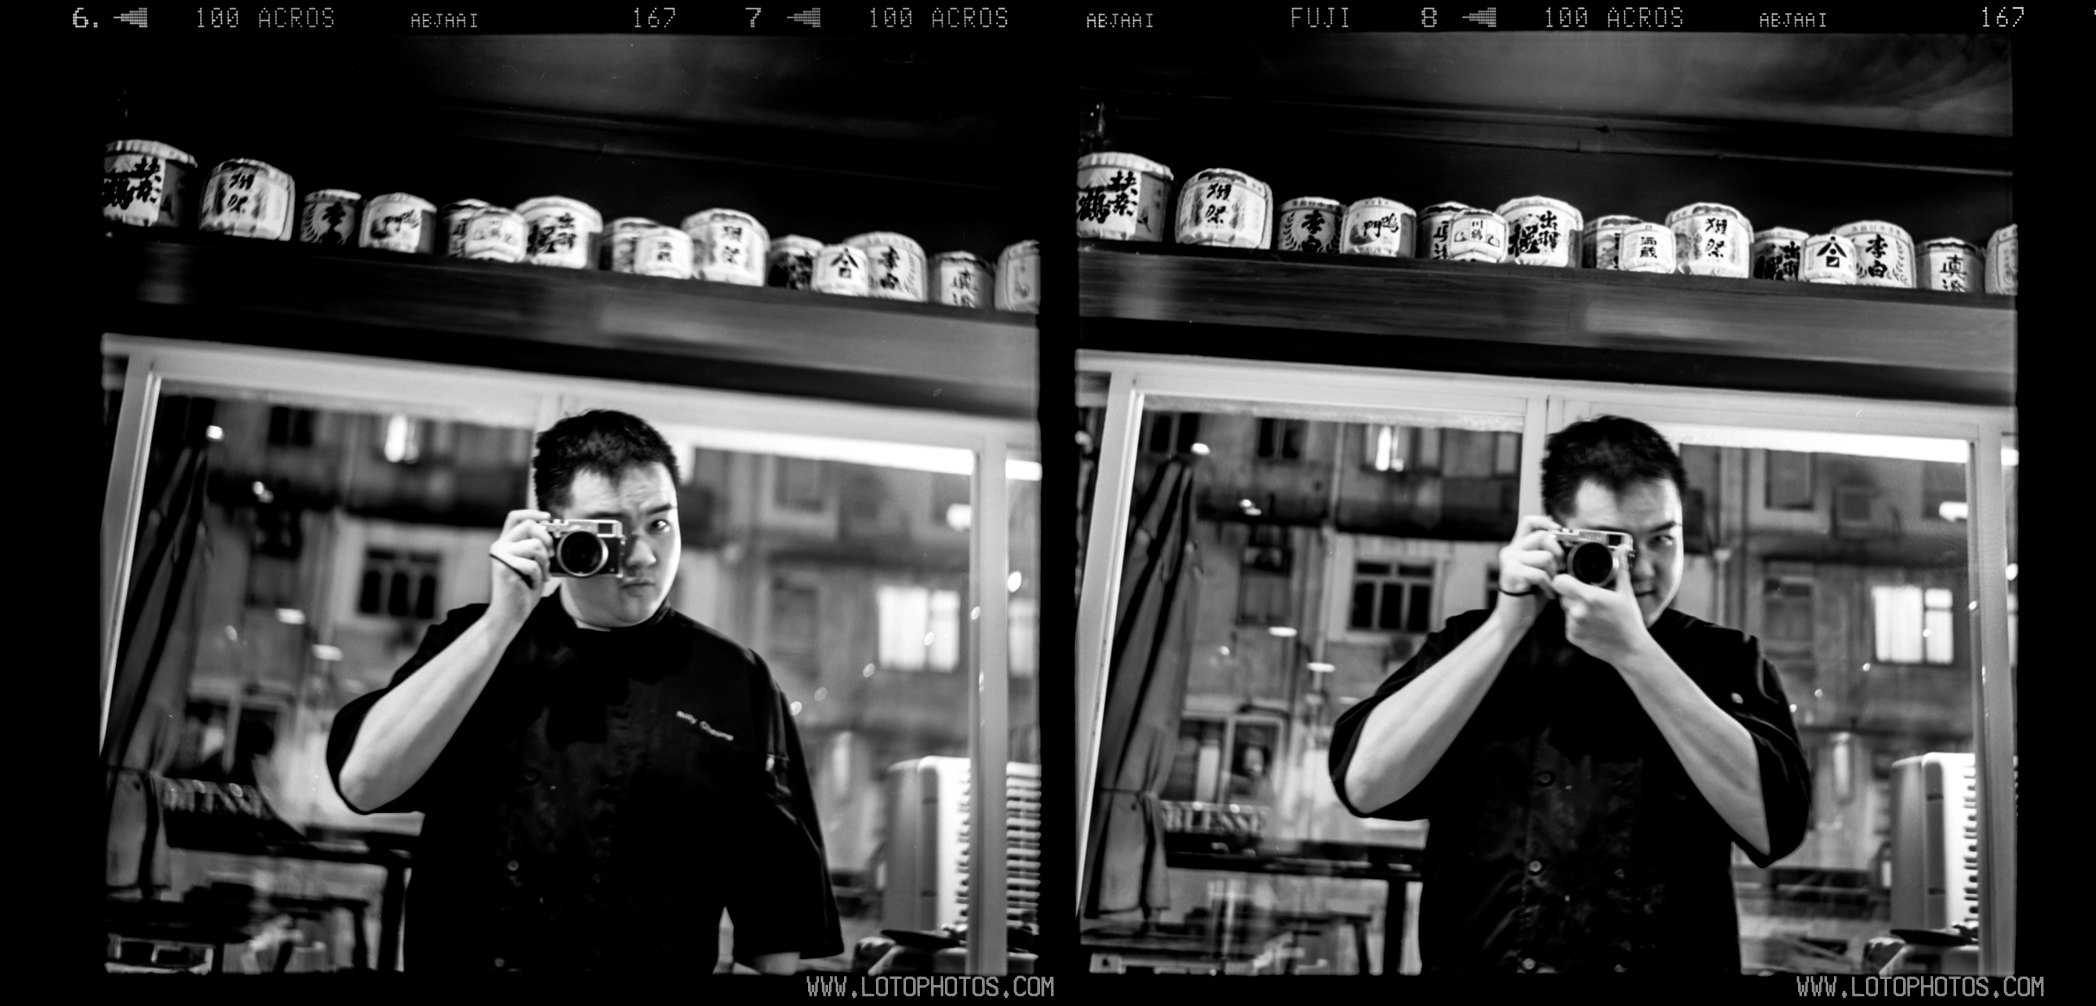
I see great images in that roll and moved on thinking everything is great.  I continued to shoot and mainly did shots at night.  Here are three shots done at Sake Bar Ginn in Hong Kong.

Sake Bar Ginn. 6x18 medium format pinhole camera 86mm f/215 + Fuji Acros
Sake Bar Ginn. 6×18 medium format pinhole camera 86mm f/215 + Fuji Acros
Sake Bar Ginn. 6x18 medium format pinhole camera 86mm f/215 + Fuji Acros
Sake Bar Ginn. 6×18 medium format pinhole camera 86mm f/215 + Fuji Acros
Sake Bar Ginn. 6x18 medium format pinhole camera 86mm f/215 + Fuji Acros
Sake Bar Ginn. 6×18 medium format pinhole camera 86mm f/215 + Fuji Acros

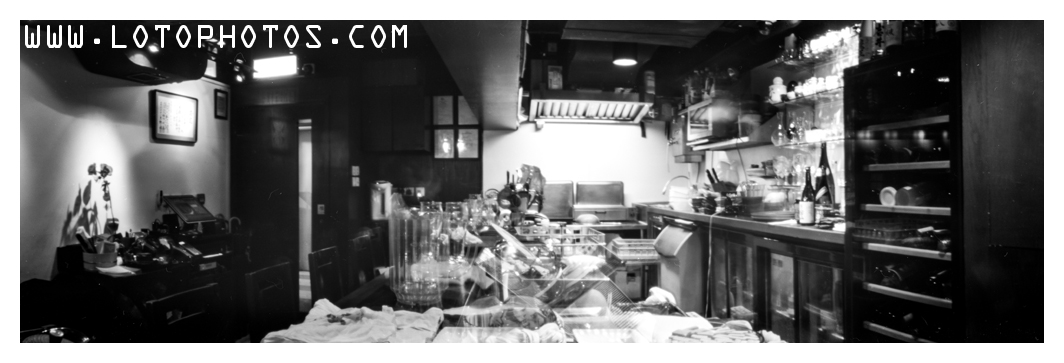
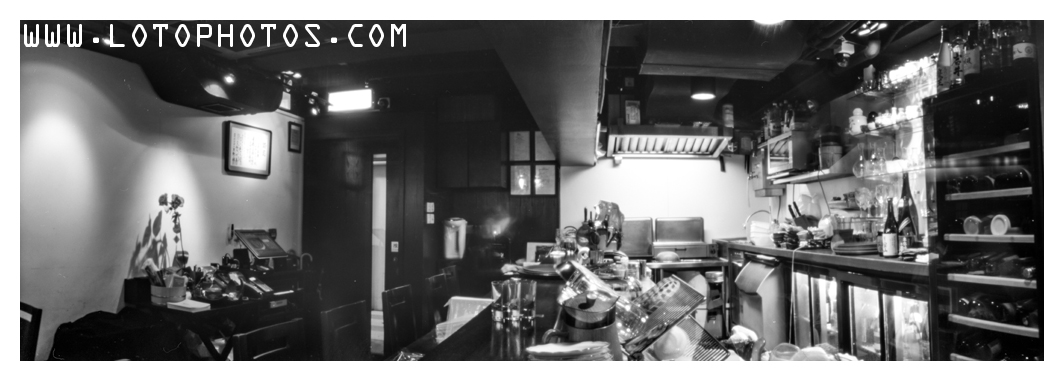
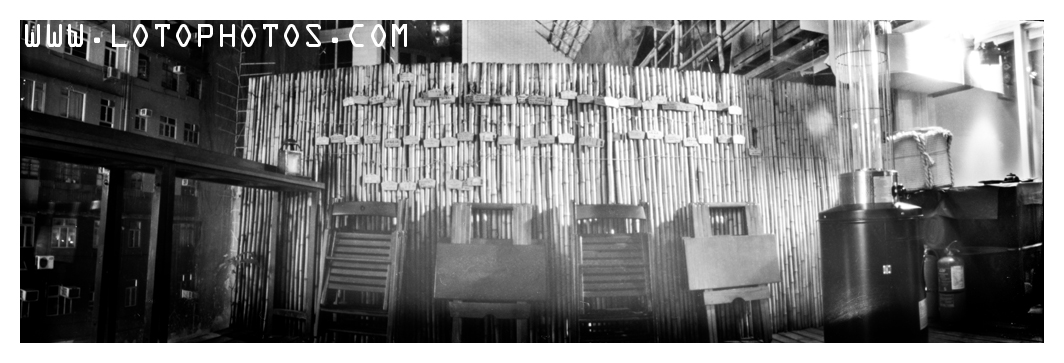
The photos were great but not as sharp as I wanted and also there is this glare that I couldn’t figure where it was coming from.  The next trip to Carmel/Big Sur, I shot about 3 rolls of Fuji Acros and this is when everything went downhill.  Every shot was over exposured by at least 4-5 clicks.

The lone cypress, 17 mile drive, 6x18 medium format camera + fuji acros
The lone cypress, 17 mile drive, 6×18 medium format camera + fuji acros

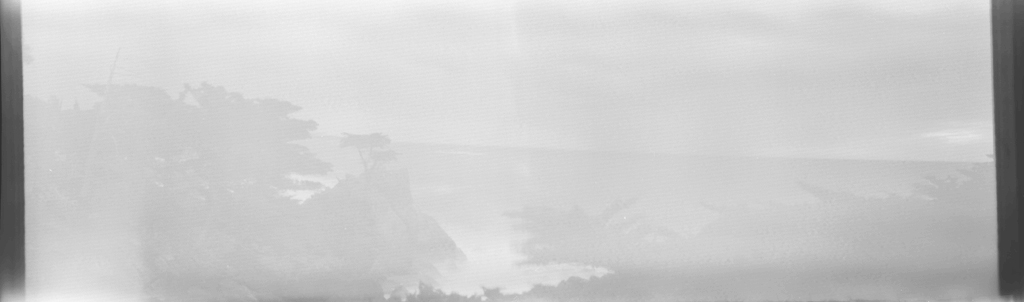
All this doesn’t make sense.  So far all the test shots were good and it made no sense that suddenly everything is over exposed.  Examining the photos, even the edges, are completely exposed.   This tells me light leaks! but where? I did shoot several rolls without issues.

I opened the camera and put a strong LED light touching the outside wall of the camera.  Voila! I see a faint red dot on the inside walls.  Apparently the material that was used for my 3D print was not completely light proof.  With a very strong light, there is a faint red light that comes through.  This makes total sense because most of the Fuji Acros rolls I did before were in dark conditions without direct sunlight.   The Fuji Pro 160 somehow wasn’t so susceptible to this wavelength of red.

Next I used black gaffer tape and patched up all potential leaky spots and did a test roll.

first test roll after light leak patch up

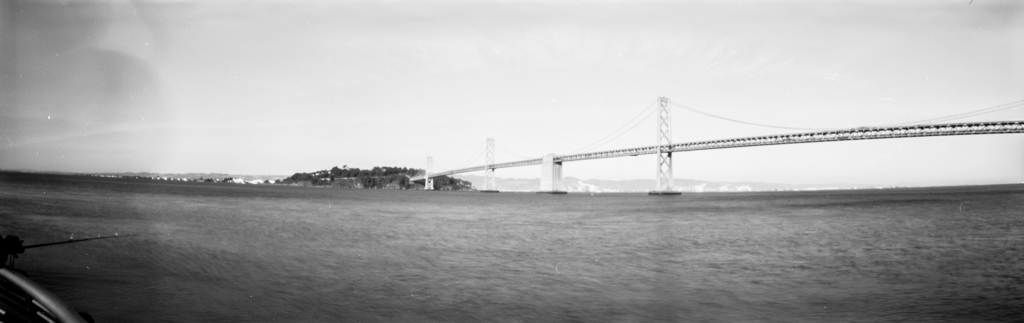
Finally, I am getting correct exposed photos in broad daylight.  Now notice the left side, it is slightly darker than the rest of the photos and it’s appearing on multiple shots.  I examined the front and notice the right edge of the camera hole had some plastic residue from the print.  I took an x-acto knife and removed that.  I also made sure the hole is totally clean and the tiny hole in the middle should see full clearance.

I was trying to get all of these problems solved before WPPD 2016.  I also had to work on an effective open and close strategy.  The images I taken before was always very slightly blurred.  I tried using tape over the hole, finger over the hole or just plain open and close of the pinhole doors, these methods were no good for me.  Erik Mathy told me that he use a dark slide for that and Kirk Lau also reminded me that light only travel in straight lines.  This made sense, a dark slide right in front of the pinhole, even though part of it is not covered, this didn’t matter, as long as I can cover over 120deg of the pinhole, the negative won’t be exposed (when I am covering it with a dark slide, I am covering almost 180deg).

Finally WPPD came.  One more detail from that shoot, there is a film clip that comes with 3d printing.  Ever since one roll of my film got jammed with it, i stopped using it.  The film jammed before because there is a top part of the clip that I needed to peel off before using.  That part is purely for printing and will jam your rolls if left behind. The film can be loose after it is done and the clip will hold it in a tight roll and avoid light leaks.  I made two mistakes.  One is not using the clip, second is changing this film in broad daylight.  What did I get? light leaks from the side, see below.

light leak from film changing

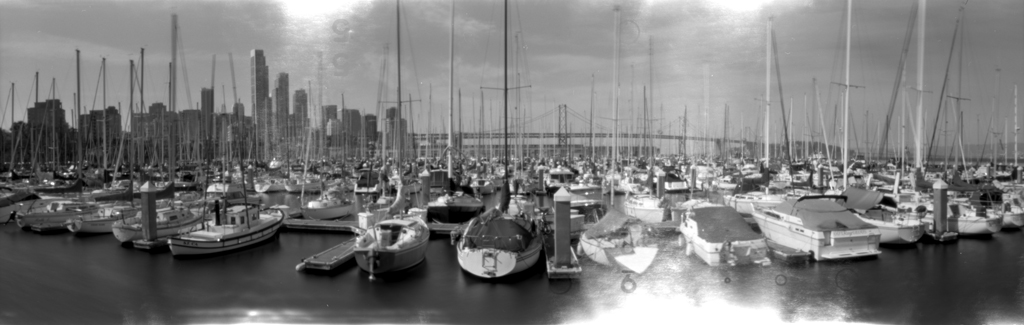
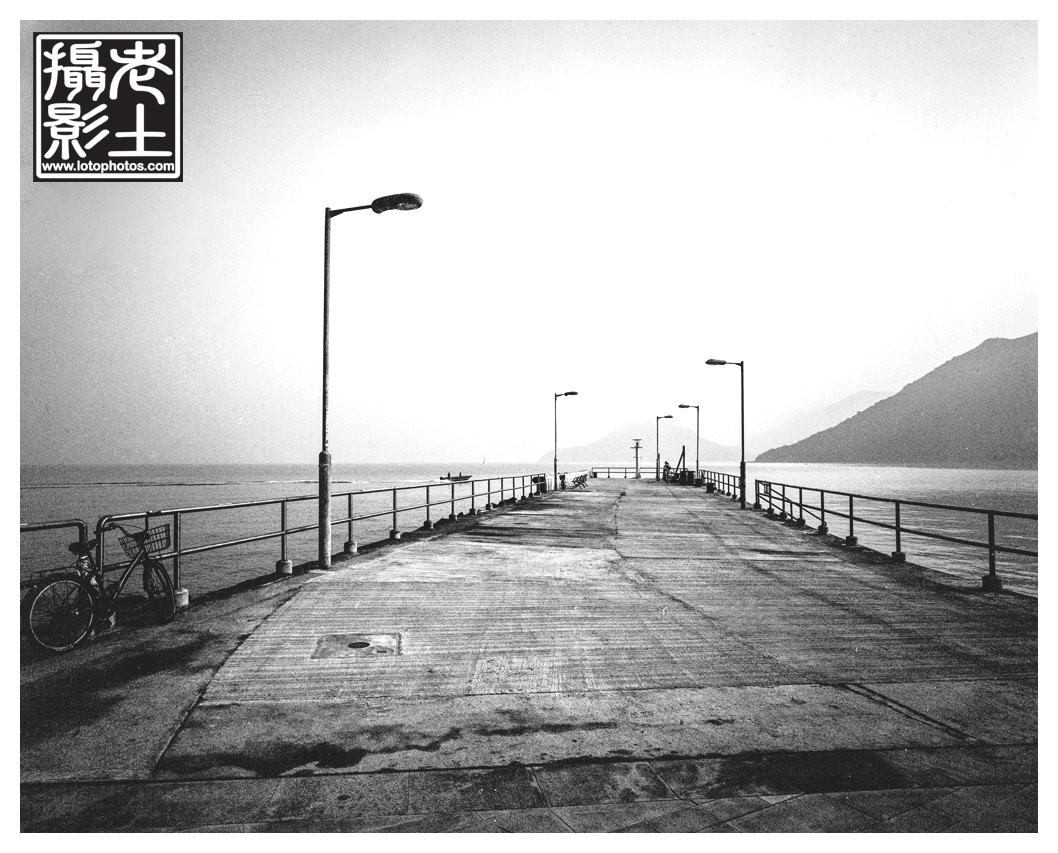
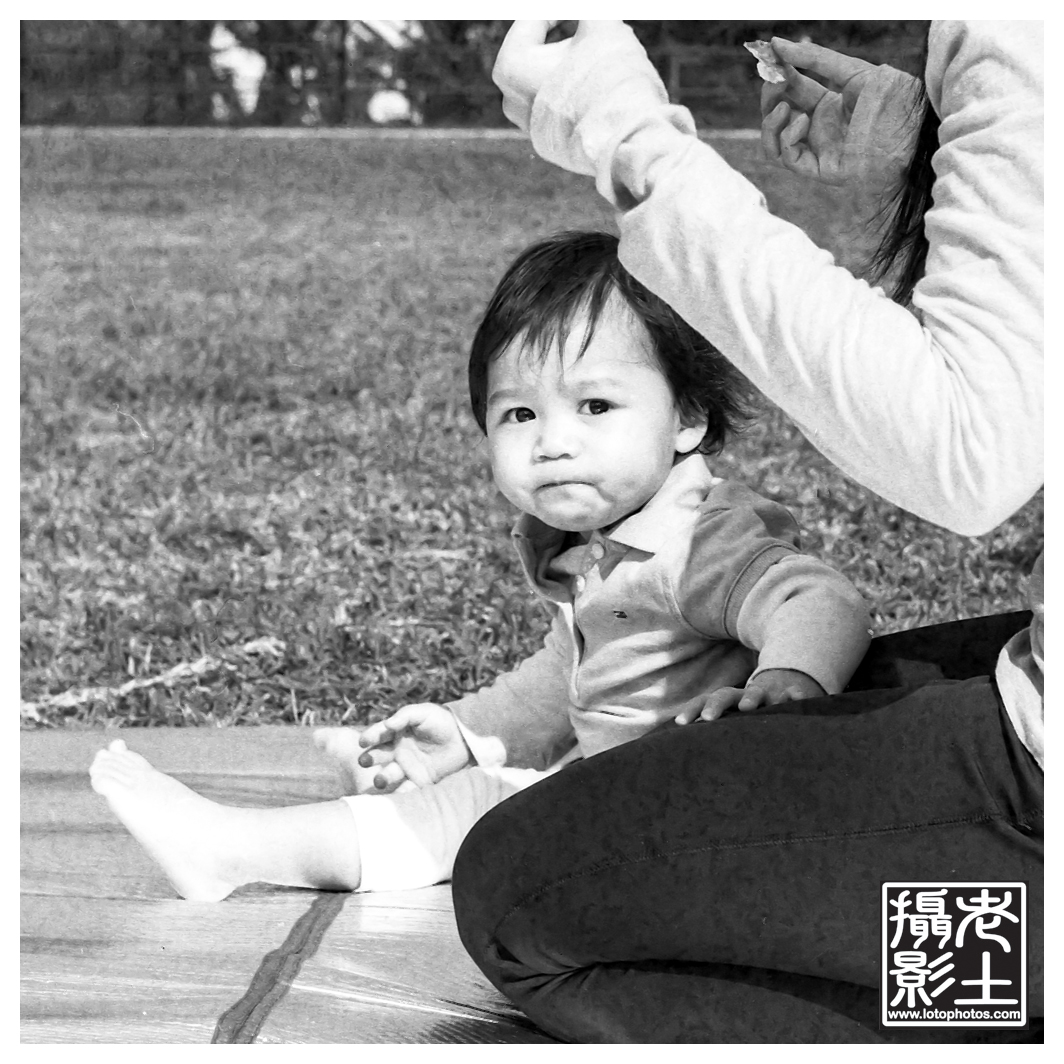
Finally, solving all the issues, here are some of the final results on WPPD 2016 (more with that http://lotophotos.com/wppd2016)

San Francisco Ferry Terminal and terraPin Kaiju 6x19 camera, 86mm, f/215 with Fuji Acros
San Francisco Ferry Terminal and terraPin Kaiju 6×19 camera, 86mm, f/215 with Fuji Acros
San Francisco Belle and terraPin Kaiju 6x19 camera, 86mm, f/215 with Fuji Acros
San Francisco Belle and terraPin Kaiju 6×19 camera, 86mm, f/215 with Fuji Acros
Pier 7 and terraPin Kaiju 6x19 camera, 86mm, f/215 with Fuji Acros
Pier 7 and terraPin Kaiju 6×19 camera, 86mm, f/215 with Fuji Acros
The Transamerica Pyramid and terraPin Kaiju 6x19 camera, 86mm, f/215 with Fuji Acros
The Transamerica Pyramid and terraPin Kaiju 6×19 camera, 86mm, f/215 with Fuji Acros

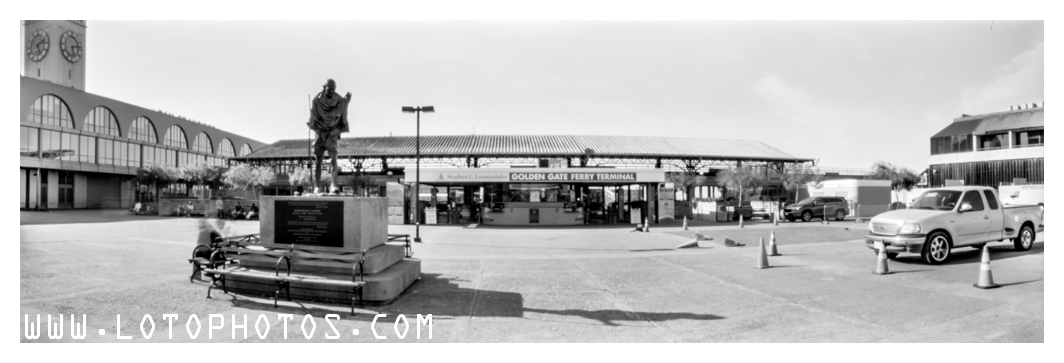
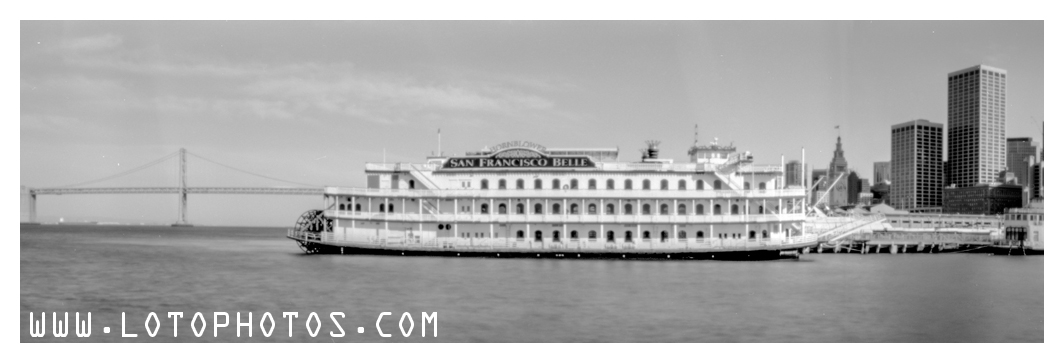
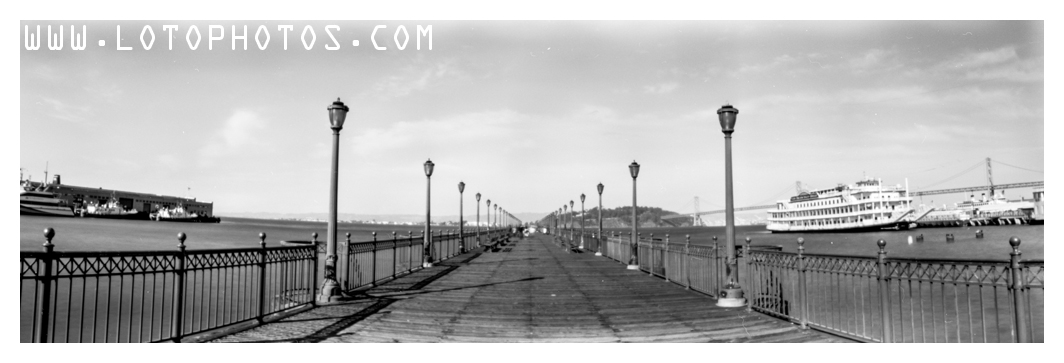
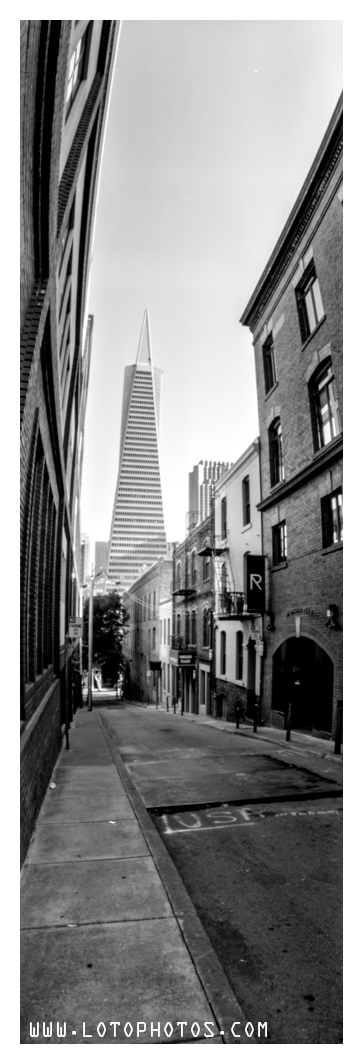
The scans I am getting from these rolls, I am actually getting 6×19 rather than 6×18 which is a bonus.  The details are simply amazing and happy to finally get this in perfect working order.

Tintype Adventures Begin

Last summer, I had a tinype photo sitting with Nuno Marcelino in Lisbon, Portugal.  It was an amazing time and he showed me all the ropes in producing a wet collodion tintype.  This had been something that I wanted to do for a while but never got the chance to.  I came across the Rockland Tintype Parlor kit a few months back and decided to give it a go before I dive into wet collodion.

The Rockland Tintype Parlor kit includes eight sheets of 4×5 tintype plates, 1 oz of Ag-plus emulsion, a bottle of reversal developer and a small pack of fixer powder.  It’s a nice little kit for $35 and you pretty much have all you need to start making tintypes.

Next, you have to figure out how you are going to mount the tintypes in a film holder.  I have done some research and the easiest way is to double-side tape the plate to a normal holder.  Or you can cut it down and fit the custom ones sold by RayKo Photo Center in SF.  I didn’t like the idea that you need to trim it down to 3.375″ x 4.375″.  Why lose the extra 0.625″?  I decided to make my own.  The idea came when I was cleaning up some old 4×5 holders at home.  I saw an old Graflex Graphic Packfilm adapter that I never use (since the film had been obsolete for decades).  I opened it up and I thought it would be the perfect candidate to make my own “true” 4×5 tintype holder.   Using foam core and black gaffers tape , I custom made the padding and holder that will fit inside this adapter.  Everything was snug and I can see the tintype plate fits perfectly with the original mask.

tintype2

Next, it’s coating the emulsion.  I put the clear bottle of Ag-plus in warm water.  I put my plates on the red light for preheating.  I have a block of ice in tupperware and a hair dryer (that can blow cold air) for solidifying the emulsion and drying of the plates.

Coating my first tintype plates

I waited for about 7-8 minutes and started to squeeze the Ag-plus out of the bottle.  Chuck of it came out, oh no! I carefully put the chunks back in the bottle and back in the warm water bath.  I waited for another 5 minutes and finally everything in the bottle liquefies.   I pour a quarter size of Ag-plus onto plate and started to swirl it around.  It just won’t move, so I started to spread it with my fingers.  This is bad, uneven coating is just an understatement.  I poured the excess in a black 135mm film can for later use.  I then put this horribly looking plate onto the block of ice for about 3-4 minutes before blow drying it.  Then I put this into my pre-made 4×5 holder to be laid flat and dried overnight.

By my 4th plate, I was getting better at this.  I realized a couple of mistakes I made.  First, I need to pour a lot of ag-plus (1/4 of the plate) on the plate before it can be coated by swirling it around (no fingers).  The consistency of the Ag-plus is best described as white glue.  It’s thick and not too easy to flow around the plate (unlike collodion).  The second issue I had was the temperature of the plates itself.  Heating it on the red safety light was not enough and it cooled down too quickly and the ag-plus solidify almost immediately from contact.  Next time I will either hot blow dry the plates to temperature or setup an electric hot plate.  Keeping the ag-plus bottle warm is also crucial.

After the plates dry overnight, it’s time for test shots.  From the research, the ISO rating of this emulsion varies and highly dependent on the thickness of the coating.  My first coating was so ugly that I am sure I will hit all sorts of ISO rating on the one sheet.  For rule of thumb of testing, I metered for ISO of 0.5.

Not enough light! ISO 0.5?

I mounted three flashes at full power (1/1, 105mm) and an LED panel (1000 LED) at full 99%.  I metered it at ISO of 3 and showed F8 at 1 sec.  I have read that you need to put in a blue filter in front of the meter to get an accurate reading.  I don’t have a blue filter handy but I will give it a try later to see if there are any difference.  I setup my Graflex Speed Graphic with a Fujinon 135mm f5.6 lens shooting wide open.  The light was blinding and I took the tintype to my darkroom.

I pour the Rockland reversal developer onto my Paterson 5×7 trays and started to agitate the plate.  The instruction says a development time of at least 3 minutes.  After 3 minutes, I can still white spots on the plate.  Finally after 6 minutes, the plate turned completely black and then an image started to emerge.  I developed the plate for another 4 minutes to a total 10 minutes.  Instead of using Rockland’s powdered fixer, I just dump it in my Ilford Rapid Fix bath for 6 minutes before rinsing out with water.

Result of my first tintype.

I see an image!! and better yet, I can recognize they’re my 8x10s!  The long development time tells me that there might be issues with my developer or my emulsion.  The fact that it took so long for my plate to turn completely black tells me that my coating of emulsion might be too thick.  The reversal developer in the bottle is also not clear but already slightly brownish when I opened the package.  This tells me that the developer might be bad, hence hindered the development.    I did a second test shot with the same lighting setup by with my Kodak Aero Ektar 178mm lens wide open at f2.5.  When I developed it, even after 13 minutes, only a faint image surfaced.  Again, I need to explore rather it’s my developer that’s gone bad or my emulsion is too thick.  I was quite shocked that the first tintype turned out as well as it did and this is really encouraging.

Ammonium Thiocyanate, ready to mix my own reversal developer

I did some research online and found a formula for this reversal developer, which is 120mL stock undiluted Dektol with 4g Ammonium Thiocyanate.  I will make my own batch and see how it works out.


Day 4 – Black and white photo challenge

Day 4 of 5 of black and white photo challenge.  Each day I am trying to post a photo that is taken from a different camera and a different medium.  Today I am back on large format but with a different lens and film from day 1.  This was shot at the Bund in Shanghai, China.  Photo taken with Graflex Speed Graphic + Fujinon 65mm f5.6 lens + Shanghai GP3 film.  Developed with Guan long d76 + Guan long F5 Fix, scanned with Epson Perfection V700. Today i nominate Pouya Ash for the BW photo challenge, in which to post one BW photo per day for 5 days and also nominate someone each day because it’s fun.

The Bund, Shanghai, China

Seagull and Shanghai GP3

It was a sunny day during Gordon, Vicky and Cailey’s photo shoot.  Ever since I got my Zeiss Ikonta B 532/16, I have been neglecting my Seagull TLR.  Here are a couple of shots from the shoot, Seagull 4A-103 TLR + Shanghai GP3 film.  Developed stand, Rodinal 1:100 for 1.25 hours, inversion first two minutes, then one turn every 30 minutes.  Fixed with Kodak Rapid Fix, scanned with Epson Perfection V700.

Looking cute!
Looking cute!
Cailey hiding behind mom.
Cailey hiding behind mom.  There is a very 1960s feel to this photo!

Honestly, not too happy with the grain size, perhaps it’s time to go back to D76! Always hit and miss with these shanghai film.