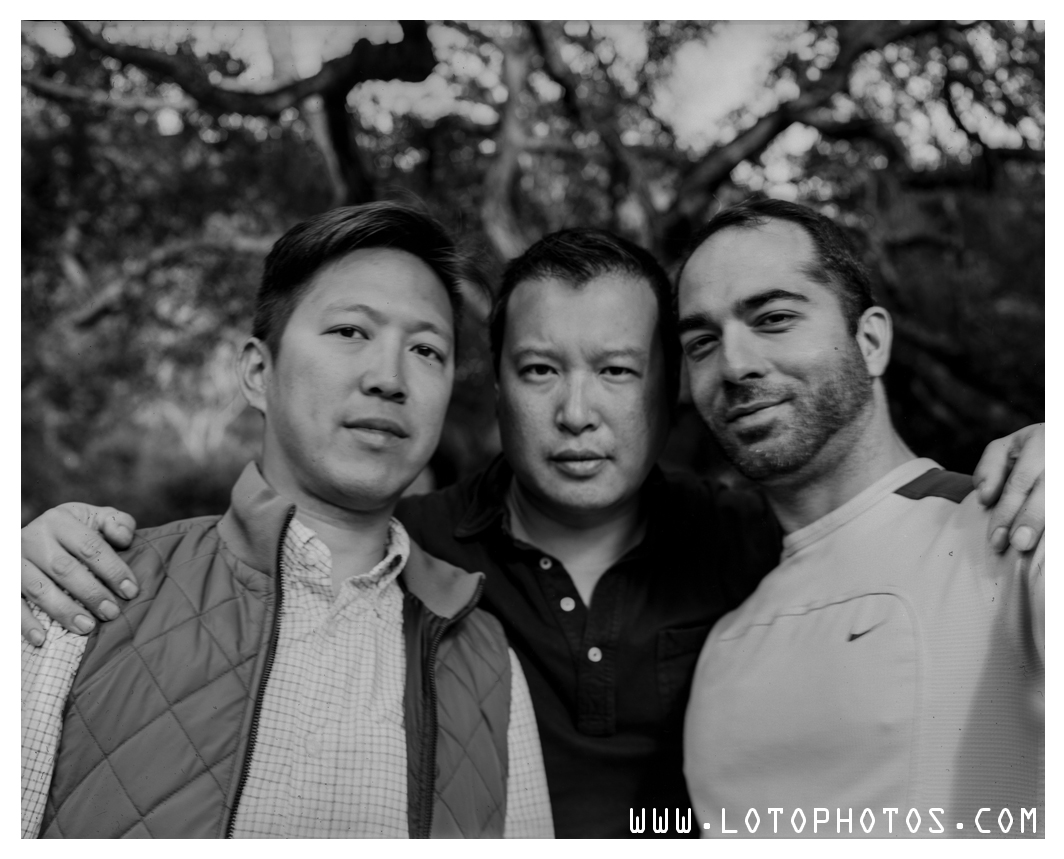
Looking at a few family shoots that I did last year. Here are a couple of super loto ones.

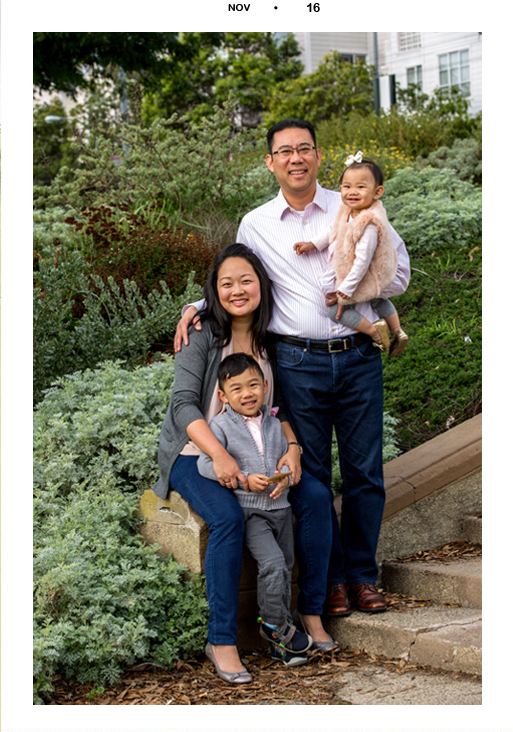

Looking at a few family shoots that I did last year. Here are a couple of super loto ones.
Wrapping up the weekend trip during the last leg on a hike at the Pfeiffer Big Sur State Park, there were a couple of 8×10 free plates left and we decided to do something fun. With a very short shutter cable, we attempted to do a selfie in 8×10!!!
Here is the setup.

Here is the result! Taken with Kodak 2D 8×10 camera + Fujinon 2400mm f9 lens + Kodak Ektascan B/RA x-ray film.
April 2016 had been the most productive month for lotophotos. Here are some large format portraits done for my visitors this month.
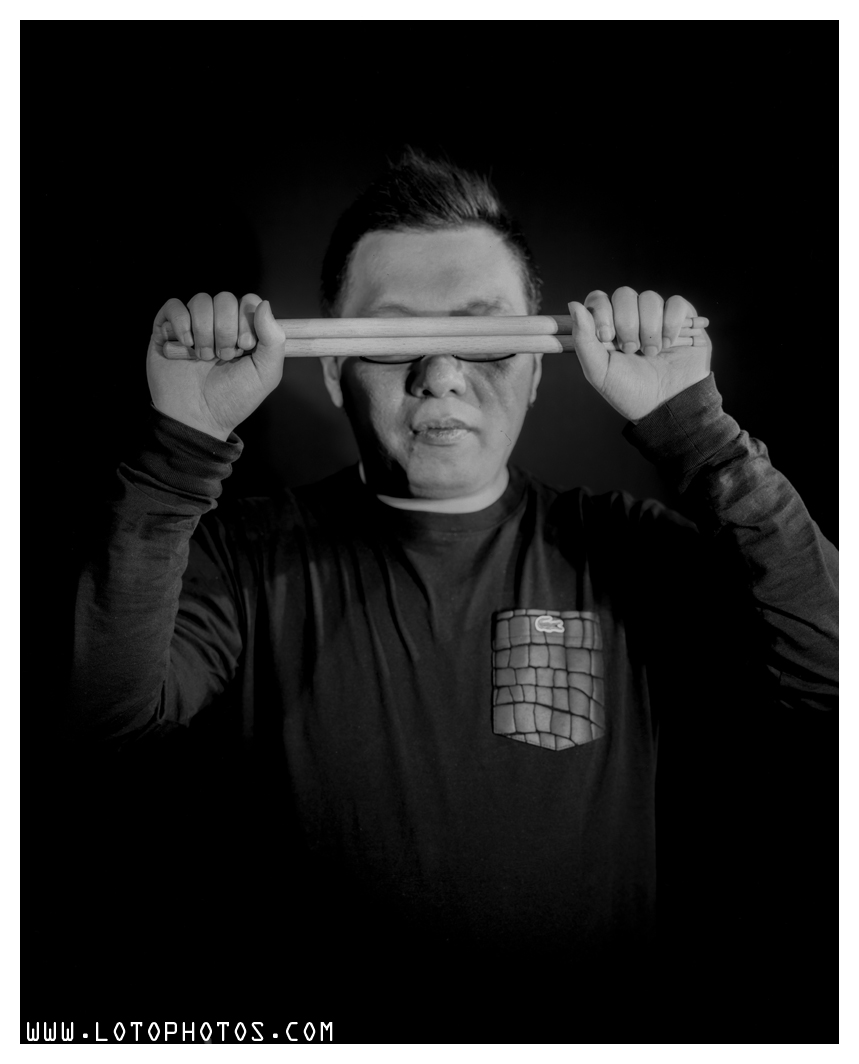
First one is Joseph Wei, a drummer and music producer from Hong Kong. The photo is taken inside a studio (with multiple flashes) from Kodak 2d 8×10 camera + Fujinon 250mm f6.3 lens + Kodak B/RA x-ray film.
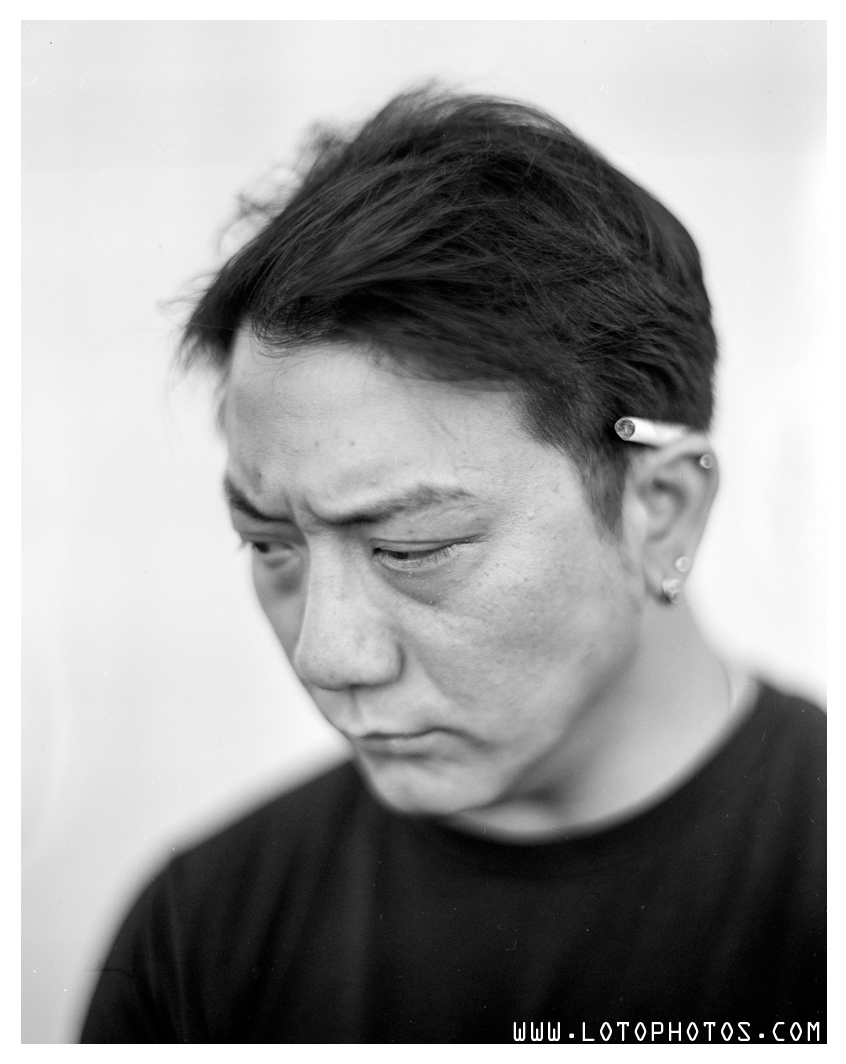
The second one is of Michael Ho taken with Graflex Speed Graphic + Kodak Aero Ektar 178mm f2.5 lens + Expired (1993) Kodak Plus-X Pan 4×5 film. The Kodak aero ektar lens is always my preferred lens for 4×5 portraits. I am also happy that the very expired plus-x film still very useable despite metering it at ISO 50 (instead of the stock 125).

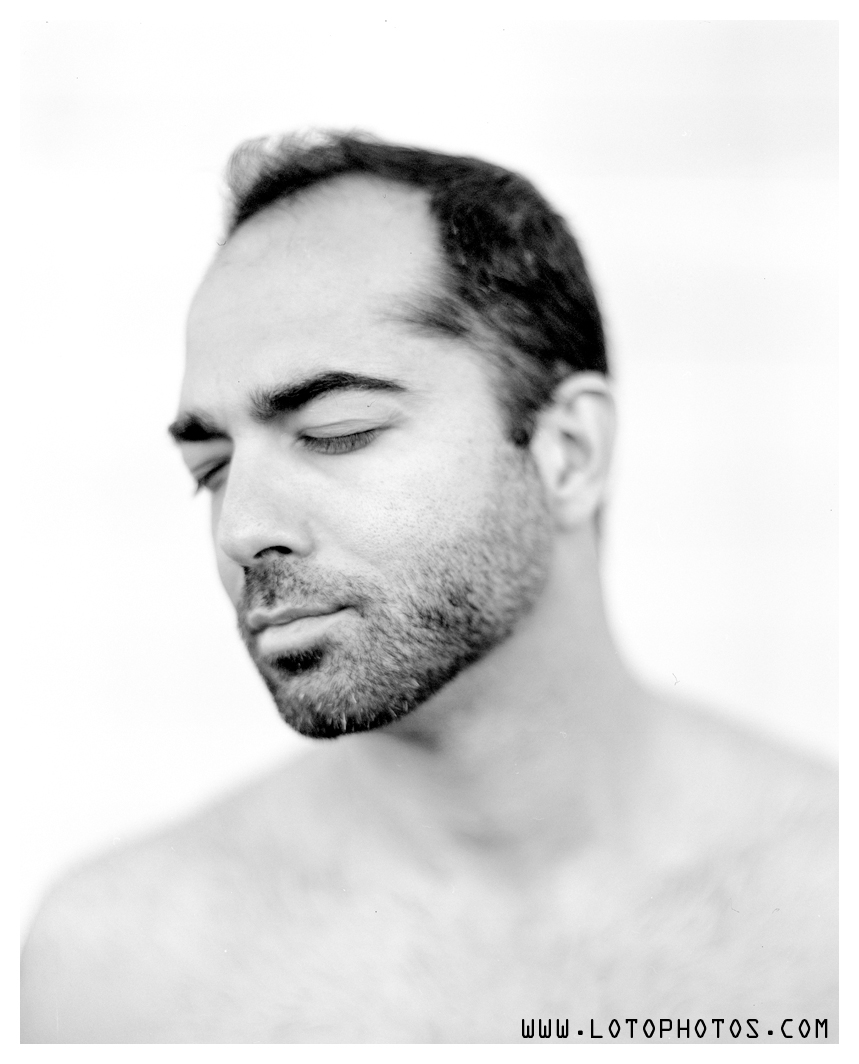
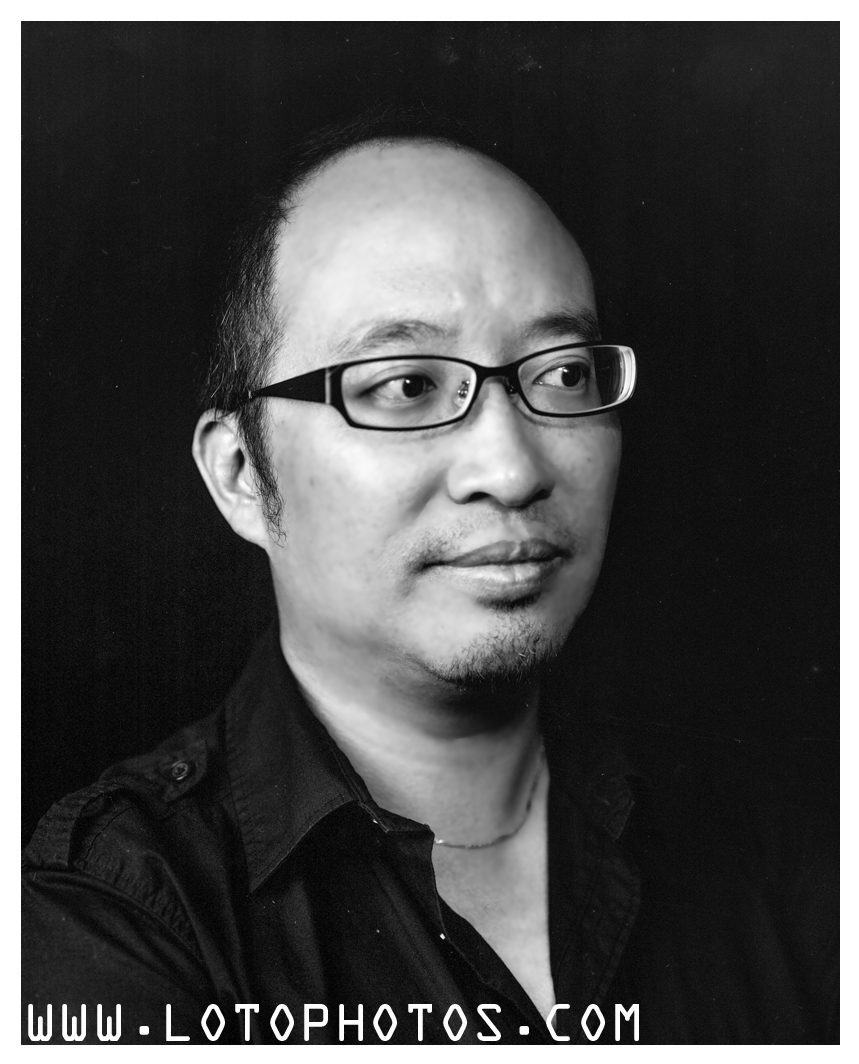
The following one is of Richard Fung in deep thought. Also shot with Graflex Speed Graphic + Kodak Aero Ektar 178mm f2.5 lens + Expired (1993) Kodak Plus-X Pan 4×5 film.
My friend Pouya Ashtiani models for the next shot. He was enjoying the warm San Francisco weather in this photo shot from Graflex Speed Graphic + Kodak Aero Ektar 178mm f2.5 lens + Kodak Plus-X Pan film.
Graflex Speed Graphic + Kodak Aero Ektar 178mm f2.5 + Kodak Plus-X Pan film
The last set is from the lovely couple Marko Kudjerski and Yandra Lluch. These polaroids were taken from Graflex Speed Graphic + Kodak Aero Ektar 178mm f2.5 lens + one big 1000 LED panel as light source.
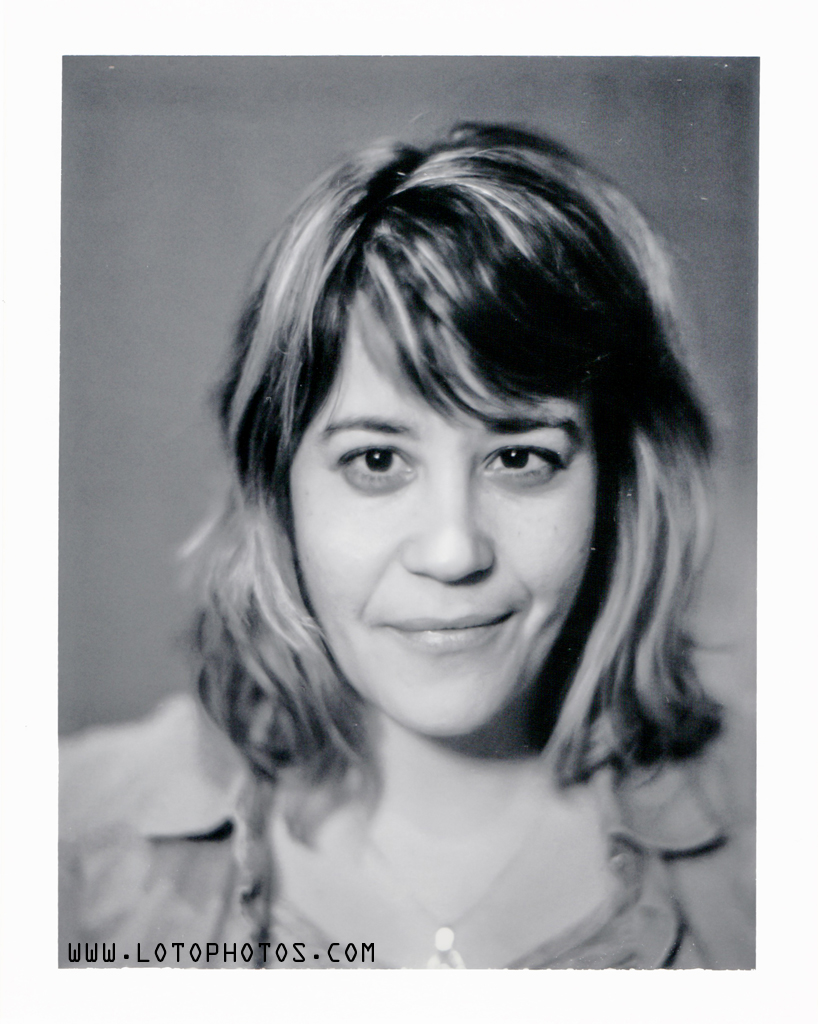

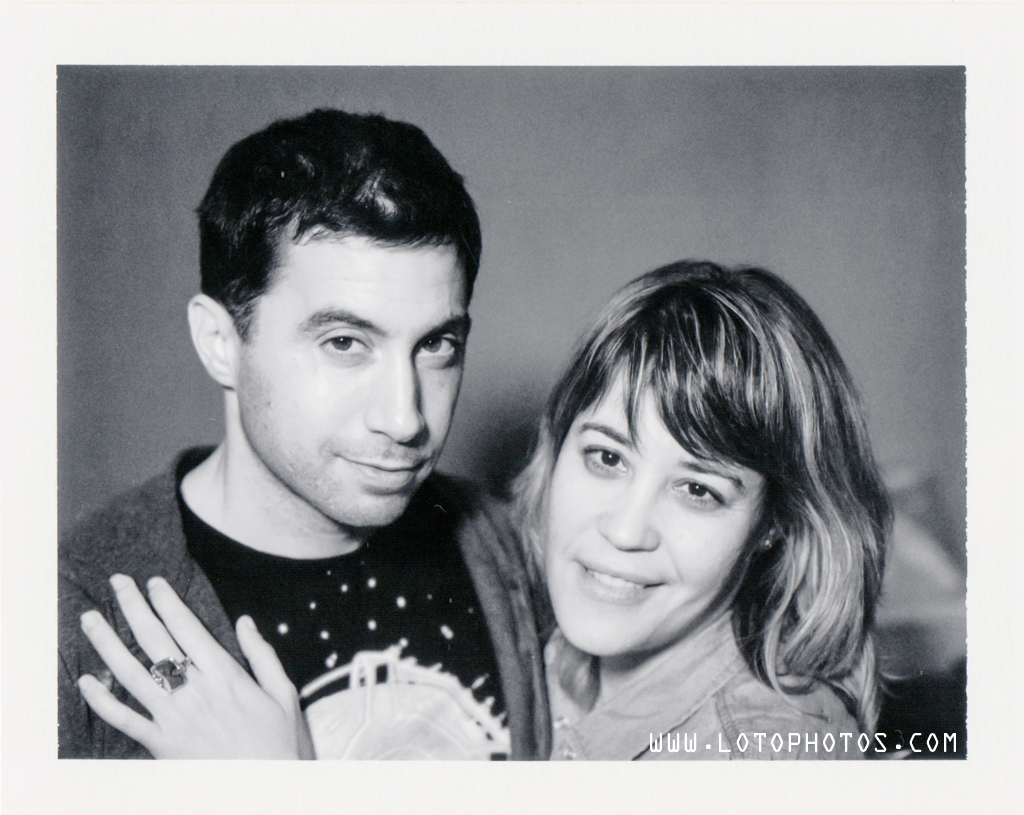
Here are the portraits taken from April 2016 and I hope the models are as happy with the images as I was!
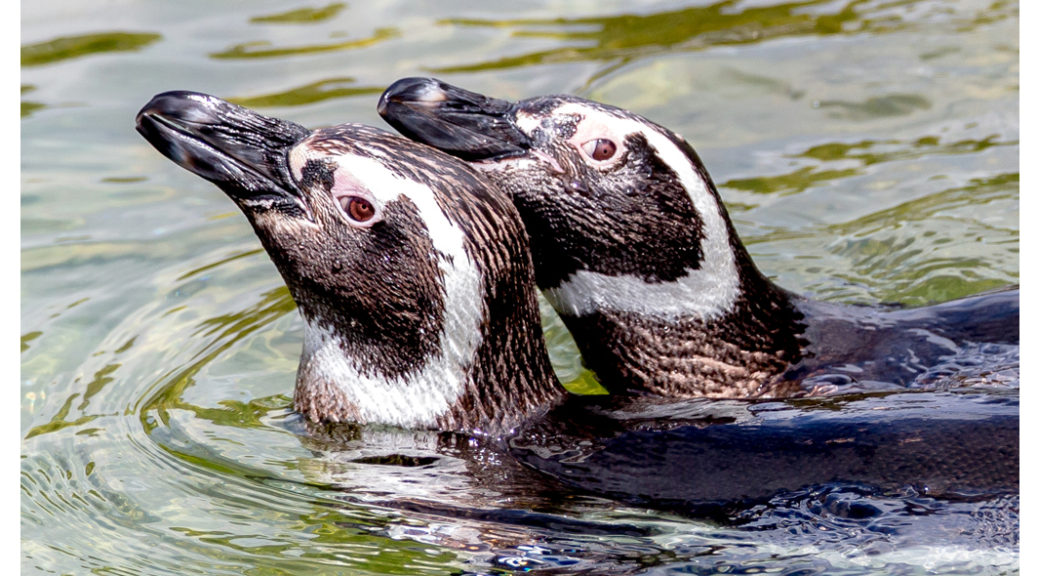
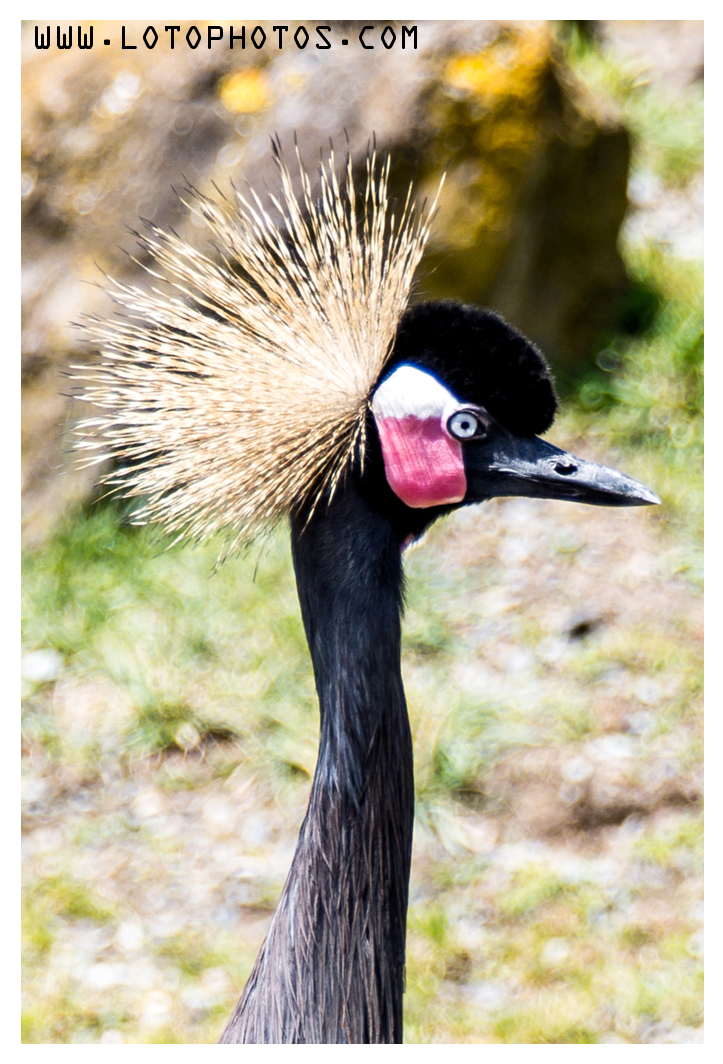
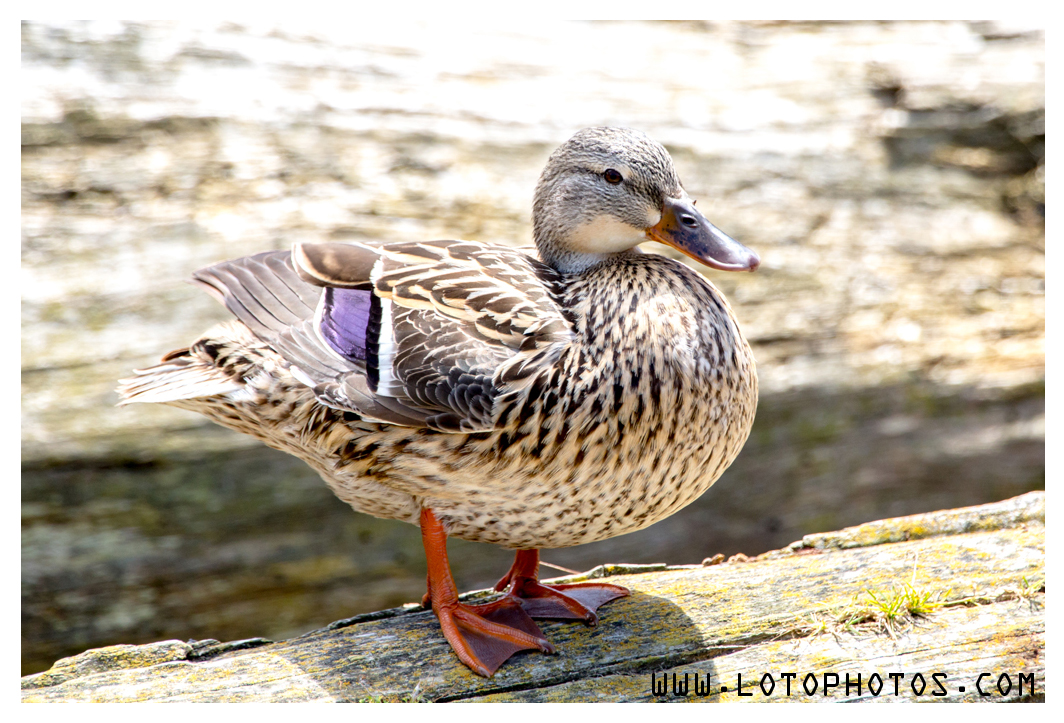
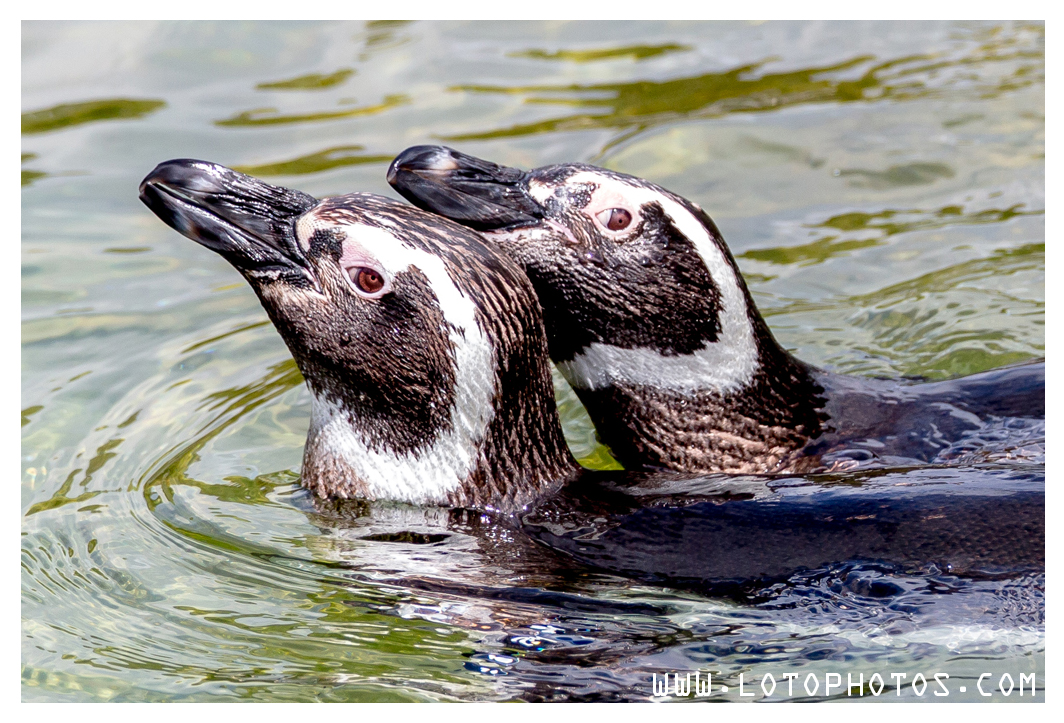
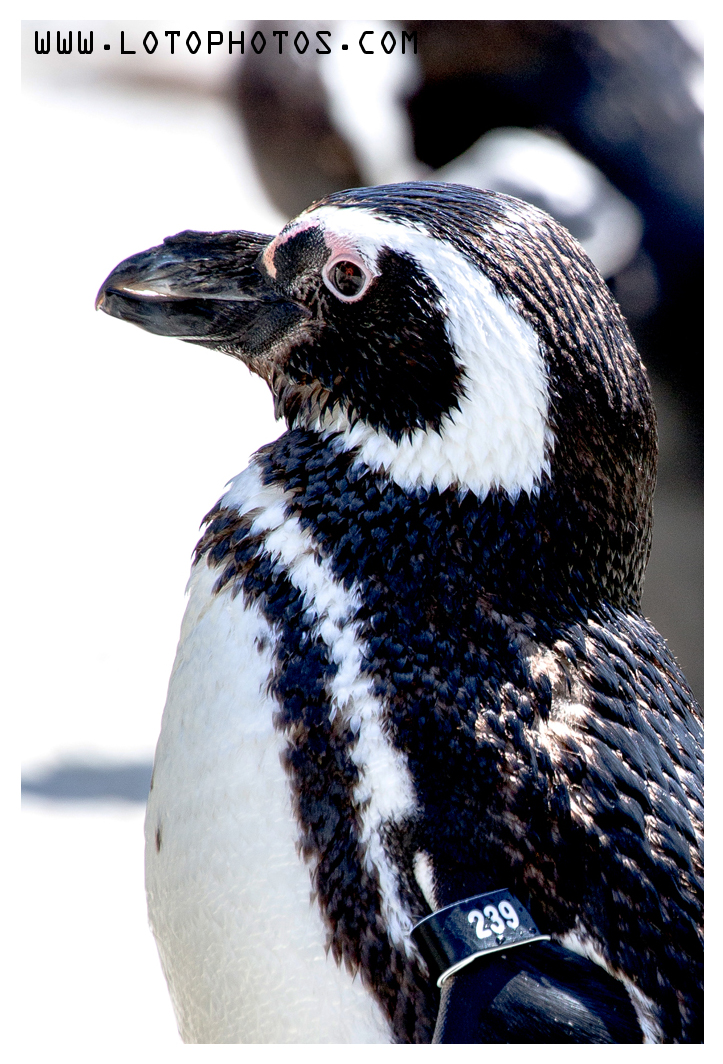
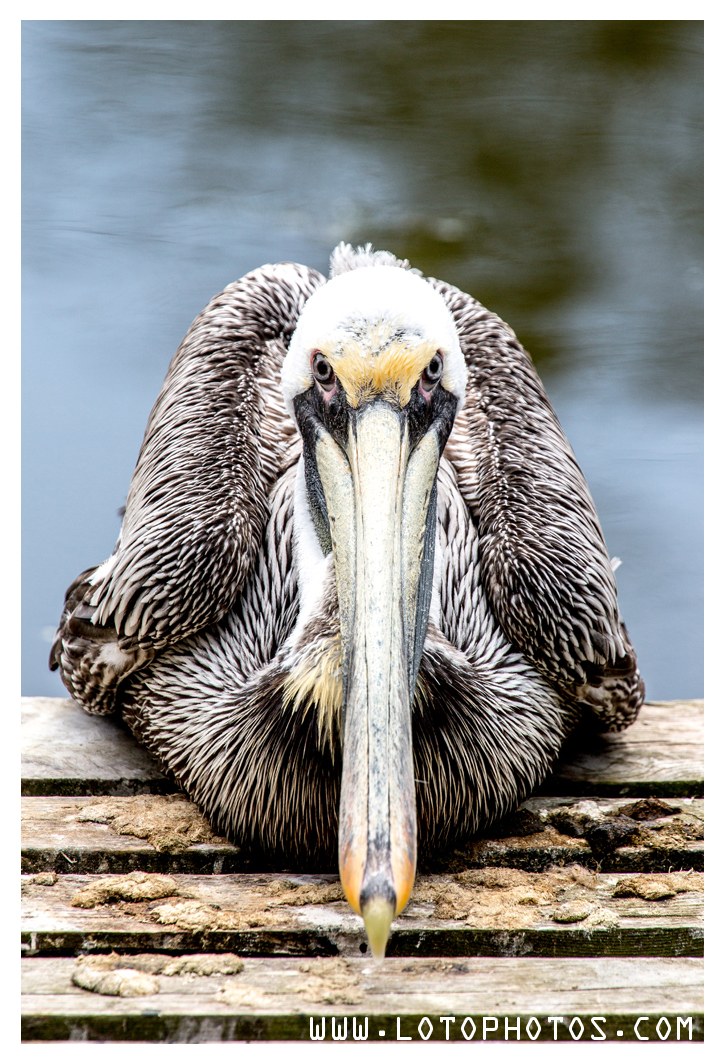
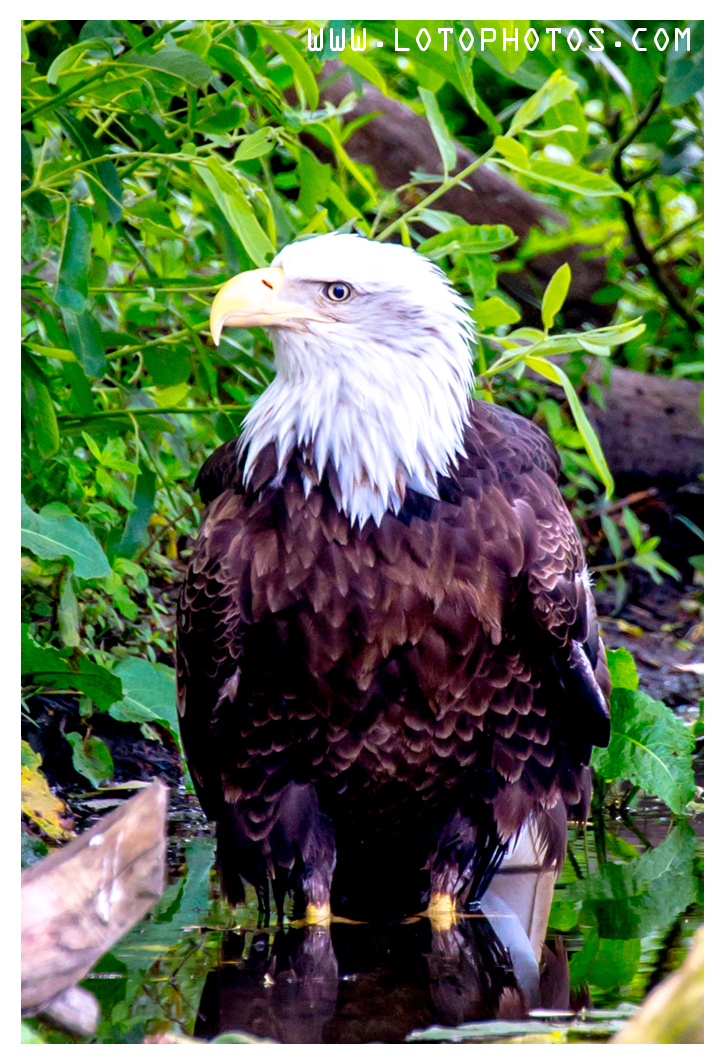
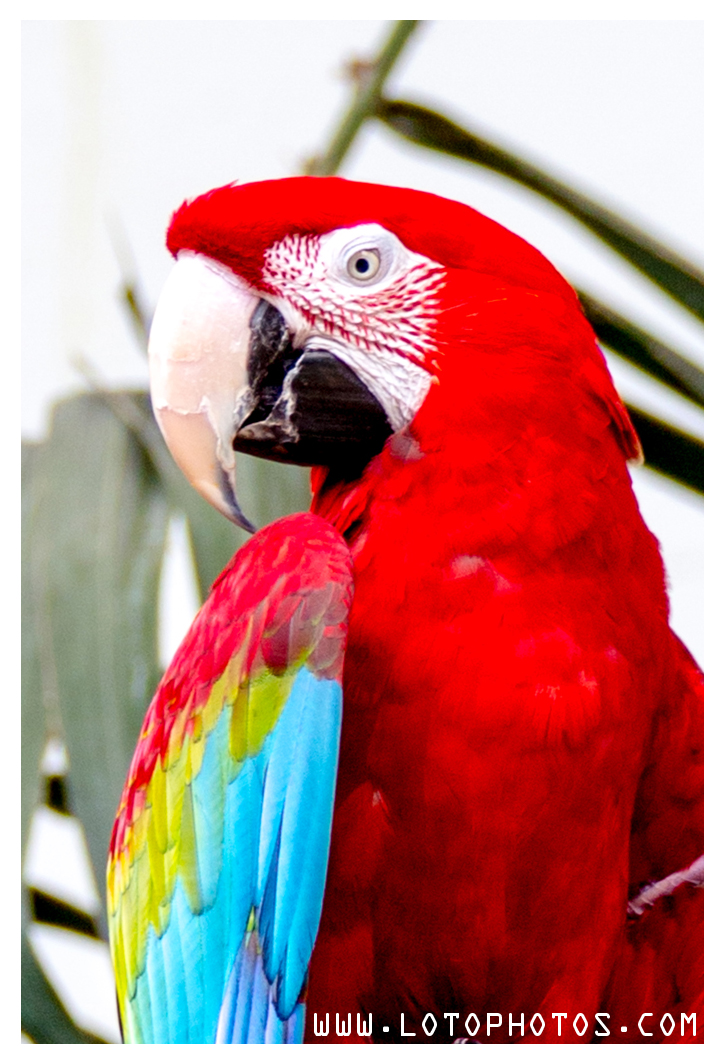
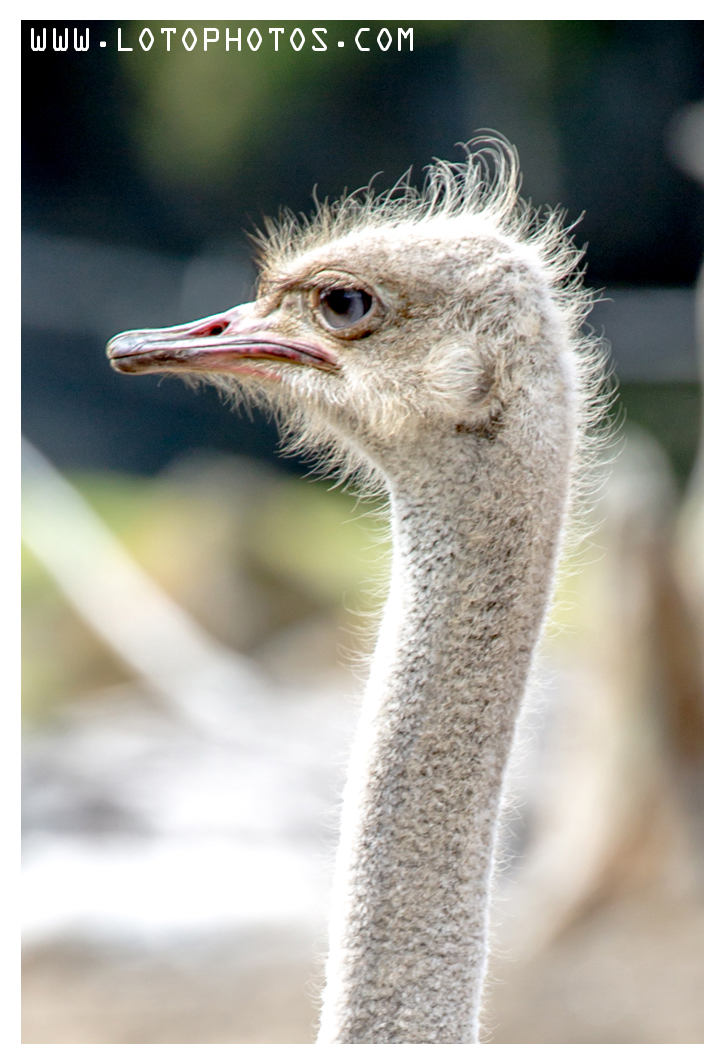
A chance to shoot some birds and animals in the SF Zoo was a great opportunity to use my Canon 2x extender which is basically collecting dust. The setup is a simply a Canon 5dmiii + 70-200mm f2.8 + 2x extender ii.
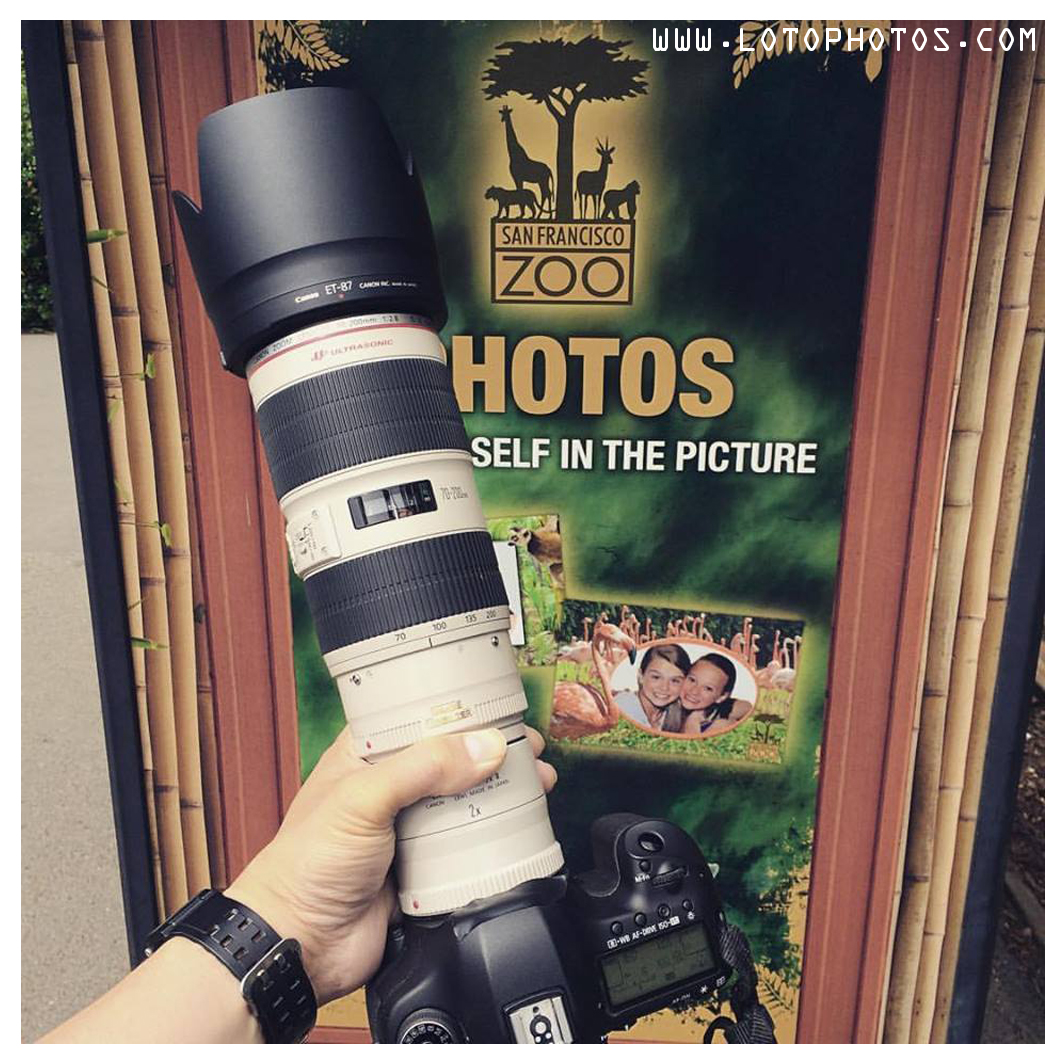
Great weather and here are the photos shot that day.

Early this year, Kirk Lau and I were looking at reference designs online to print our own 3D camera. Out of all the designs, I picked the terraPin Kaiju (http://www.thingiverse.com/thing:876457). We sent this to a 3D printhouse and a couple of days later, I received a bag of parts and started to put the camera together. This really reminded me of the time when I used to put car and ship models (Tamiya ones!) together when I was a kid.
This article discuss my adventure with this camera and all the pain I went through with it until it produced amazing images.
After assembling it, this is what it looked like.
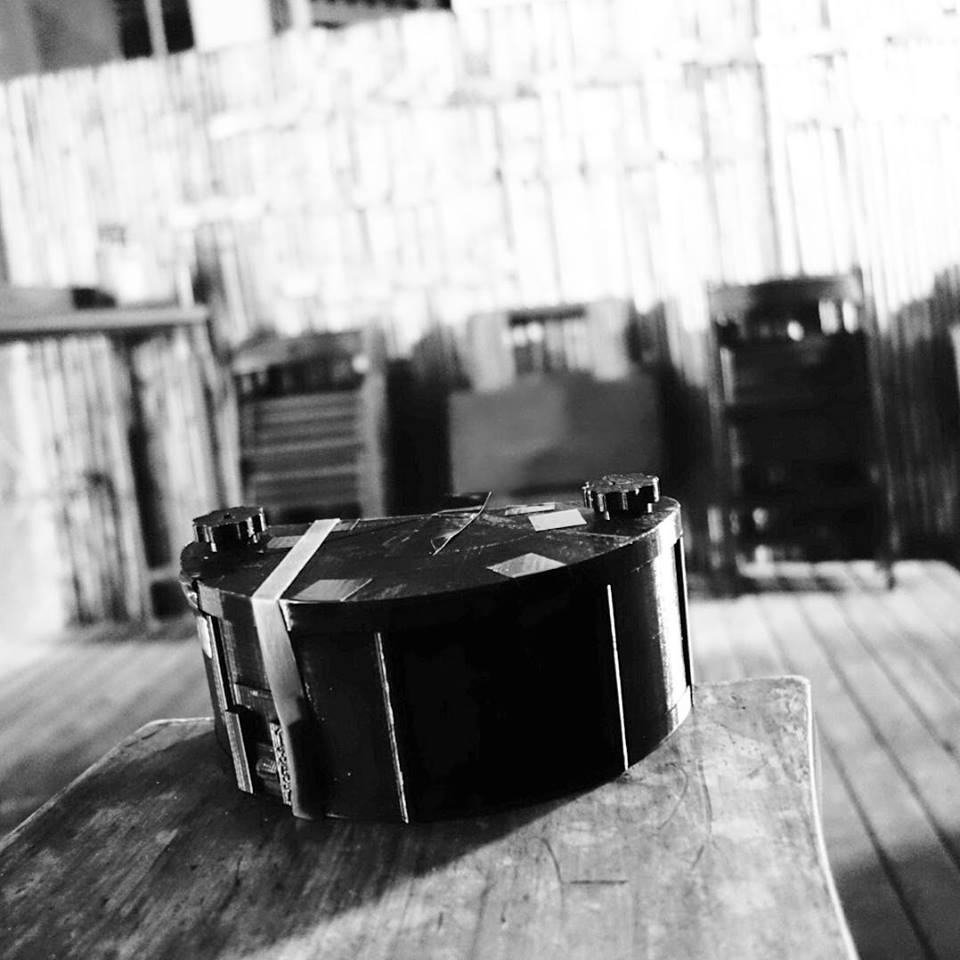
Notice there are rubber bands in the photo, I usually just throw this in my backpack and it rolls around alot, so the rubber bands are just there to make sure it doesn’t pop open.
Selection of pinholes. I looked around and decided to use pinhole plates that are made by James Guerin from Au Premier Plan (https://aupremierplan.fr/custom-cameras/laser-drilled-pinholes/). Like a lens is the soul of every conventional camera, the pinhole itself is also the most important part for pinhole cameras. The quality of these amazing pinholes will speak for itself in the photos.
I first tested the camera indoors (big mistake) with Fuji Acros film. The exposure was 30 minutes to an hour and came back okay, but not great. It was mainly to test for light leaks.
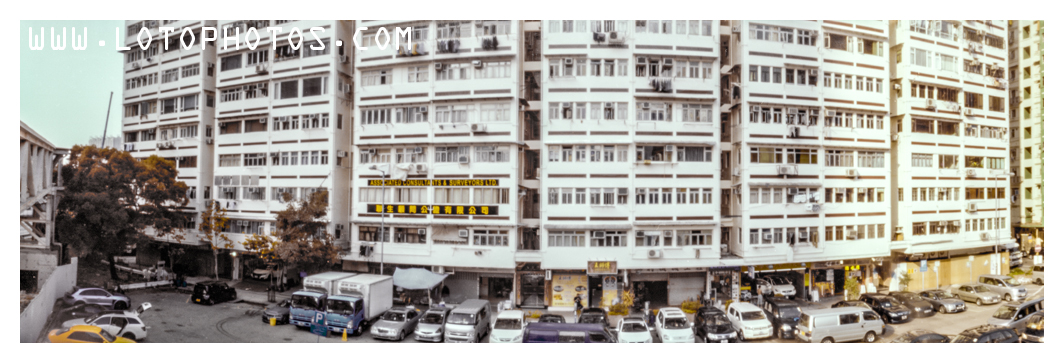
The first outdoor shoot was tested with a roll of Fuji Pro 160. Here is the test image.
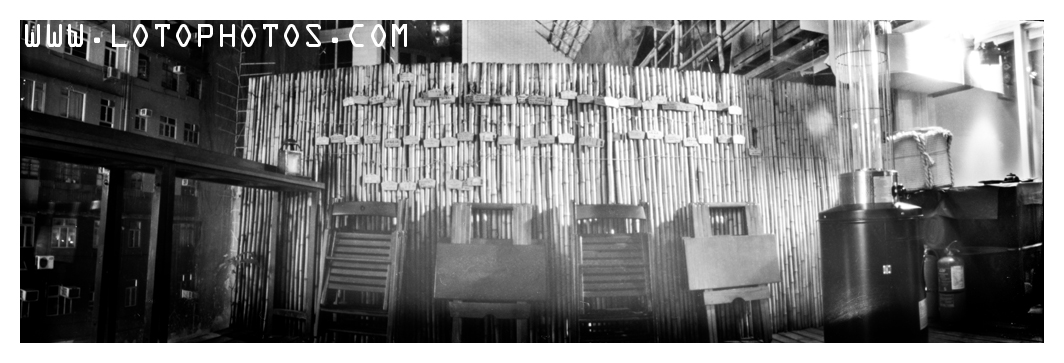
I see great images in that roll and moved on thinking everything is great. I continued to shoot and mainly did shots at night. Here are three shots done at Sake Bar Ginn in Hong Kong.
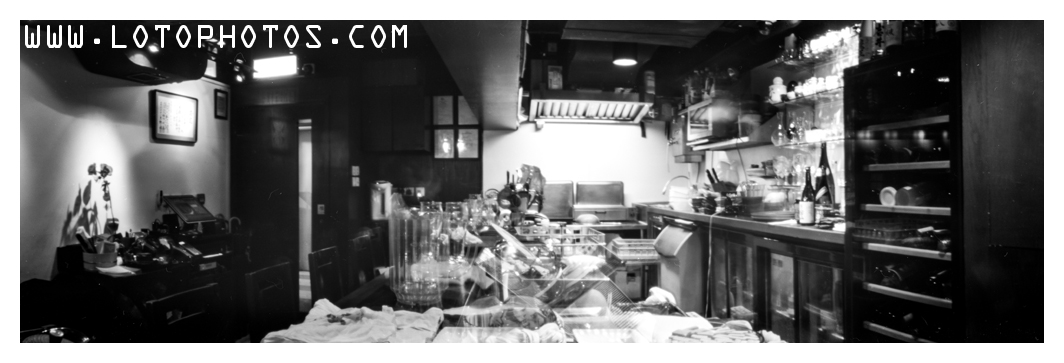
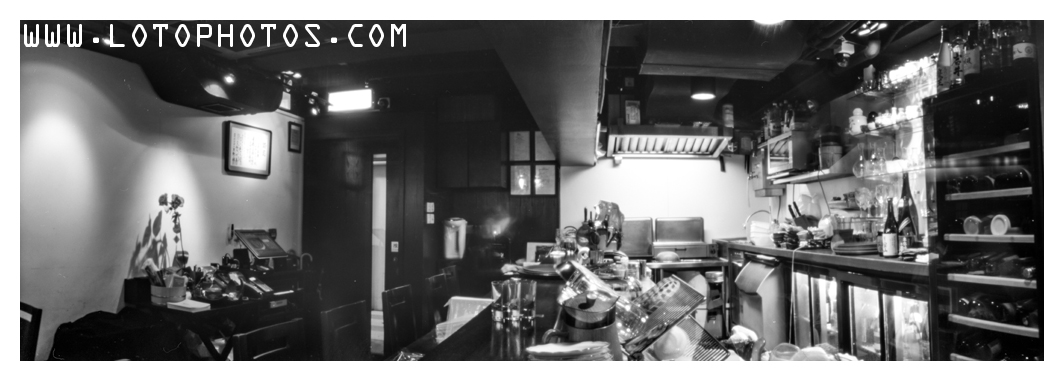
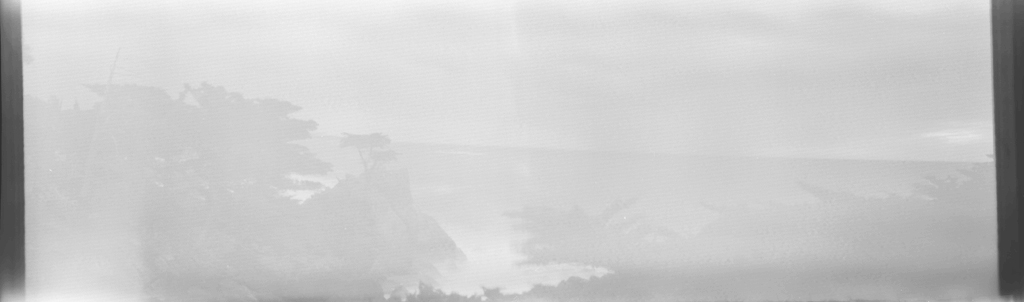
The photos were great but not as sharp as I wanted and also there is this glare that I couldn’t figure where it was coming from. The next trip to Carmel/Big Sur, I shot about 3 rolls of Fuji Acros and this is when everything went downhill. Every shot was over exposured by at least 4-5 clicks.
All this doesn’t make sense. So far all the test shots were good and it made no sense that suddenly everything is over exposed. Examining the photos, even the edges, are completely exposed. This tells me light leaks! but where? I did shoot several rolls without issues.
I opened the camera and put a strong LED light touching the outside wall of the camera. Voila! I see a faint red dot on the inside walls. Apparently the material that was used for my 3D print was not completely light proof. With a very strong light, there is a faint red light that comes through. This makes total sense because most of the Fuji Acros rolls I did before were in dark conditions without direct sunlight. The Fuji Pro 160 somehow wasn’t so susceptible to this wavelength of red.
Next I used black gaffer tape and patched up all potential leaky spots and did a test roll.
Finally, I am getting correct exposed photos in broad daylight. Now notice the left side, it is slightly darker than the rest of the photos and it’s appearing on multiple shots. I examined the front and notice the right edge of the camera hole had some plastic residue from the print. I took an x-acto knife and removed that. I also made sure the hole is totally clean and the tiny hole in the middle should see full clearance.
I was trying to get all of these problems solved before WPPD 2016. I also had to work on an effective open and close strategy. The images I taken before was always very slightly blurred. I tried using tape over the hole, finger over the hole or just plain open and close of the pinhole doors, these methods were no good for me. Erik Mathy told me that he use a dark slide for that and Kirk Lau also reminded me that light only travel in straight lines. This made sense, a dark slide right in front of the pinhole, even though part of it is not covered, this didn’t matter, as long as I can cover over 120deg of the pinhole, the negative won’t be exposed (when I am covering it with a dark slide, I am covering almost 180deg).
Finally WPPD came. One more detail from that shoot, there is a film clip that comes with 3d printing. Ever since one roll of my film got jammed with it, i stopped using it. The film jammed before because there is a top part of the clip that I needed to peel off before using. That part is purely for printing and will jam your rolls if left behind. The film can be loose after it is done and the clip will hold it in a tight roll and avoid light leaks. I made two mistakes. One is not using the clip, second is changing this film in broad daylight. What did I get? light leaks from the side, see below.
Finally, solving all the issues, here are some of the final results on WPPD 2016 (more with that http://lotophotos.com/wppd2016)
The scans I am getting from these rolls, I am actually getting 6×19 rather than 6×18 which is a bonus. The details are simply amazing and happy to finally get this in perfect working order.
World Pinhole Photography Day (WPPD) was held on April 25, 2016, more information here (http://pinholeday.org/).
Pinhole day used to be the only day that I shoot with these cameras, but this year, I actually prepared for it. When I was in Shanghai earlier this year, with the help of Kirk Lau, I 3D printed a 6×18 (actually I find it more 6×19) camera called terraPin Kaiju. I had a ton of issues with that camera and I will discuss this in a later blog. After sorting all the issues out, it’s actually a really fun camera to use.
I started WPPD this year with a few plates of 8×10. I used my Kodak 2D 8×10 camera with 0.5mm hole size and arranged it for 150mm and f/300.
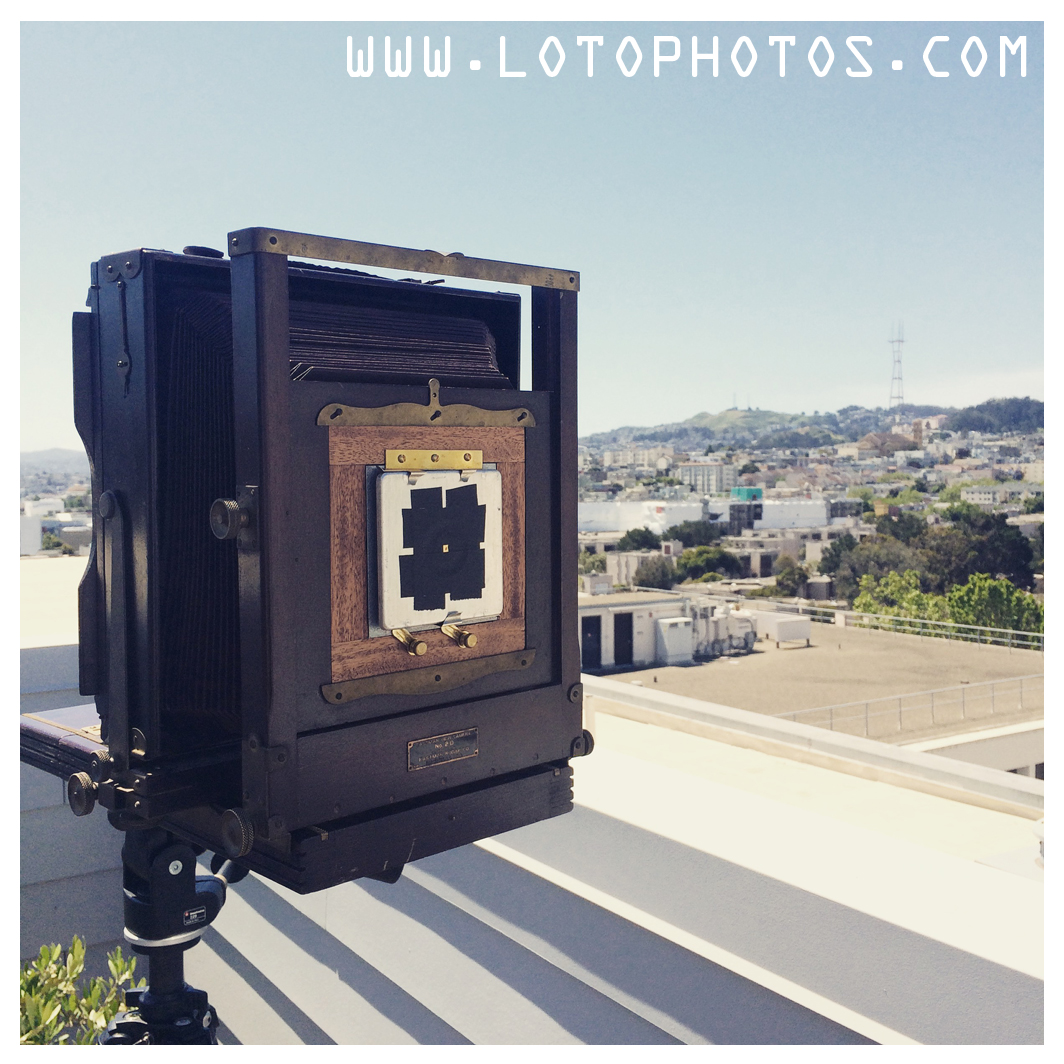
Kodak 2D 8×10, 150mm f/300
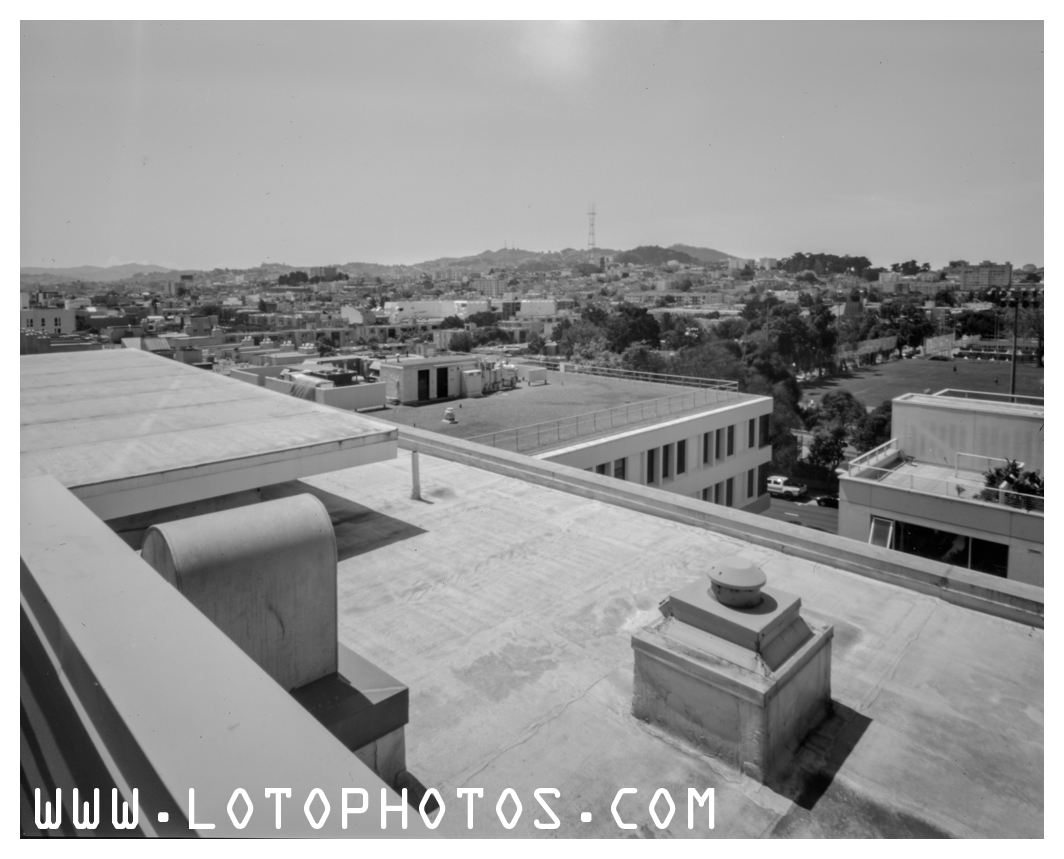
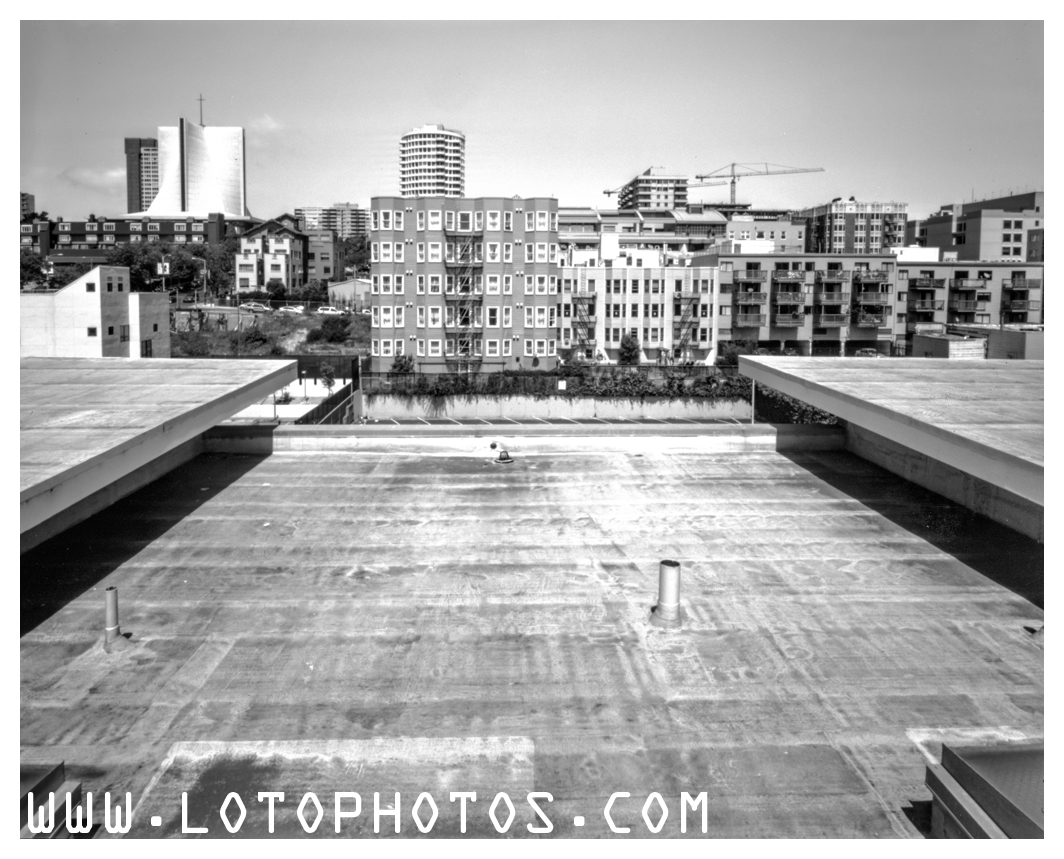
I shot the following with Kodak Ektascan B/RA x-ray film. Here are a couple of developed plates, the details are just amazing and the exposure is also dead on.
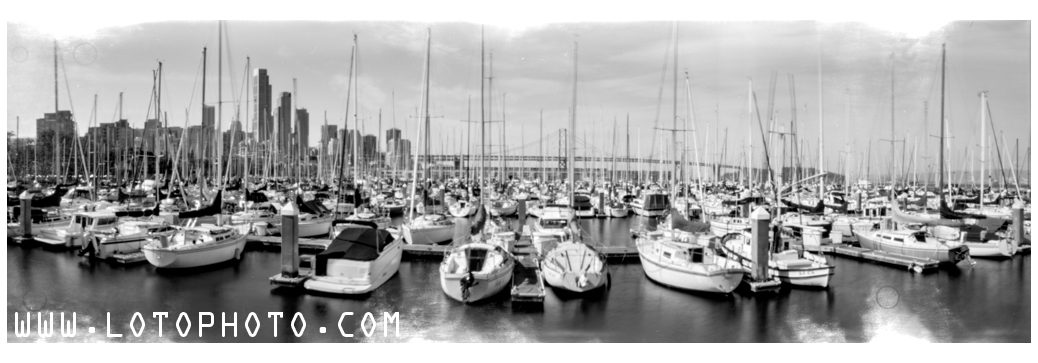
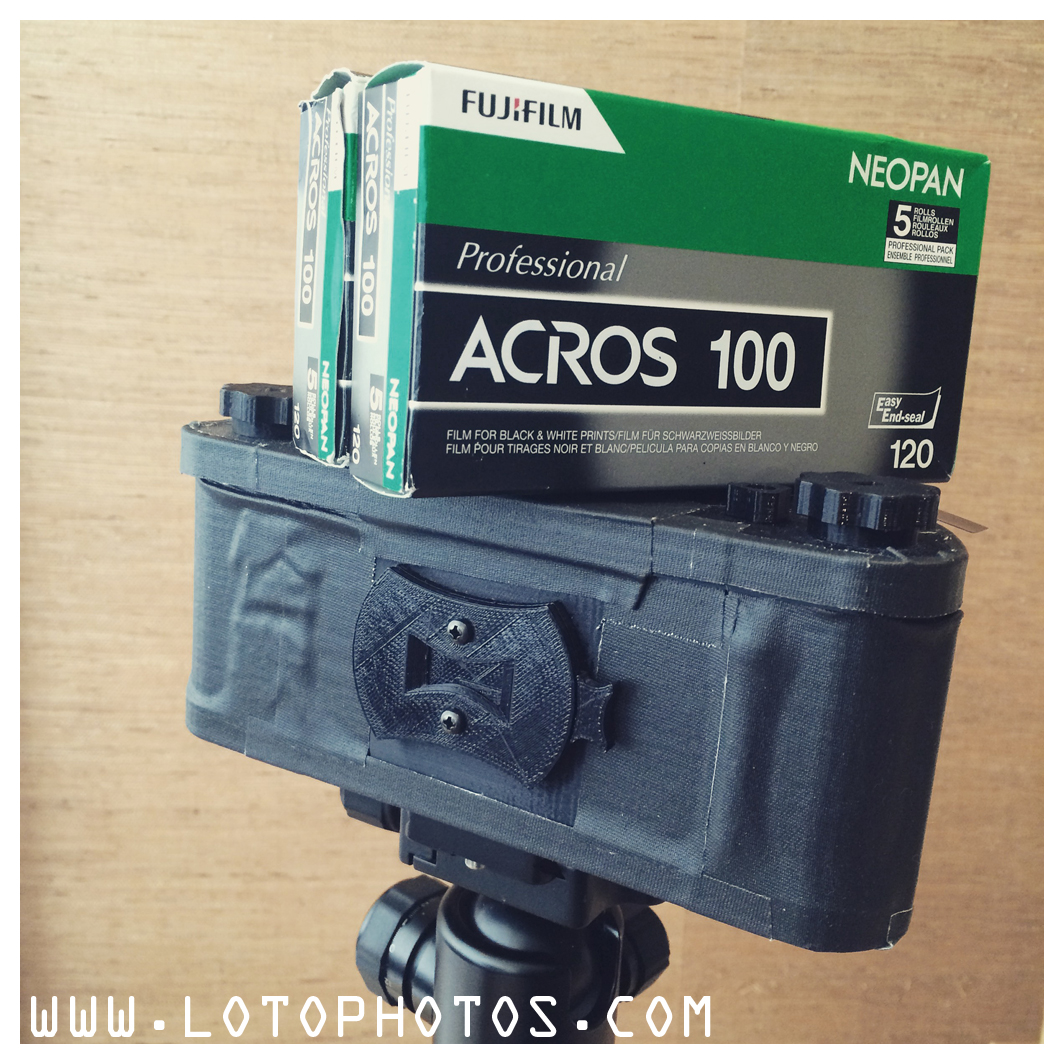
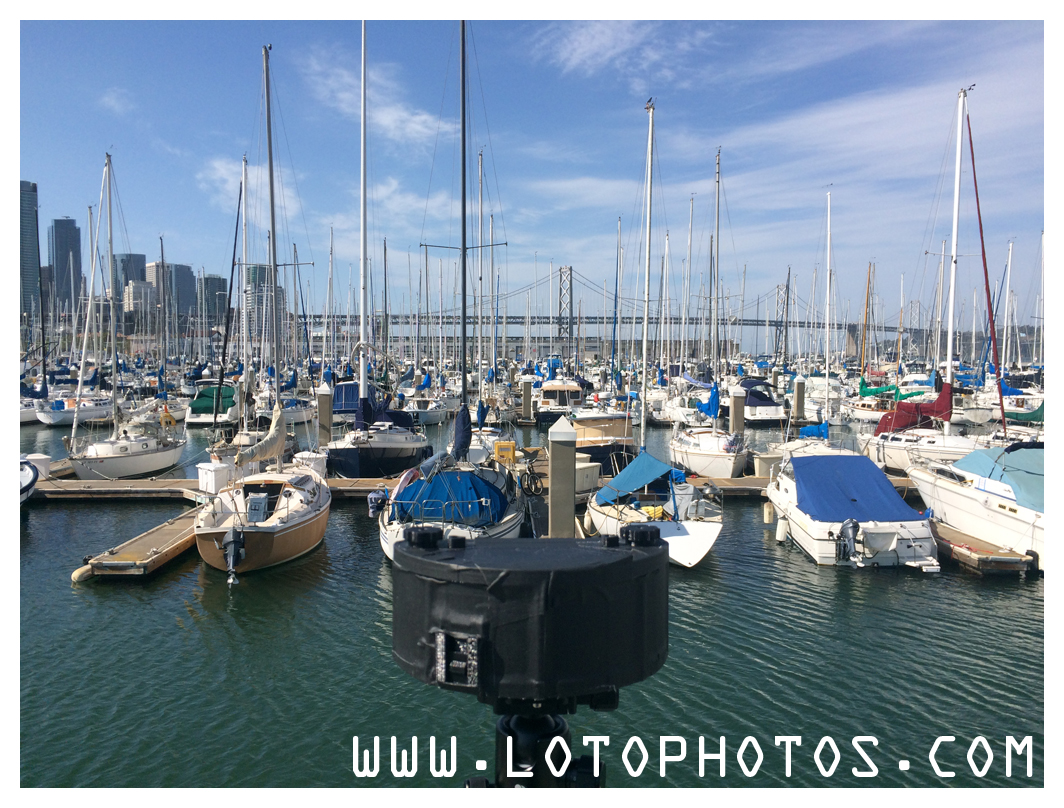
To walk around town, I took the 6×18 panoramic pinhole, equipped with a 0.4mm pinhole, 86mm, f/215 with a view angle of roughly 116.5 deg. The film that I used was my favorite, Fuji Acros.
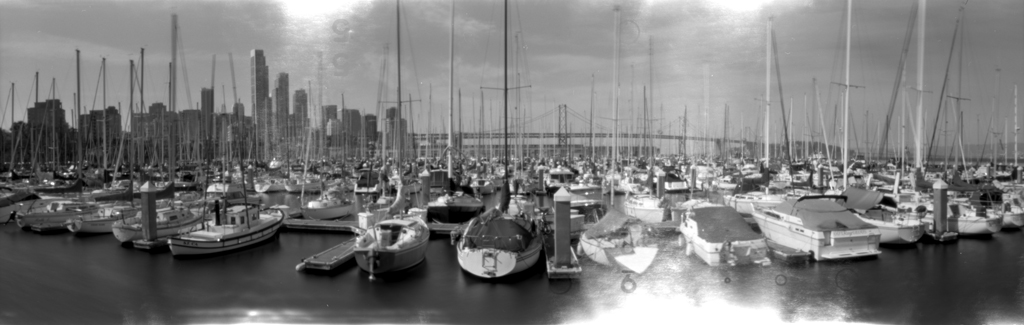
First I hit South Beach Harbor and it was a beautiful day.
The shots from that roll had a light leak when I was changing film. This is to remind myself to use the film clip and also change the film in darker places!

As I walked towards AT&T Park, the Giants were playing.

I was trying to get a silhouette photo which came out like this. I would like it to be sharper but it was crazy windy that day. It was tough to have the whole thing stable, even for a few seconds.

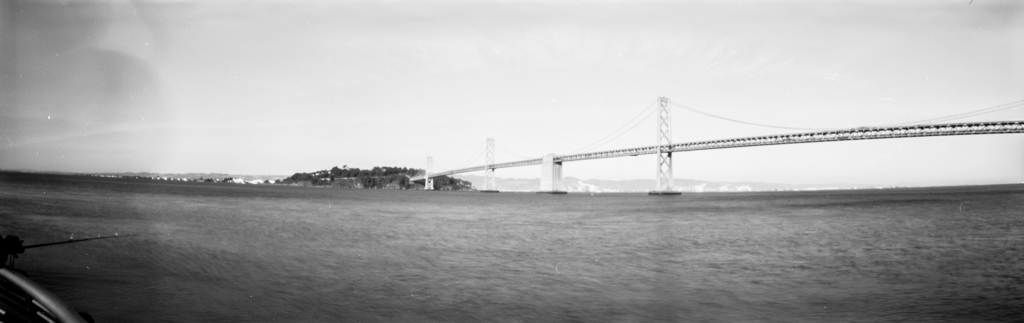
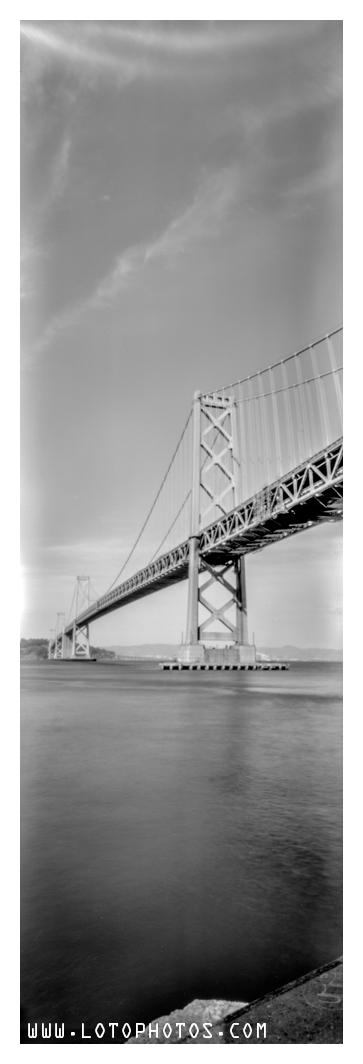
Next are a couple of shots of the Bay Bridge from both portrait and landscape orientation.

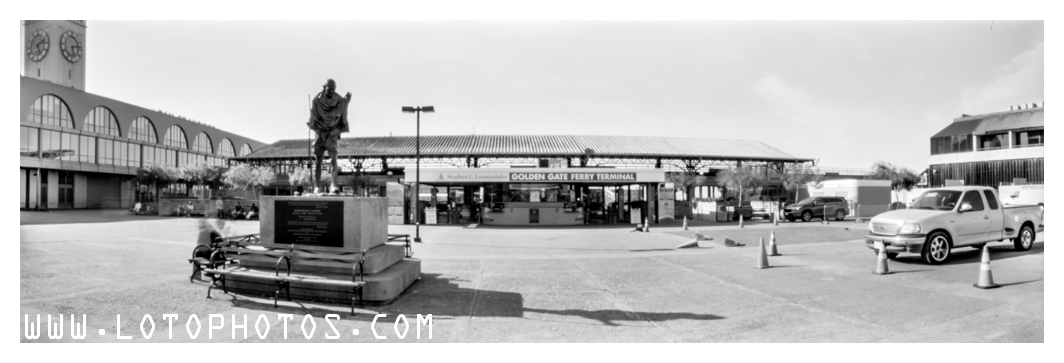
Behind the Ferry Building is the Golden Gate Ferry Terminal and a statue of Gandhi. In the high resolution copy, you can actually faintly read off Gandhi’s name under the statue. This is amazing detail, consider the lens is just air! No fancy optics at play here.
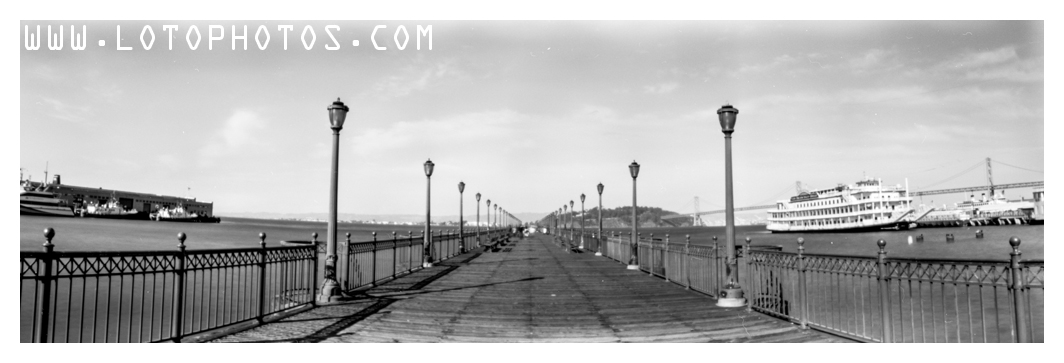
Next is Pier 7 and it was quite empty for a Sunday afternoon.
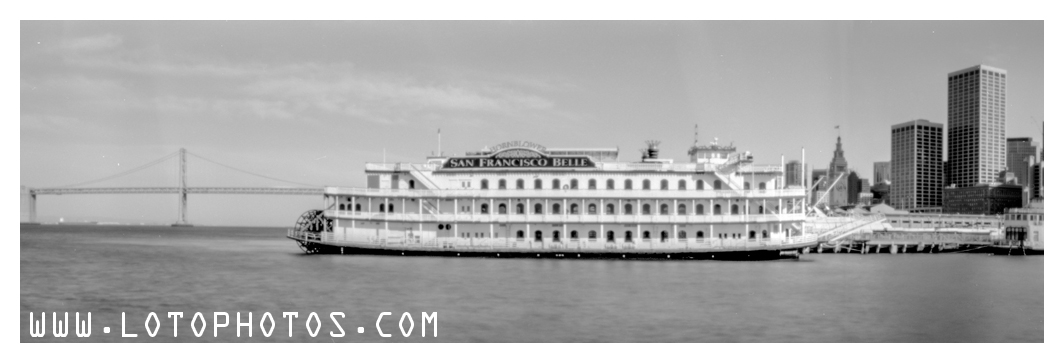
The San Francisco Belle was docked and check out the sharpness!
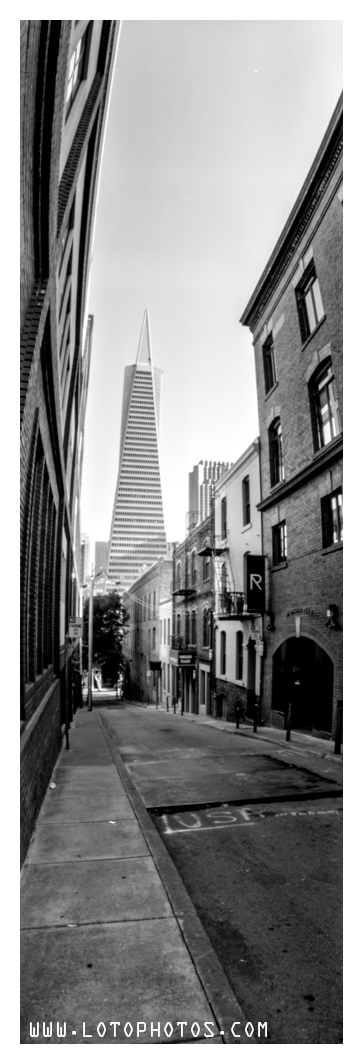
While walking on Broadway, there is an alley with a great view of the The Transamerica Pyramid. I always love the vertical panoramic but it is often quite hard to frame.
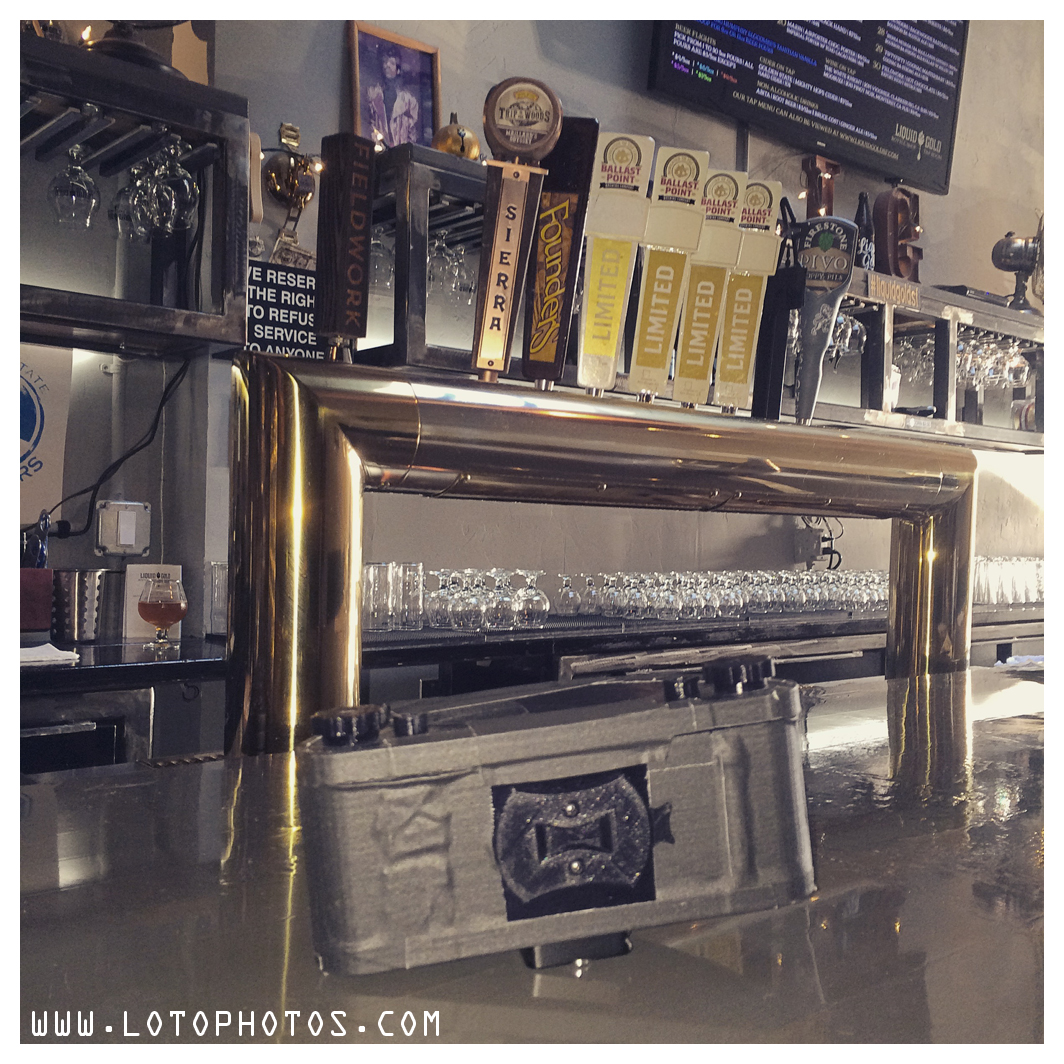
I have to say it was a lot of fun this year on WPPD. This is the most I have shot compared to previous years. The final stop was at Liquid Gold with four limited edition Ballast Point beers on tap!
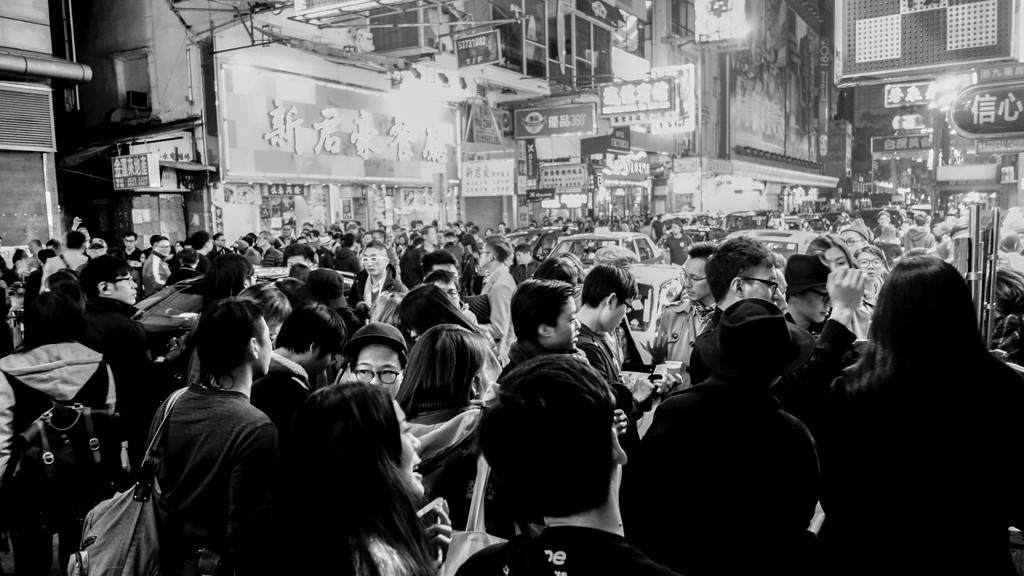
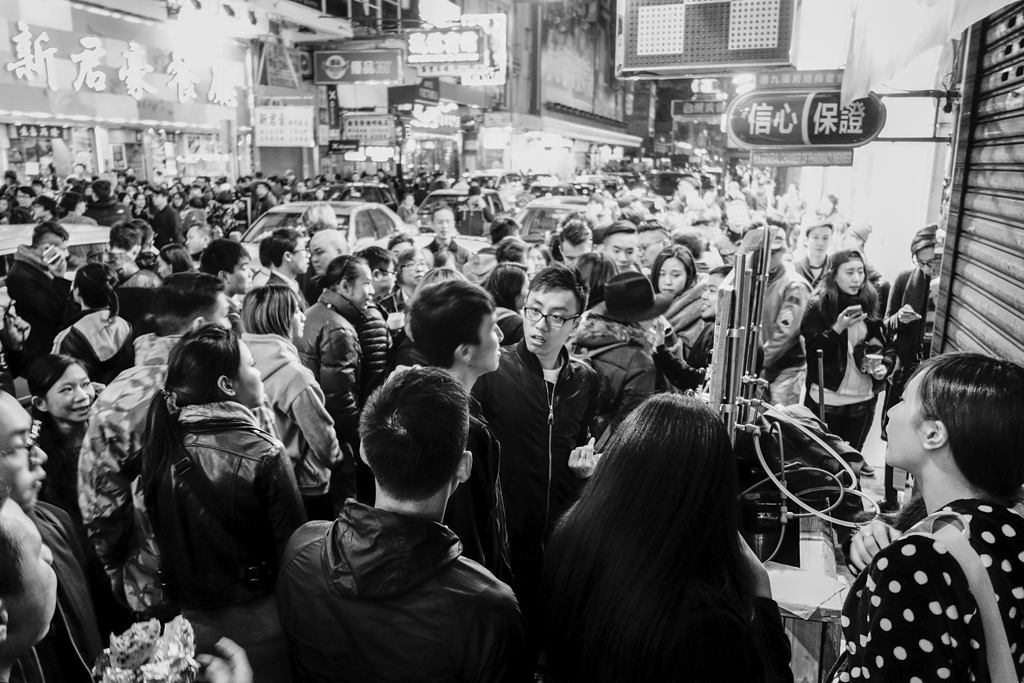
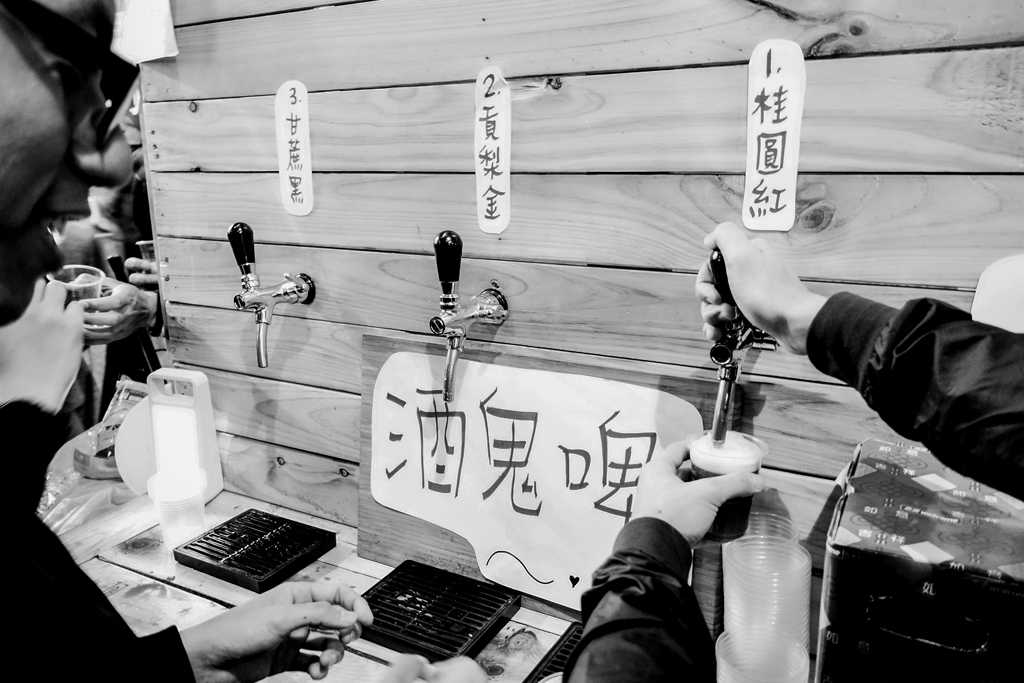
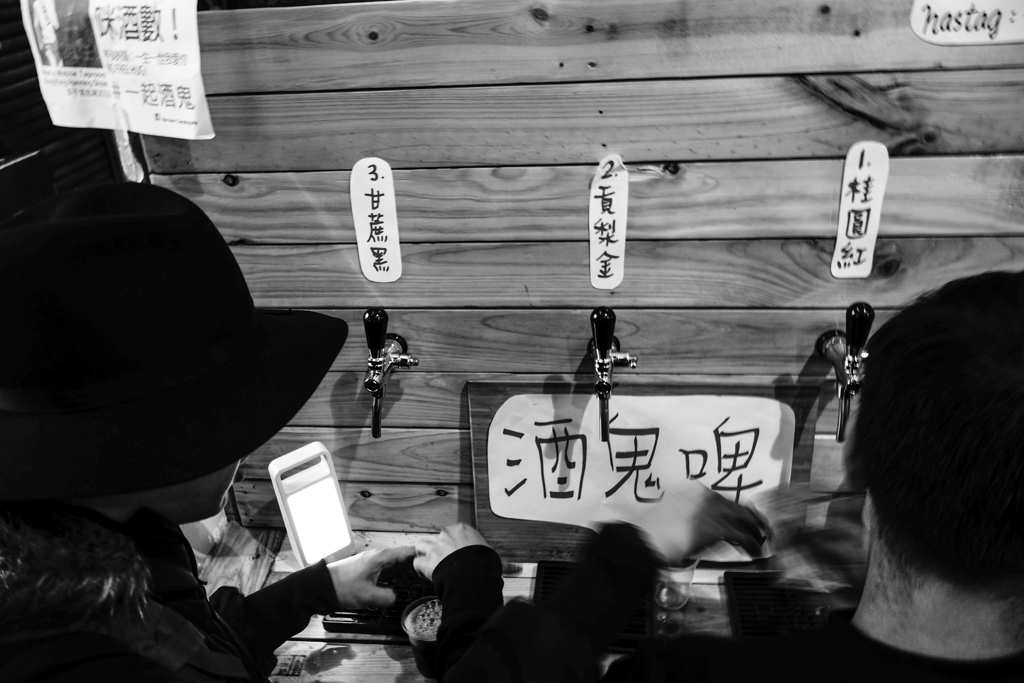
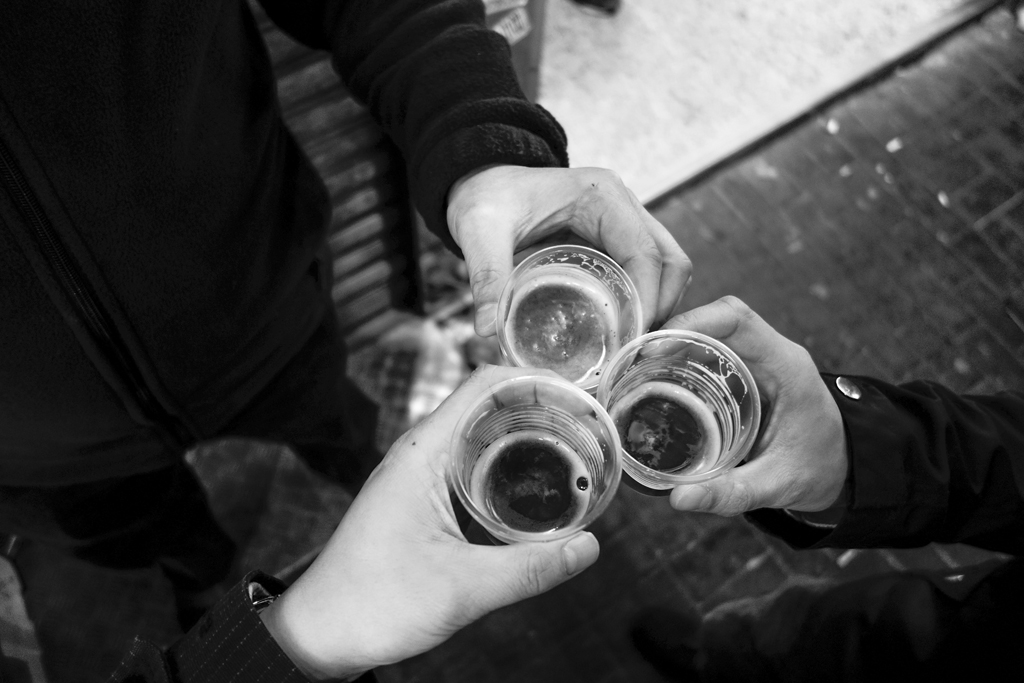
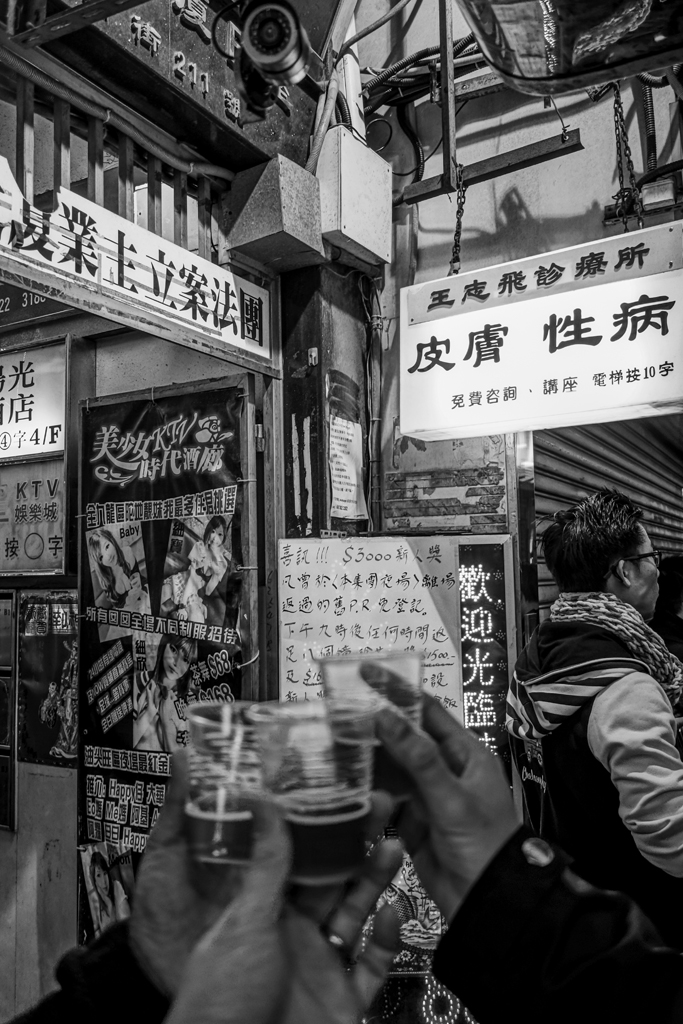
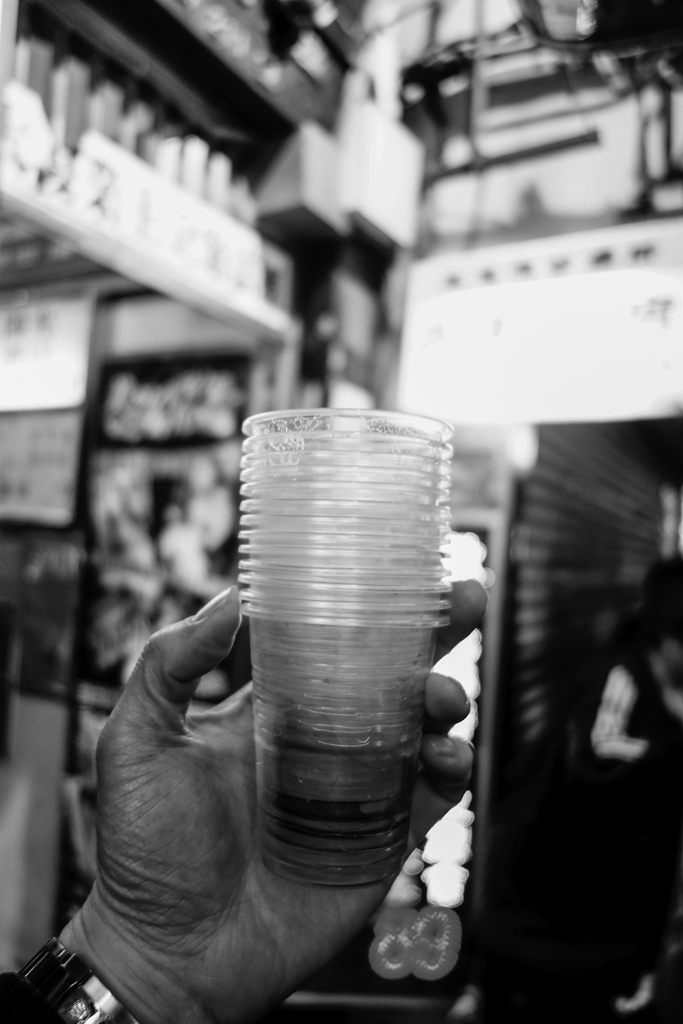
Hitting the streets of Mongkok first night of Chinese New Year, we were looking forward to catch some Hong Kong local brews. Unfortunately a riot broke out shortly after that and here are some happier photos that night.


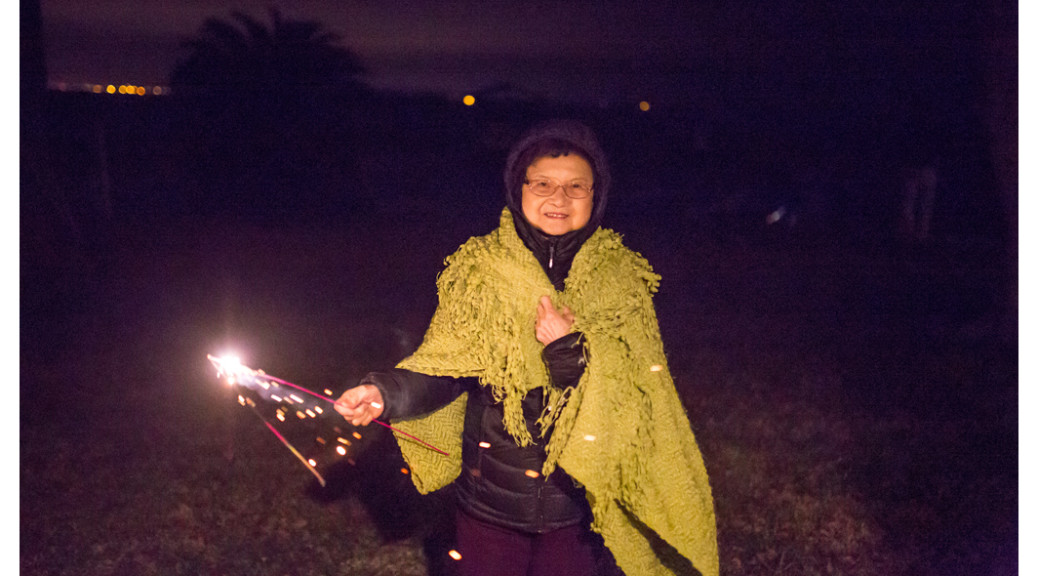
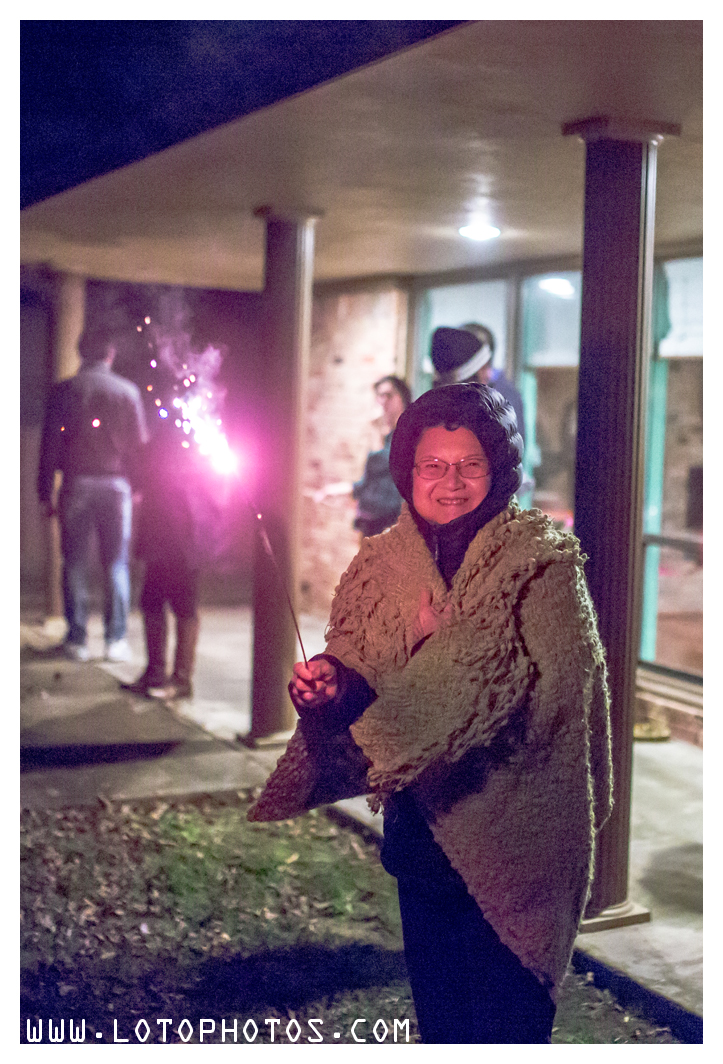
New years eve 2015, it was windy and cold by the waters near Houston. Family fireworks about to start and since I was traveling lightly, I didn’t have my tripod. Let’s see if I can shoot this handheld. Here are the result.
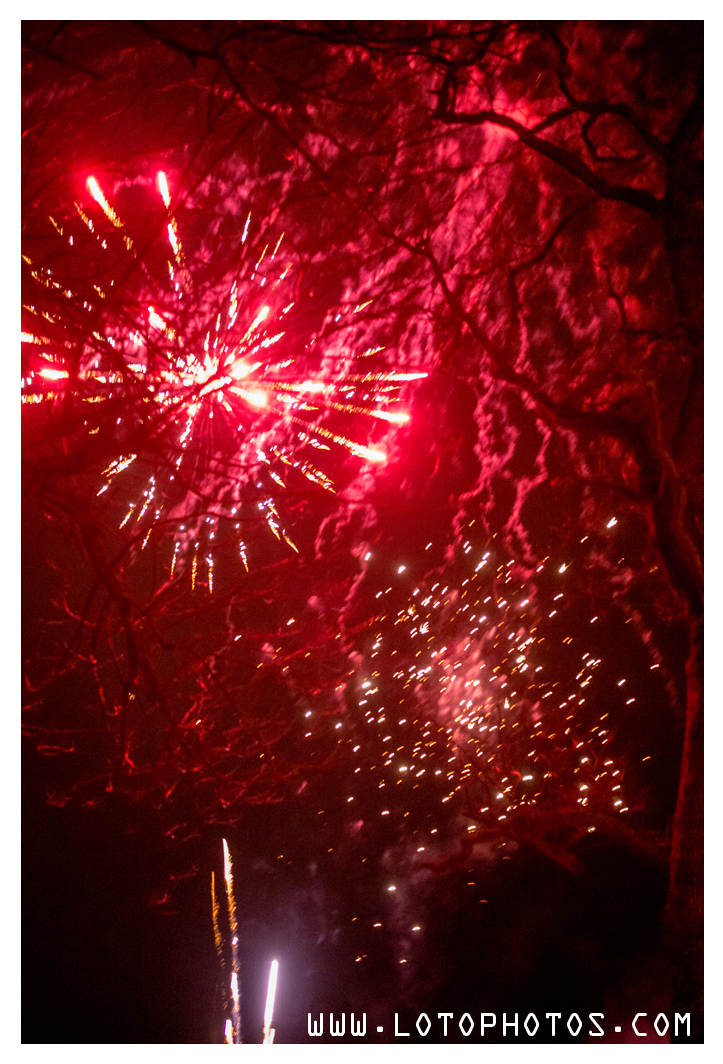
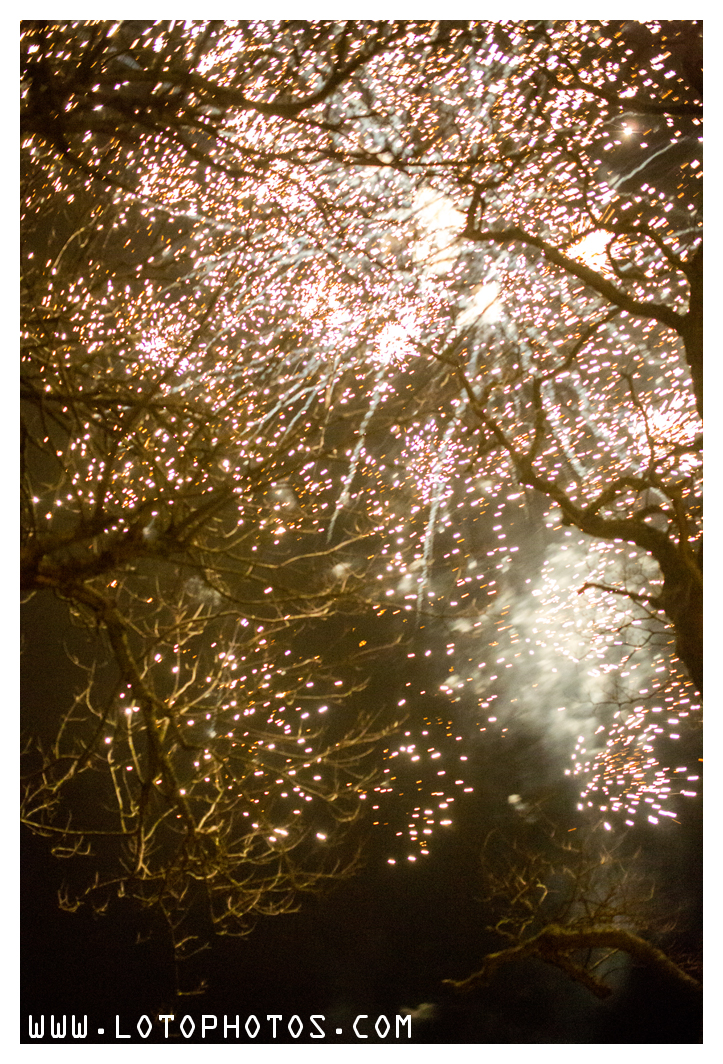
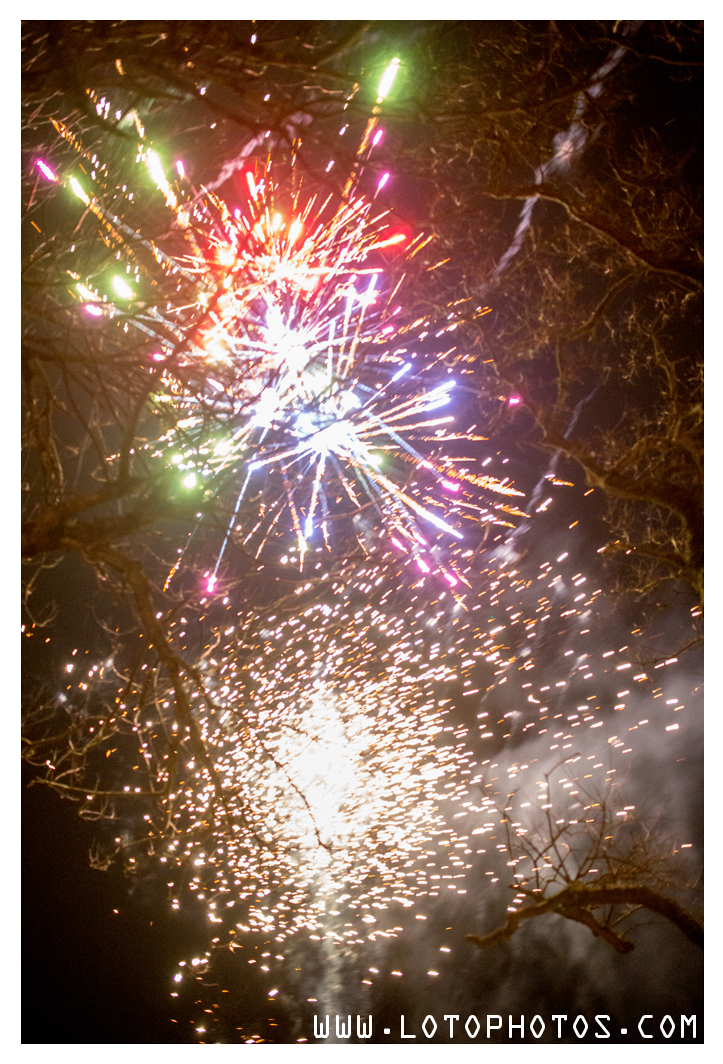
Basically cranking up the ISO to 12800, shooting with my Sigma 35mm f1.4 lens at f1.8 and 1/30s. The focus is set to manual and to infinity. Quite acceptable result had been achieve with this handheld setup. Even though noise is visible in the images but at ISO 12800, the noise level is quite good. Same level of noise is probably what we used to shoot five years ago at ISO 3200. I am not about to print 20×30 with these images but these are amazing consider the portability of the setup. I was able to run around without much issue and getting the fireworks at different angles.
Here are a couple of shots of my mom holding a sparkler, also shot with the Canon 5D3 at ISO12800. The focus is with spot focus on the face and I was impressed how it was able to nail the focus consider how dark the scene was.

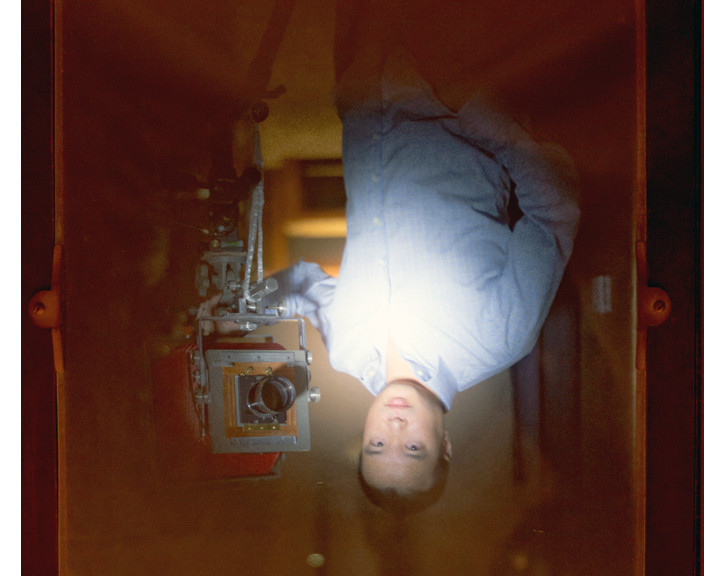
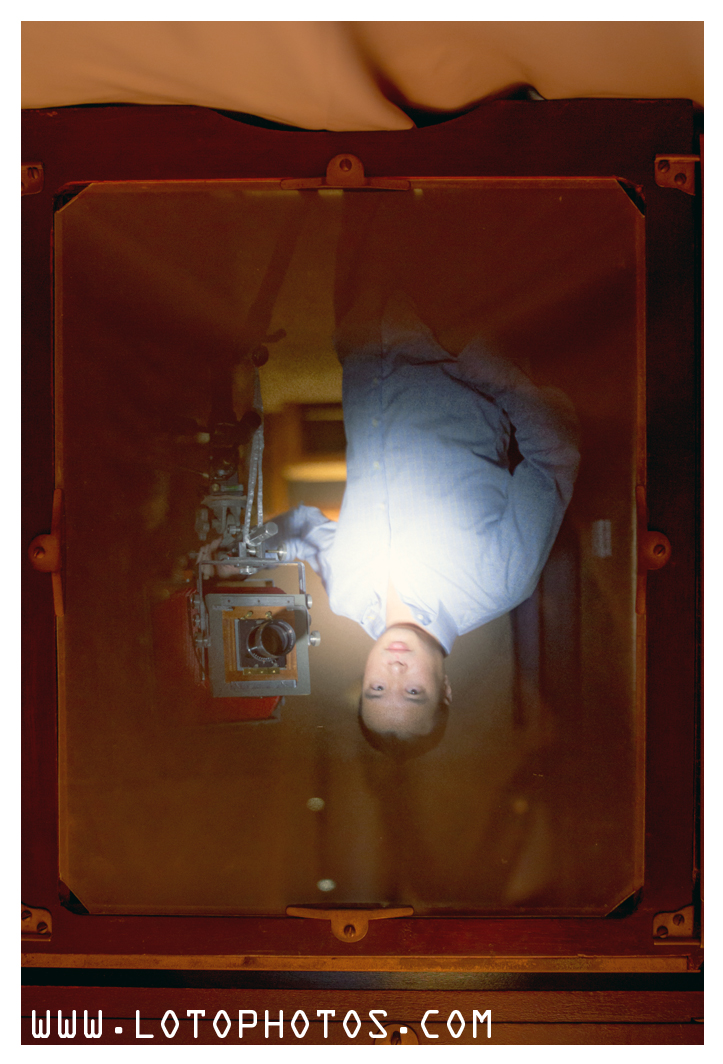
I was nominated by Joyce Peng to do a 7-day self-portrait challenge: 7 days, 7 self-portraits, and 7 nominations to keep this going with other artists/photographers. I invite Cheung Billy Ka Ming to take the time to extend the fun.
I put a small twist to this challenge as well. I will be composing self-portraits through the viewfinders of different cameras.
Today, I am viewing through my 1921 Kodak 2D 8×10 camera with Goerz Dagor 300mm f6.8 lens. Yes, it’s upside down and reversed from left to right! Beside me is a Burke & James 8×10 Grover with a Fujinon 400mm f8 lens. The year of make of the camera is unknown but these cameras were made from the 1940s-60s.
Photo taken with Sony RX100II.
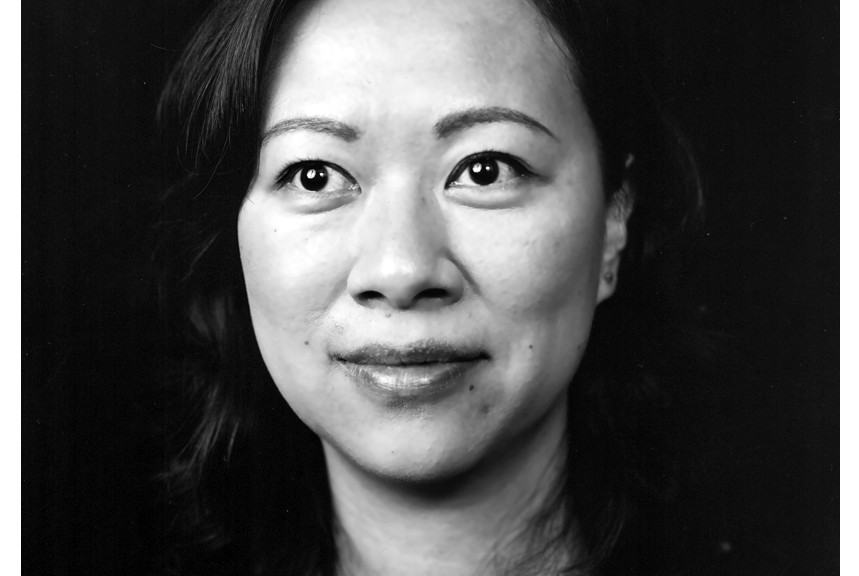
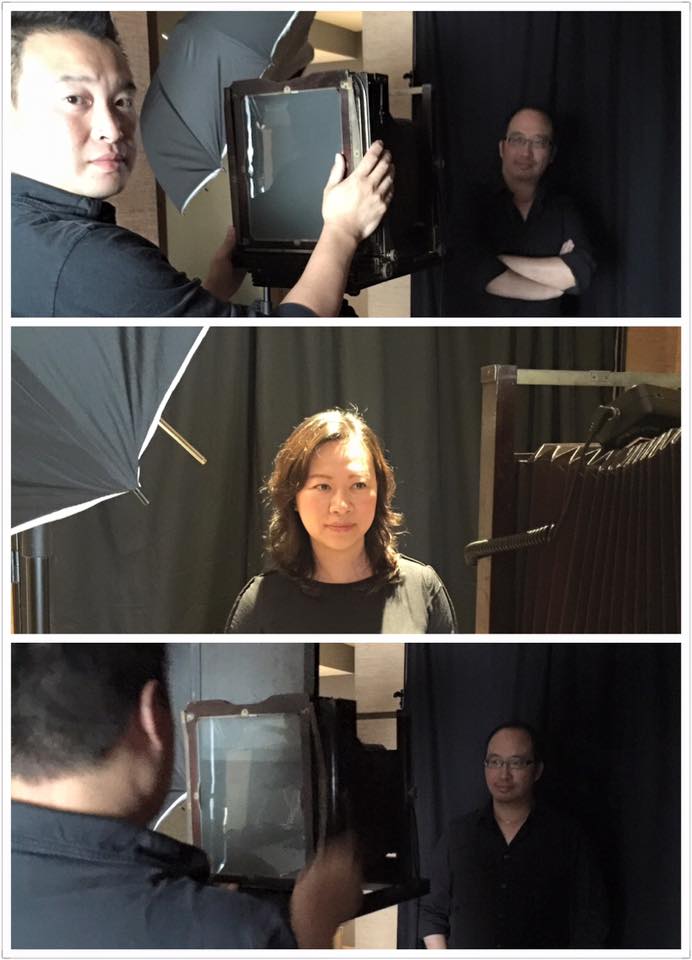
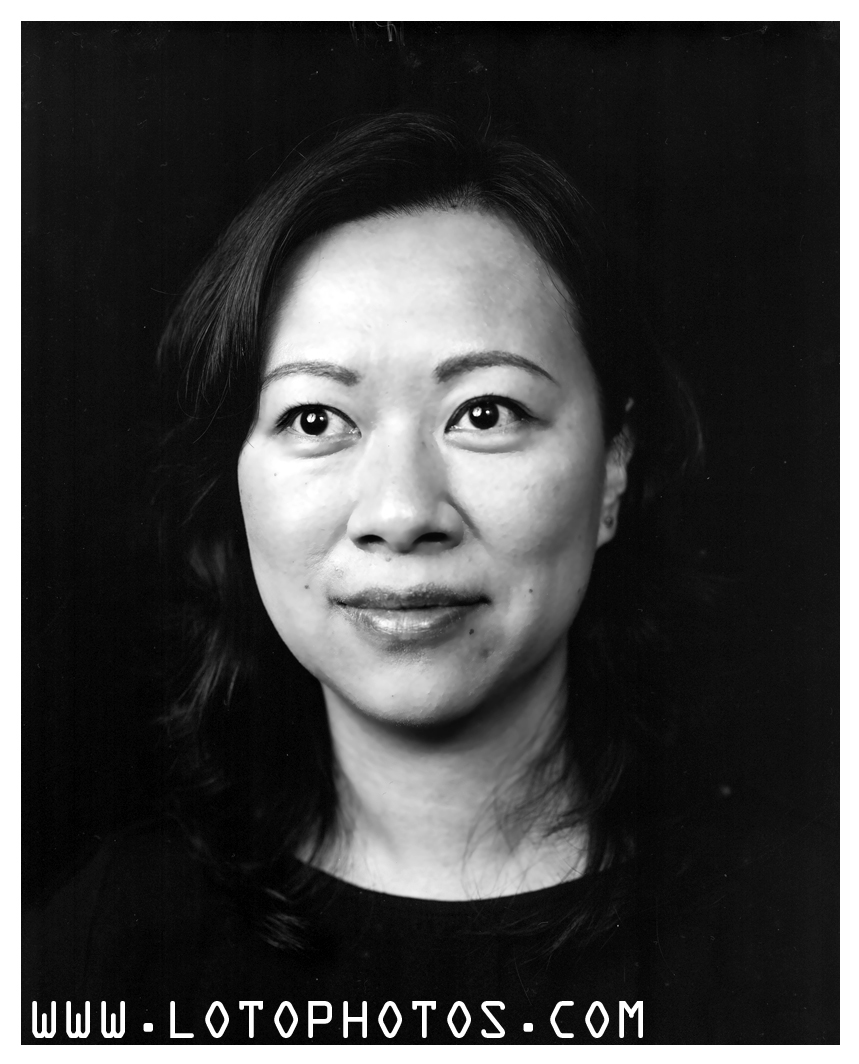
During a recent visit of Henry and Wendy in SF, I invited them to have their portraits done in large format. Setup of the day was my 91-year-old Kodak 2D 8×10 camera with Fujinon A 240mm f9 lens and Kodak Ektascan x-ray film. The strobes, I used two light sources, one direct light above the camera and a reflective light from the left of the subject. The dark background is a big piece of black cloth that is about 2.5 feet behind the subject.
Here is a collage of photo of me in action, courtesy of Henry and Wendy.
The film is developed with Kodak D76 1+1 for 10-12 minutes at 19C with rollers and scanned with Epson Perfection V700. Scanning this time I was faced with a lot of Newton ring issues. I have an AN glass but that only prevented newton rings from one side of the light. I have to scan the negatives with emulsion down on the scanner glass, then I put the AN glass on top of the negative. This way I was able to get rid of most of the newton rings. I guess I probably need another piece of AN glass and hopefully this issue will go away.
The first photo is that of Henry. It was shot at f11, 1/30 sec and turned out quite nicely.
Wendy here featured in the second photo, also shot at f11, 1/30sec. I have asked her to look into the left (her right) reflective light.
The final shot is of them together, shot at f16 1/4 sec. I had cranked up the strobes to be the highest level. The init negative is dark and about a click off. I need to double up on the flash to get more light next time. I have focused on Wendy’s eyes and even at f16, the depth of field is so narrow that Henry’s eyes were very slightly off focus. I need to add more light sources and try at f22 or even f32 next time for group portraits.
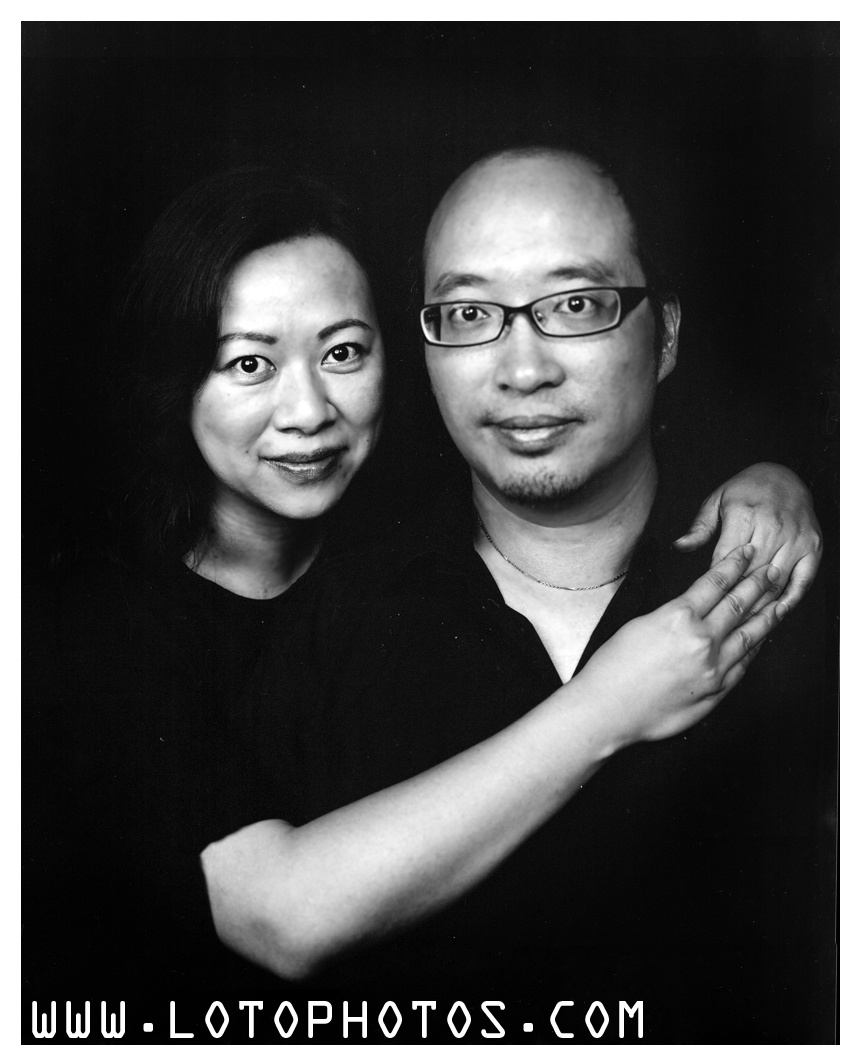
Overall another fun shoot that yield some fantastic portraits.