Hardly shot anything in the past six months, I finally got my dark room setup last week. Rolls of 120s and tens of 8×10 sheets were waiting to be developed in the past nine months. Honestly I don’t even remember what I took in the medium format rolls. I mixed some d76 last weekend, got the development tanks, measurement cups all cleaned up. Timer, thermometer all in place. Dry hanging rack and enclosure all in tact. After studying past notes on development, in the past weekend, I finally developed my first roll of film in nine months.
Opening the jobo tank, I see images, images that I didn’t recognize and had no recollection. I didn’t think too much of it and let it hang dry. I scanned some of the photos today and saw this photo.
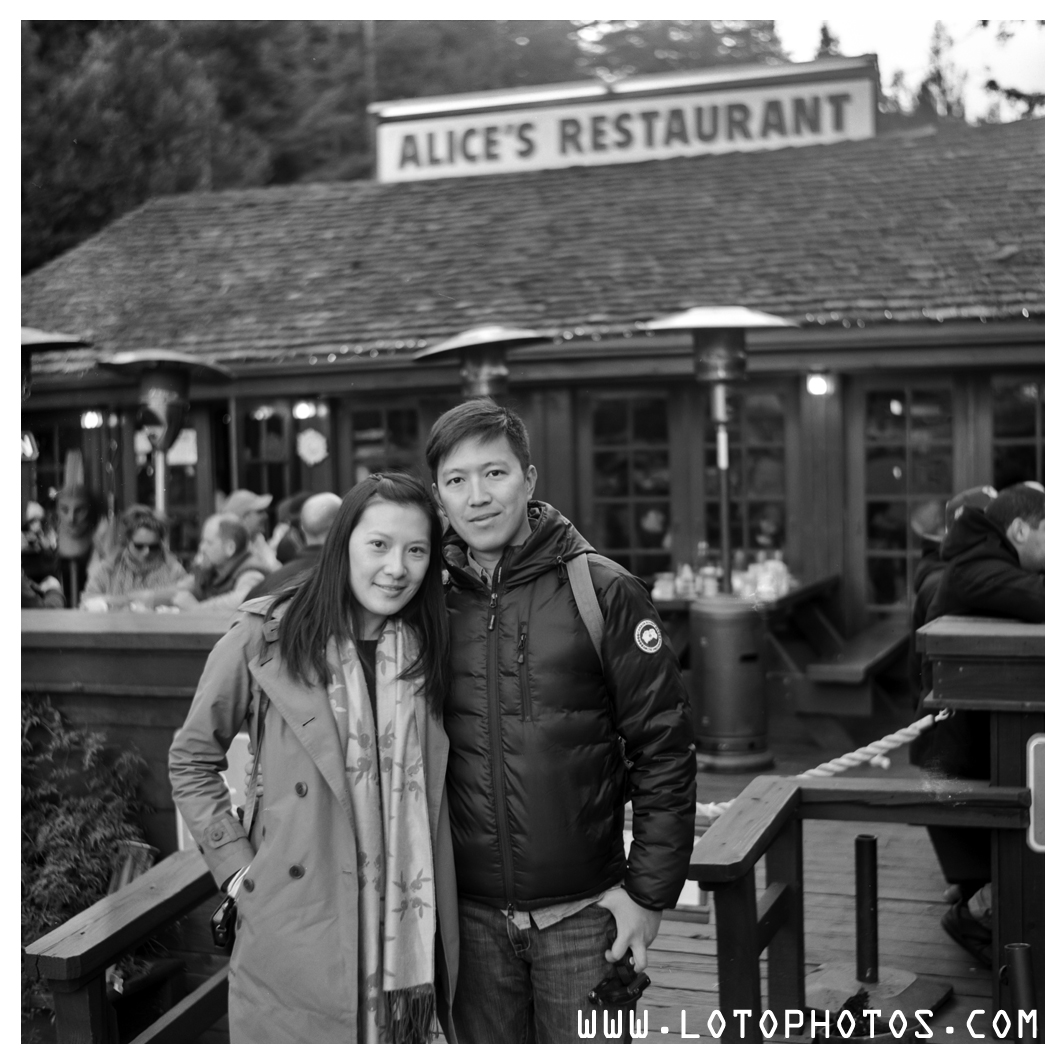
Zeiss Ikonta 532/16, Fuji Acros, dev d76 1+1, scanned with Epson Perfection V700.
I looked at this and I was like wow. The Zeiss Ikonta is one of those under-rated cameras. It folds nicely, has a Zeiss Tessar at f2.8. The rangerfinder is also easy to use and you can focus really quickly. Looking at this photo, instantly, I wanted to go out and shoot more. Jaded from all the moving and change in the past year, I guess this was a catalyst for me to get back into what I love doing.
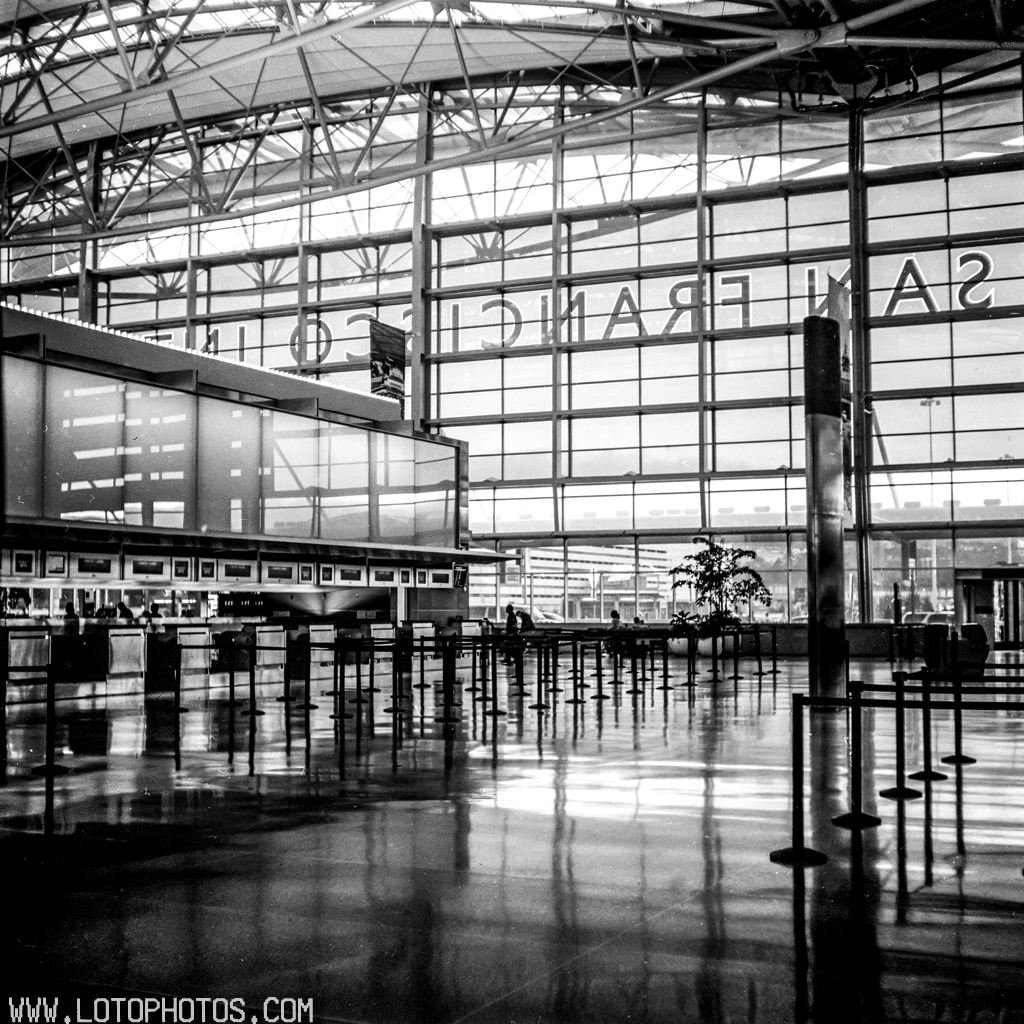
I had a few shots left on my Zeiss Ikonta 532/16 before I boarded a plane at SFO. The sun was setting and made a nice reflection on the ground. Taken with Zeiss Ikonta 532/16 on Fuji Acros. Developed in Kodak d76, 20C, 11 mins, first minute agitation, then 2 flips every minute. Fixed with Kodak rapid fix and scanned with Epson Perfection 4870.
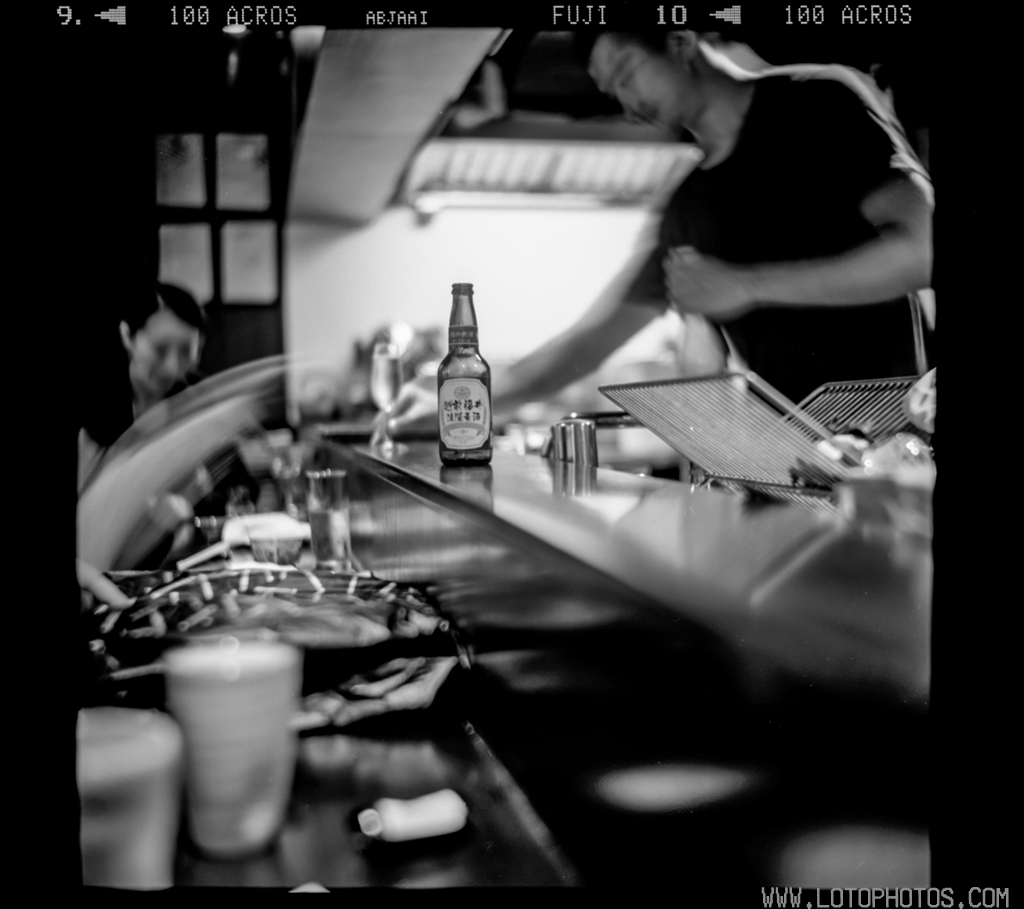
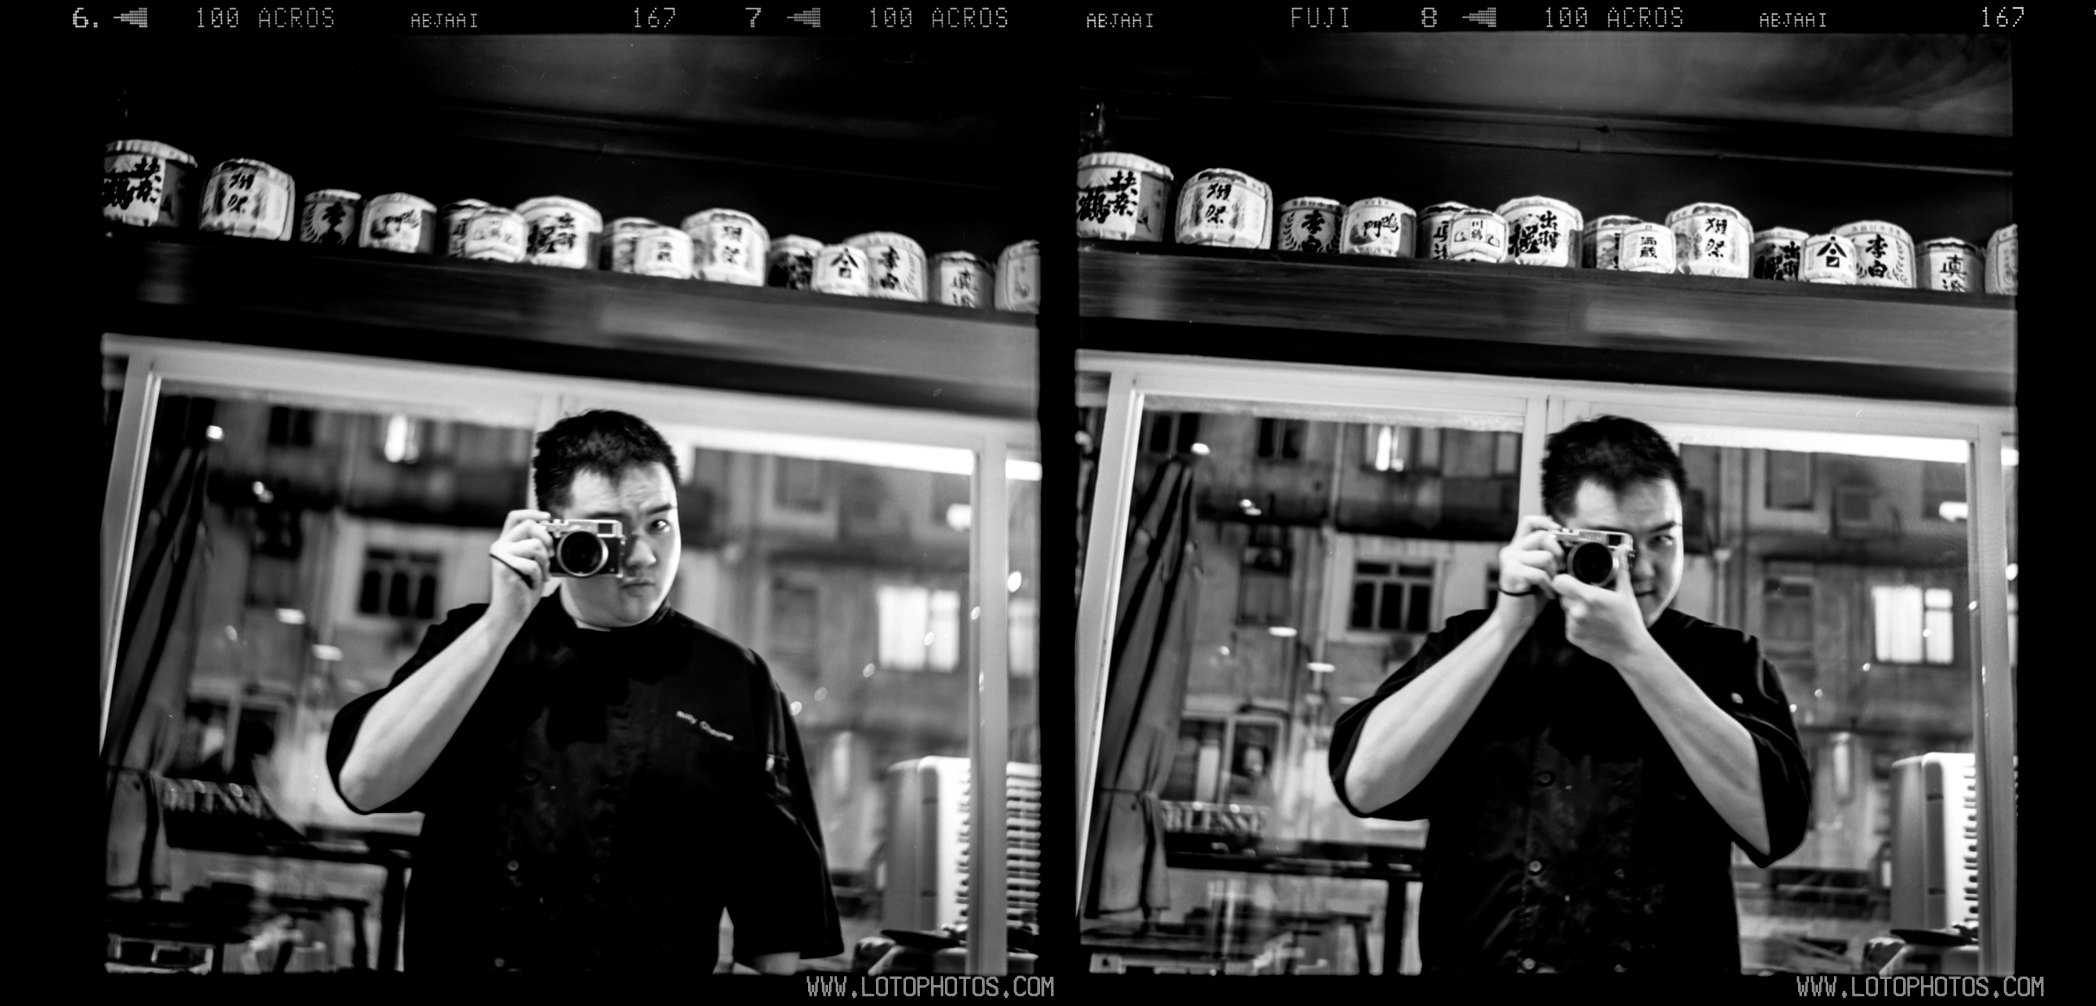
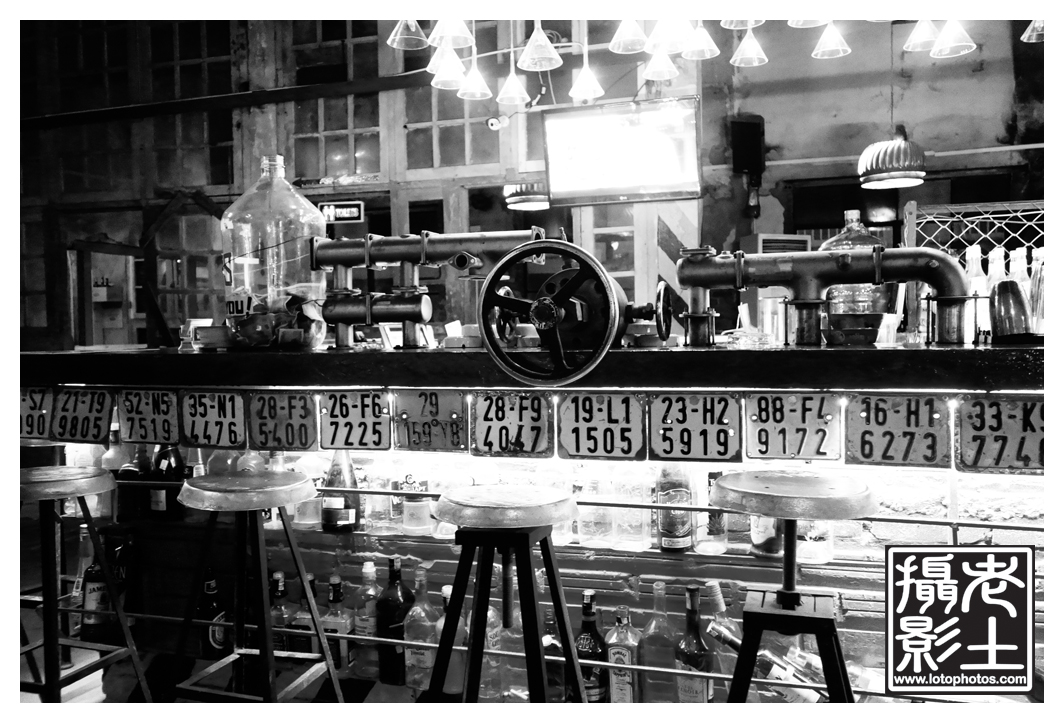
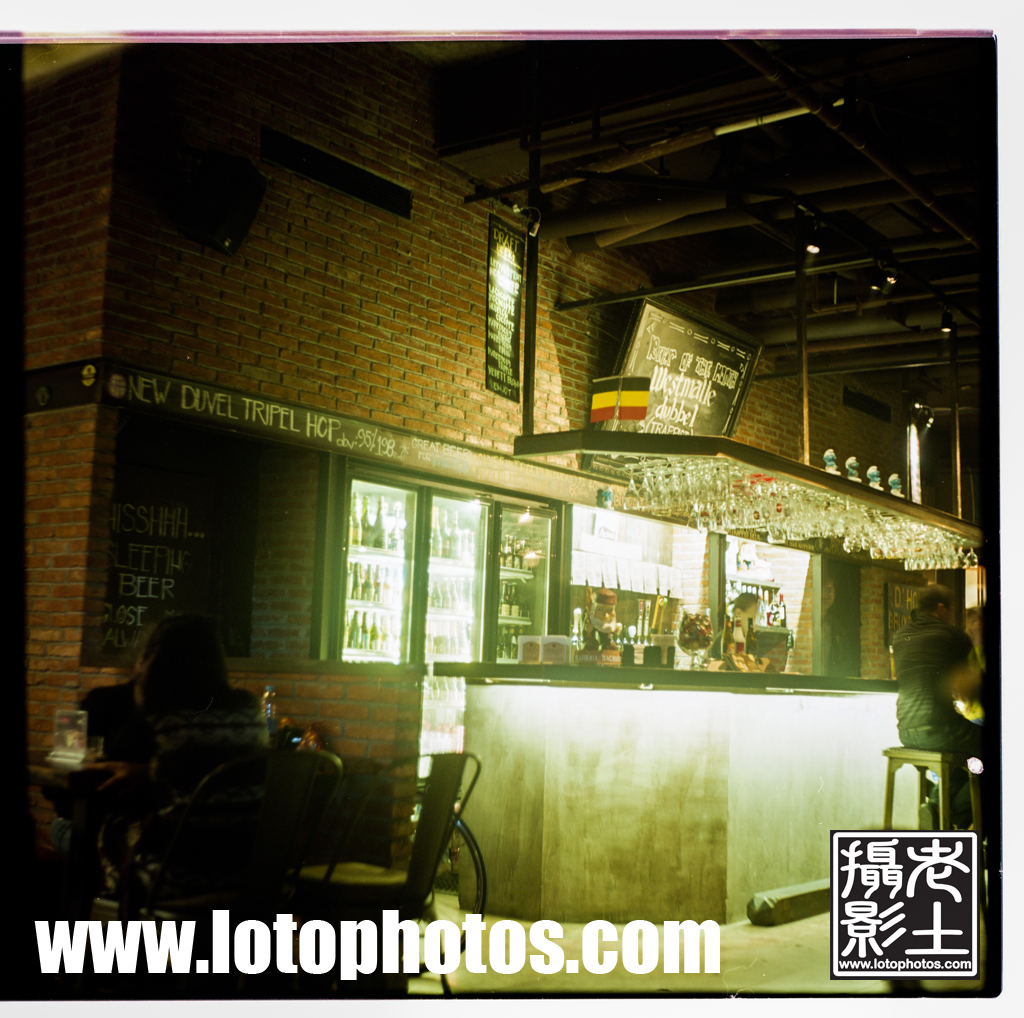
Shot late night at Sake Bar Ginn. Zeiss Ikonta B 532/16, Fuji Acros 100, developed in Kodak d76, 25C, 10mins, first minutes agitation, 2 flips every minute, fixed with Kodak rapid fix. Scanned with Epson Perfection V700.
Zeiss Ikonta 532/16 at f2.8, looks amazing.DennisBilly
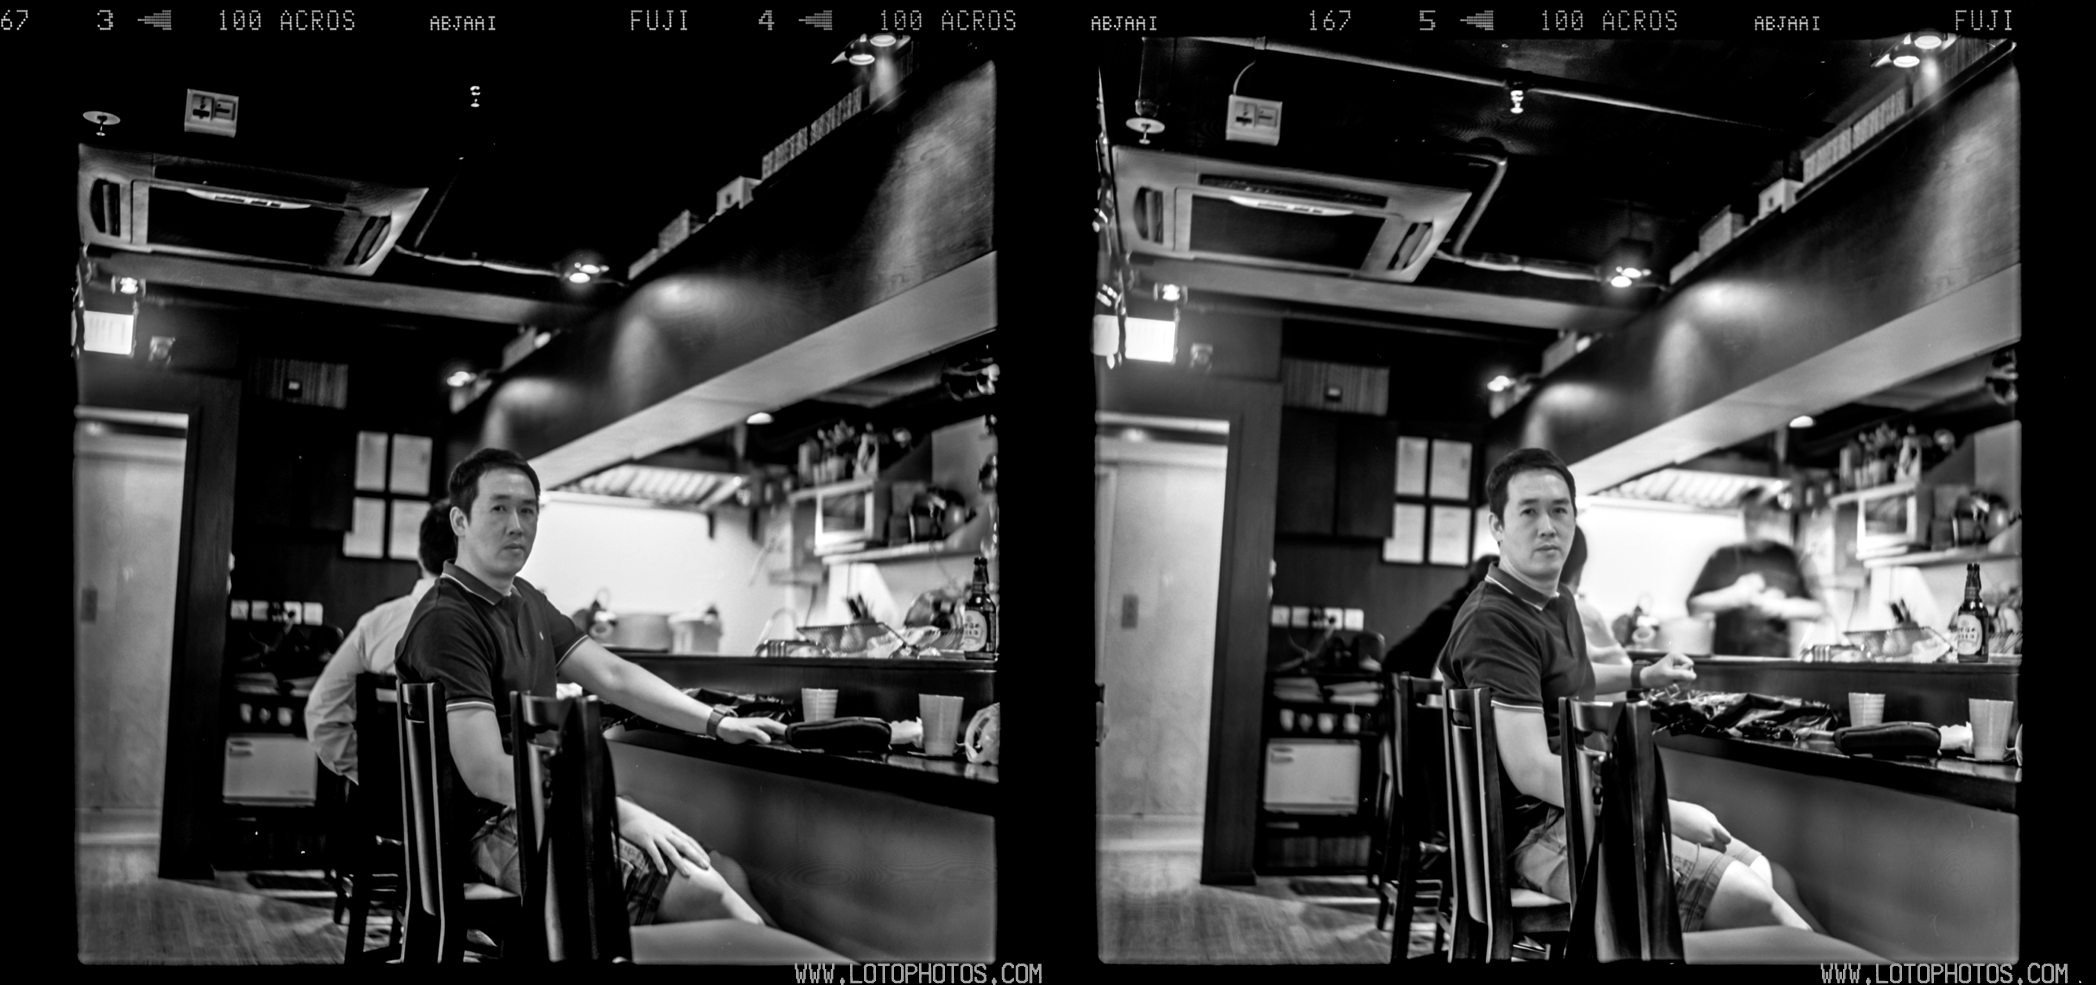
I was over at the Roundhouse for beers and took some photos inside. Shown here are three consecutive frames taken with my Zeiss Ikonta 532/16 on Fuji Acros 100. First two frames were taken with f16 @ 4 seconds. The last shot with f5.6 @ 1 second. Film developed in Kodak D76, 10 minutes @ 23C, 30 seconds initial agitation and two flips every minute, scanned with Epson Perfection V700.
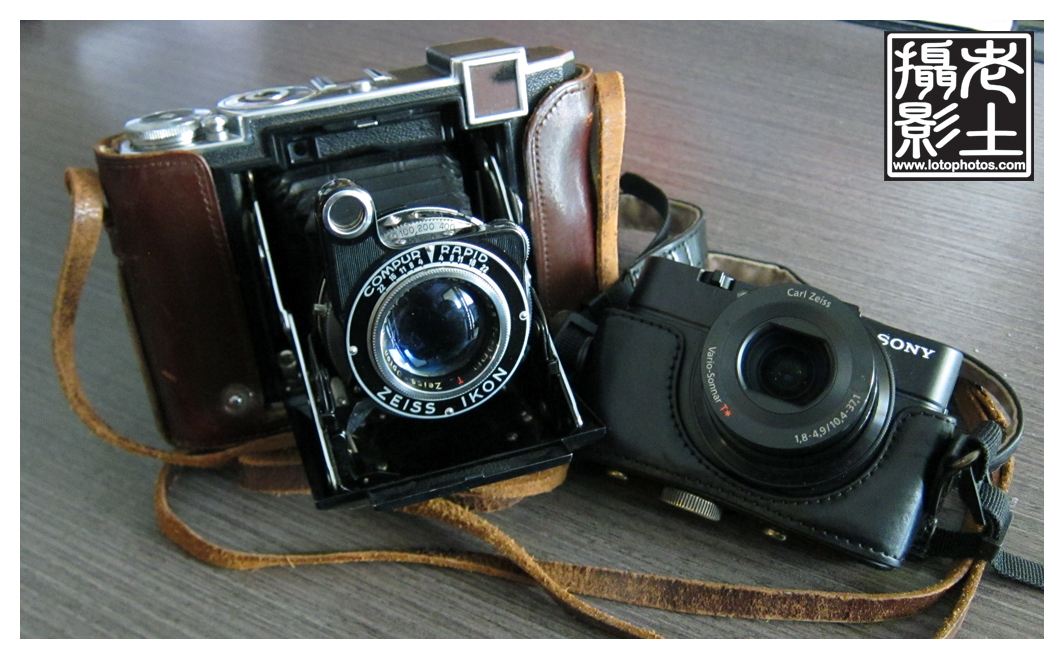
On a recent trip to Hanoi, I took along grandpa and grandson Zeiss on that trip.
Grandpa and grandson zeiss
Grandpa Zeiss is a pre-war Super Ikonta B 532/16, equipped with a Zeiss Opton T f2.8 lens which was top of the line at the time. Grandson zeiss is a newly acquired Sony RX100 II, equipped with a Zeiss Vario-Sonnar T f1.8 lens.
Let’s see how they perform. The 70 year-old grandpa that I acquired in a flea market in NYC years ago performed solidly with Ilford XP2 Super.
Super Ikonta B with Ilford XP2 SuperSuper Ikonta B with Ilford XP2 Super
The Zeiss lens was super sharp as shown in the photos above. The first generation rangefinder is difficult to focus in low light conditions. For portraits, the dof at f2.8 is so narrow that a sharp eye is a must. Corner sharpness is not particularly good at f2.8 but for a classic portrait, the face or faces are usually in the center anyway. Down to f4 and above, the lens is sharp as a pin. The size of the camera is also quite small (for a medium format folder) and bringing it around was easy. The only complaint about this camera is the film advance system that limits only 11 shots per roll (rather than 12). This is fixed in the later version.
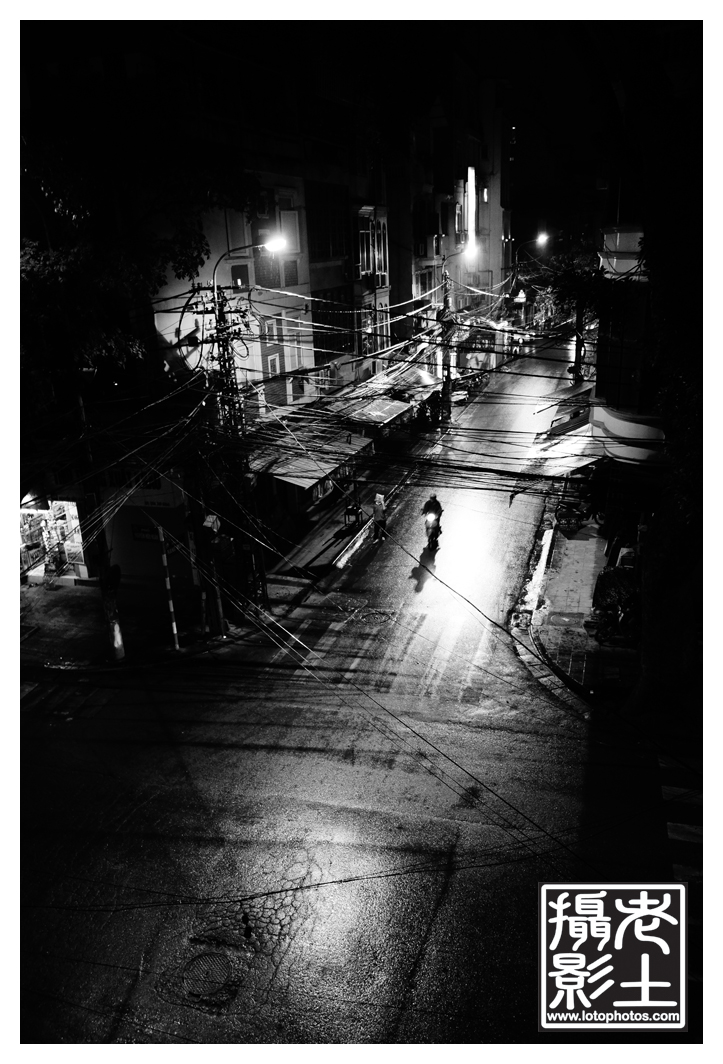
The newly acquired Sony RX100 II is a powerful little machine. Practically no noise at ISO3200 and a large aperture of f1.8, this little camera can handle most situations. This camera reminded me that taking photos should be easy (just like my 5d) and you can concentrate on composition rather than metering, focus etc. I particularly like the High Contrast Mono mode (HC BW) which I have taken the photos below with that.
Street scene in Hanoi with Sony RX100 IIBar scene with Sony RX100 II
For a while, my travel photo gears includes: Canon Powershot S90, Canon QL17 GIII + Canolite D flash and Zeiss Ikon Super Ikonta B 532/16. The S90 serves as the all purpose camera, QL17 mainly for street photography and the Zeiss Ikon for portraits. For 135, I mainly use Kodak TriX 400, Fuji Xtra 400 and Agfa Vista 400. For 120, I use mainly Fuji Reala 100 which are excellent for portraits. All of these fits nicely in a small Crumpler camera bag.
Recently I went to Japan for a week and I was debating what to bring. I have upgraded to a Canon 5D Mark III recently and really wanted to try this out during this trip, but the sheer size of it gave me second thoughts. Since I am going for a week, the Zeiss Ikon also didn’t seem feasible. This medium format beauty can only produce 11 shots per roll, this means I will need to bring a dozen of 120s. Weight is not an issue, I am more worried about how the Fuji Reala will perform under hot temperature (30C+).
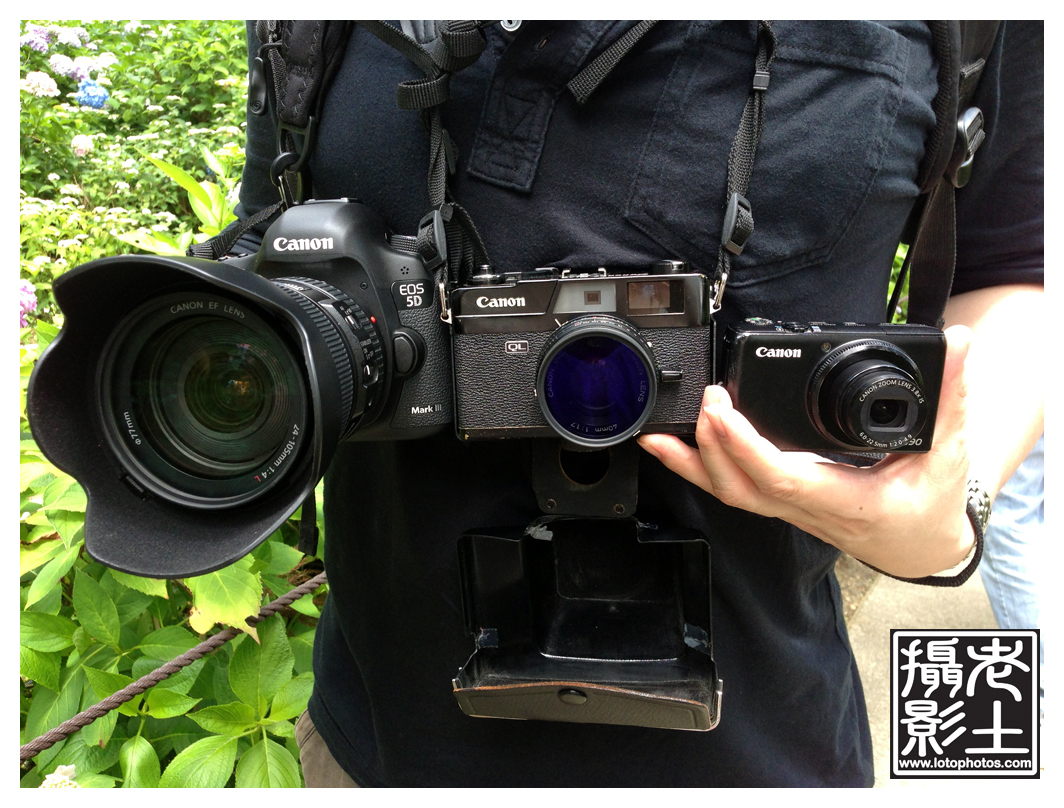
The final verdict, I took the dive and brought the 5D, along with the stock 24-105mm F4 L lens, 40mm F2.8 pancake lens and a Yongnuo YN-568EX flash. I decided to drop the Zeiss Ikon and brought the QL17 and S90.
Travel Gear for Japan
I didn’t realize until I took the photo above that I have a complete Canon lineup. I swear that it wasn’t intentional, just happened that way. The S90 continued to perform well, especially for food closeup shots. I shot six rolls of Kodak Tri-X with the QL17 (awaiting for development). For the QL17, during the day, I often use a Kenko ND4 filter so I can use ISO 400 during the day. Nothing can beat the QL17 for street photography in my lineup, it’s small, non-intrusive, quiet and fast focusing. The 40mm F1.7 lens is perfect for that.
How did I find the 5D for traveling? It’s heavy but worth it. With the 40mm pancake lens, this is basically the same setup as my QL17 but with one huge advantage. That’s high ISO. I can shoot at up to ISO3200 without a lot of noise which makes this camera a winner for taking photos indoors and at night. The stock 24-105mm F4 L lens with IS gave a good working range for most travel shots, from architecture to far away objects. It is also quite a bit lighter than the 24-70mm F2.8 lens which makes this a bit more desirable for traveling. Did I need the flash? Yes! I actually used it often as a fill flash especially during late afternoon around sunset time.
All the equipment fitted in my Kata backpack. The new selection of travel gear added another few kilos compared to before but the 5D took beautiful photos and was worth it at the end.
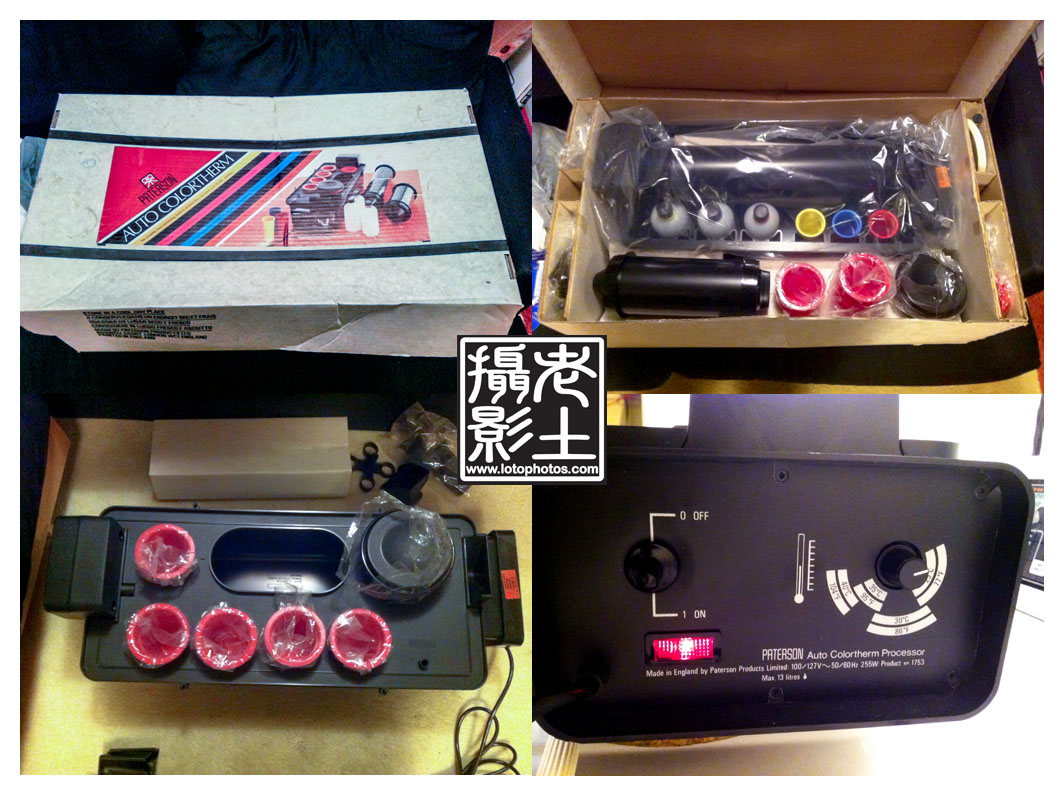
Breaking free from the many issues I had with photo development places in Hong Kong and Shanghai, I started to develop my own film again recently. I have done a lot of BW development in the past. Color, however, I have never done before and had always been at the back of my mind. A temperature controlled water bath (at 38C) for the chemicals is a must for color. When I was back in Toronto, I was lucky enough to find an unused Paterson Auto Colortherm machine from a really nice lady named Linda Power. It was sitting in her basement for years and she was willing to let it go. I was ecstatic about the find and it just barely fitted in my suitcase back to Hong Kong.
Paterson Auto Colortherm machine
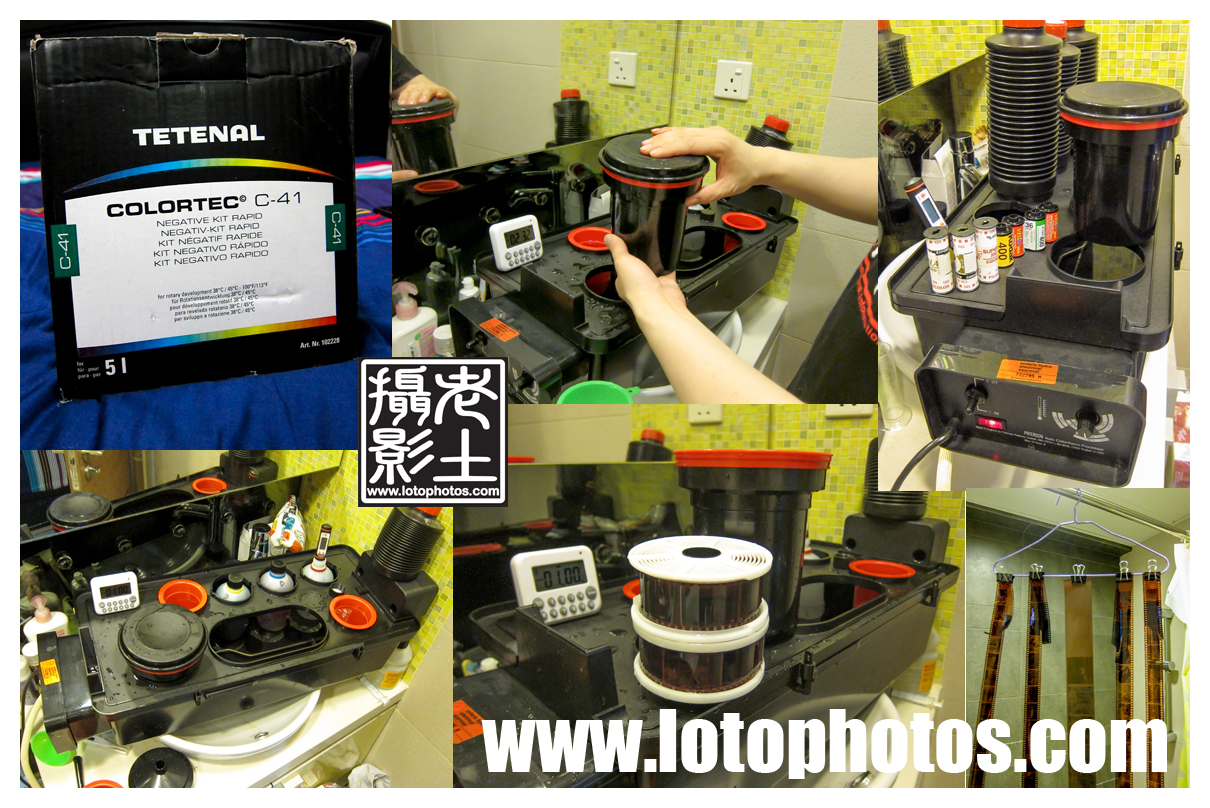
It was rather difficult to get home color development chemicals in Hong Kong, so I picked up a C41 Tetenal kit from Shanghai. It was not cheap but nevertheless a good practice kit for the first run at this. My Paterson tank can develop up to two 135 rolls or one 120 roll with about 600mL of chemicals. I prepared the developer, blix and stabilizer all at 600mL volume. With this, I can either develop 4 to 5 rolls of 120 or 8 rolls of 135. With the 5L kit I got, I basically can develop about 64 rolls of 135.
I turned on the Paterson Auto Colortherm and set the water bath to the correct 38C temperature. You need to wait about an hour until all the chemicals are at the stable temperature. I started with a 5 minutes water bath, then developed for 3 minutes 15 seconds, blix for 6 minutes, water rinse for 3 minutes and ended it with stabilizer for 1 minute. Viola, the negatives showed up nicely and I waited for them to dry.
I scanned them with my Epson V700 and they turned out great. However, dust is never my friend when it comes to development and scanning and a lot of care has to be taken.