Tag Archives: 120

Inspiration from undeveloped negatives

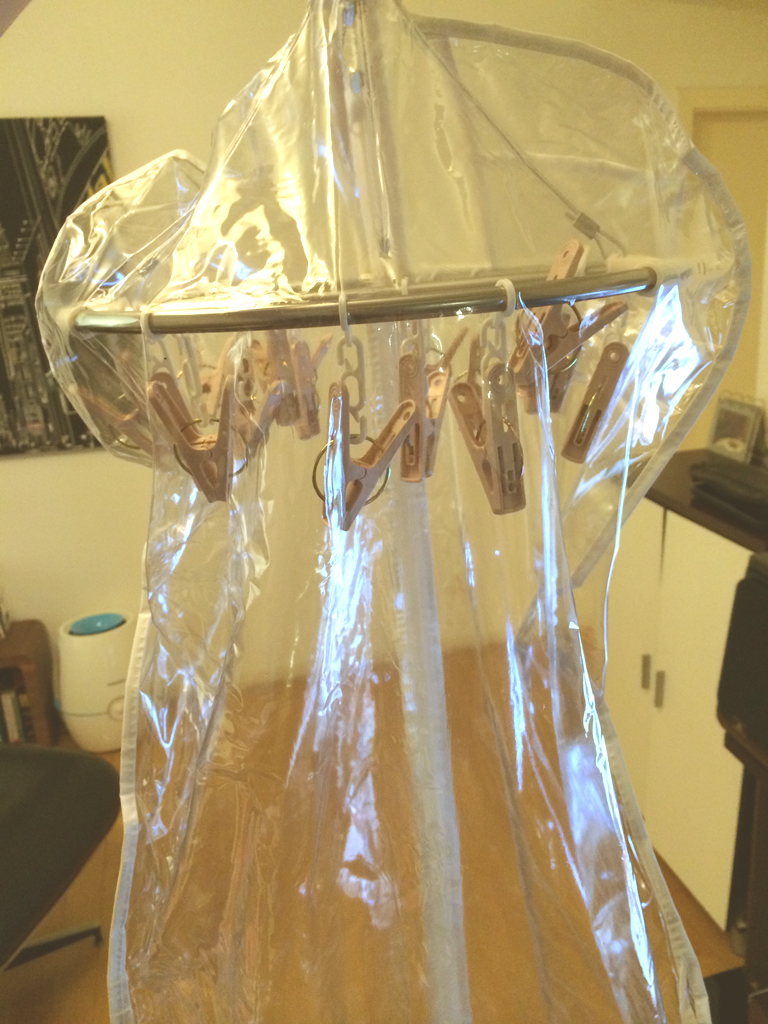
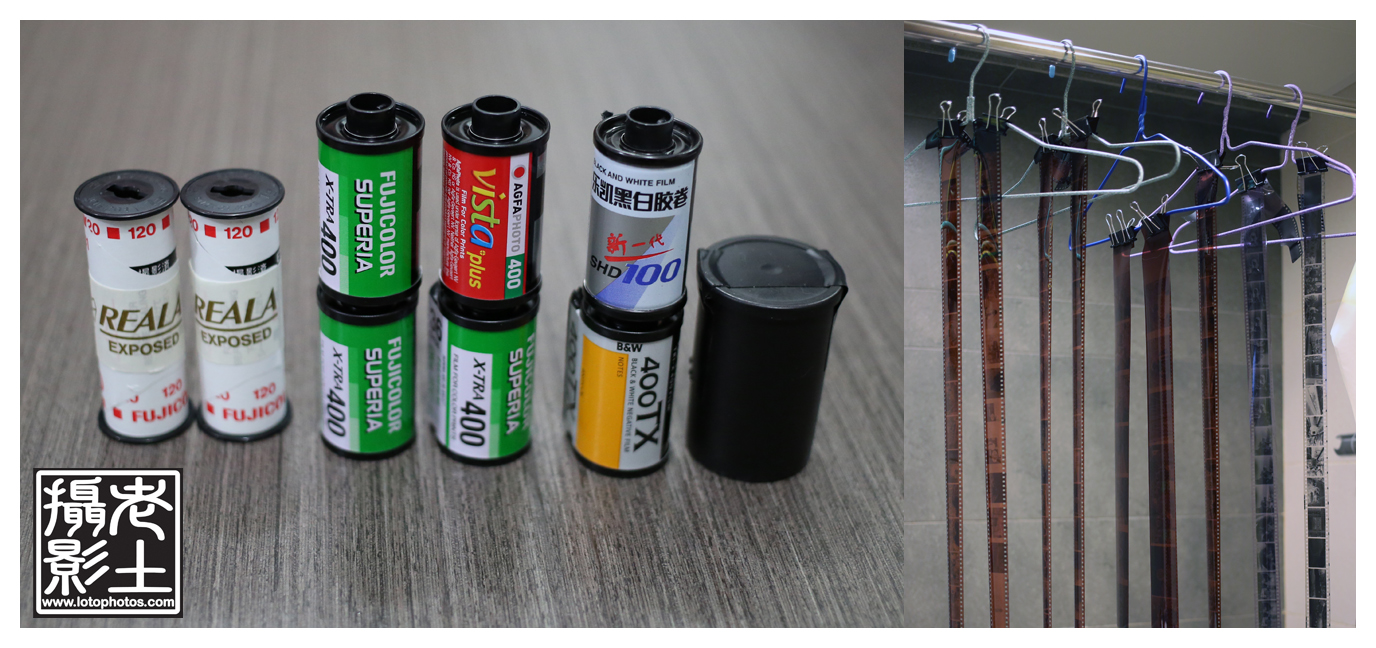
Hardly shot anything in the past six months, I finally got my dark room setup last week. Rolls of 120s and tens of 8×10 sheets were waiting to be developed in the past nine months.  Honestly I don’t even remember what I took in the medium format rolls.  I mixed some d76 last weekend, got the development tanks, measurement cups all cleaned up.  Timer, thermometer all in place.  Dry hanging rack and enclosure all in tact.  After studying past notes on development, in the past weekend, I finally developed my first roll of film in nine months.

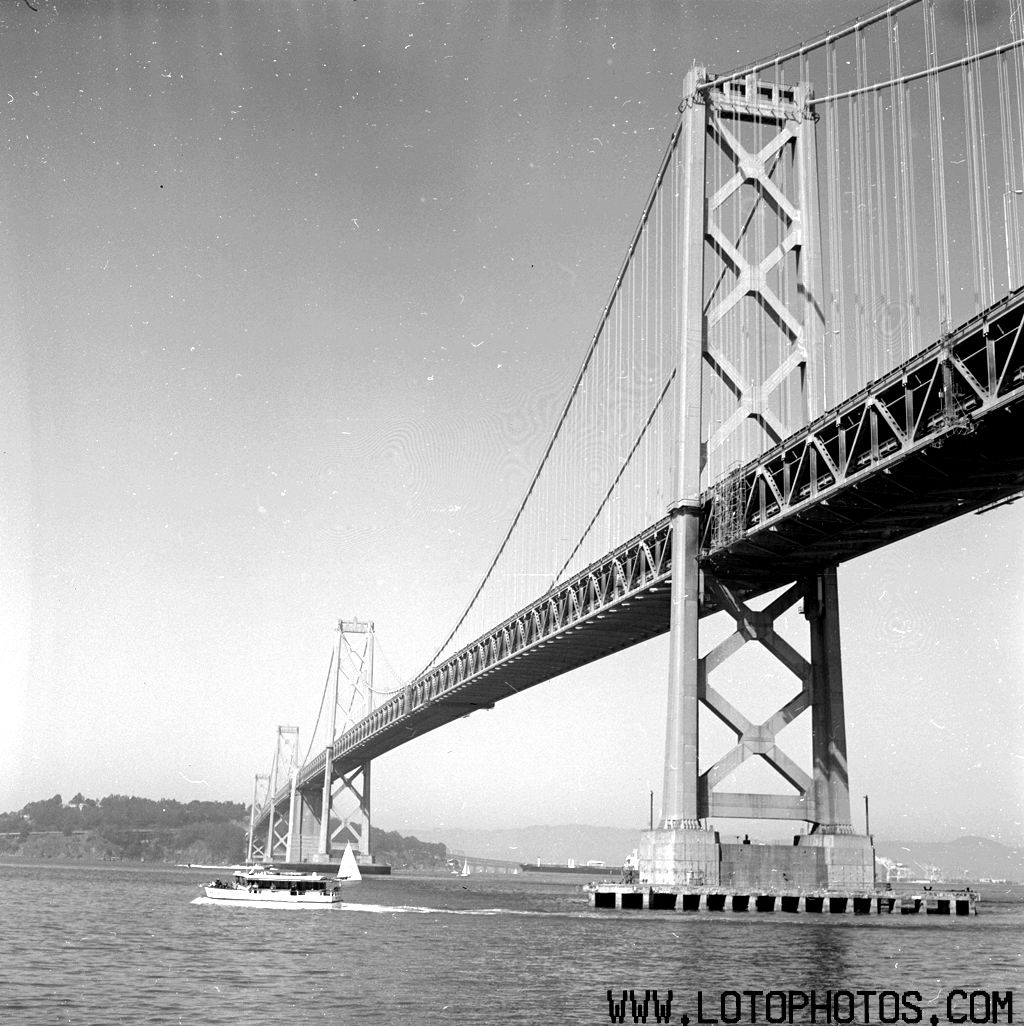
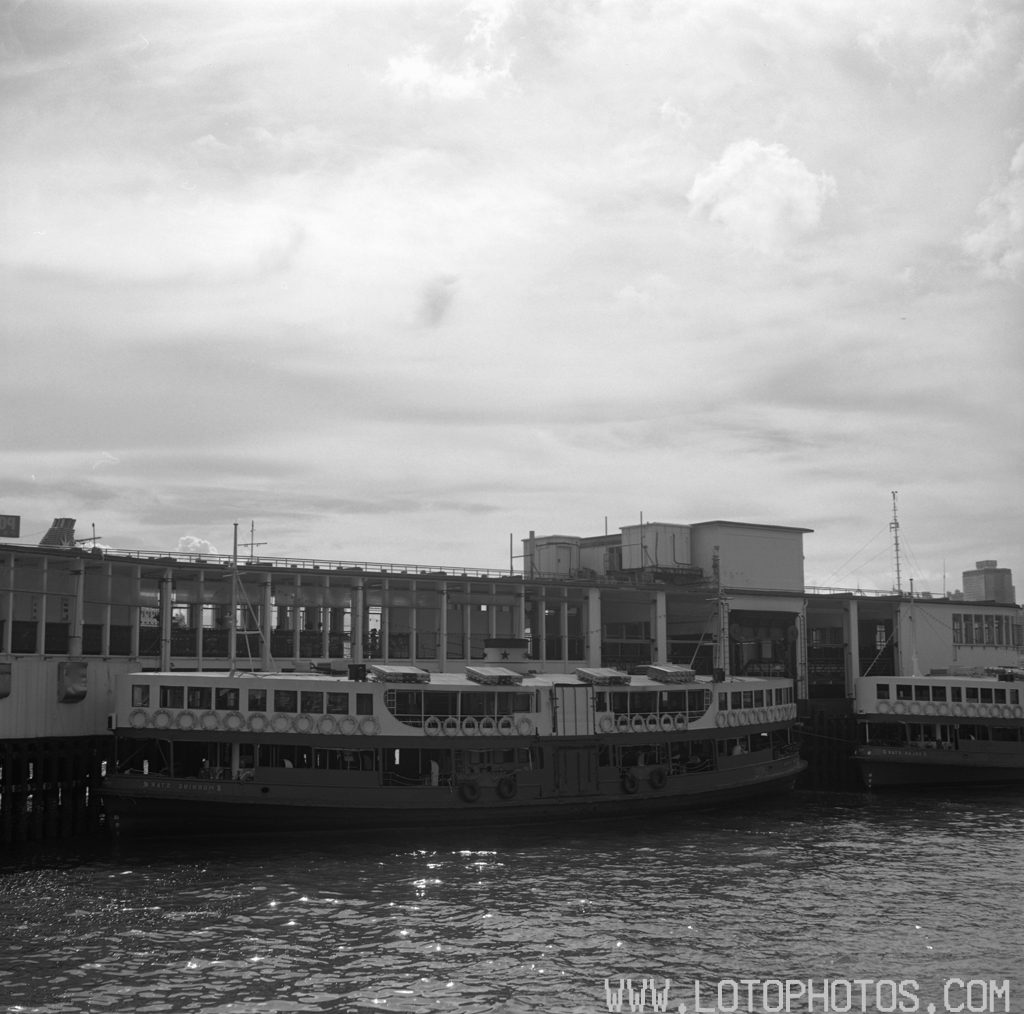
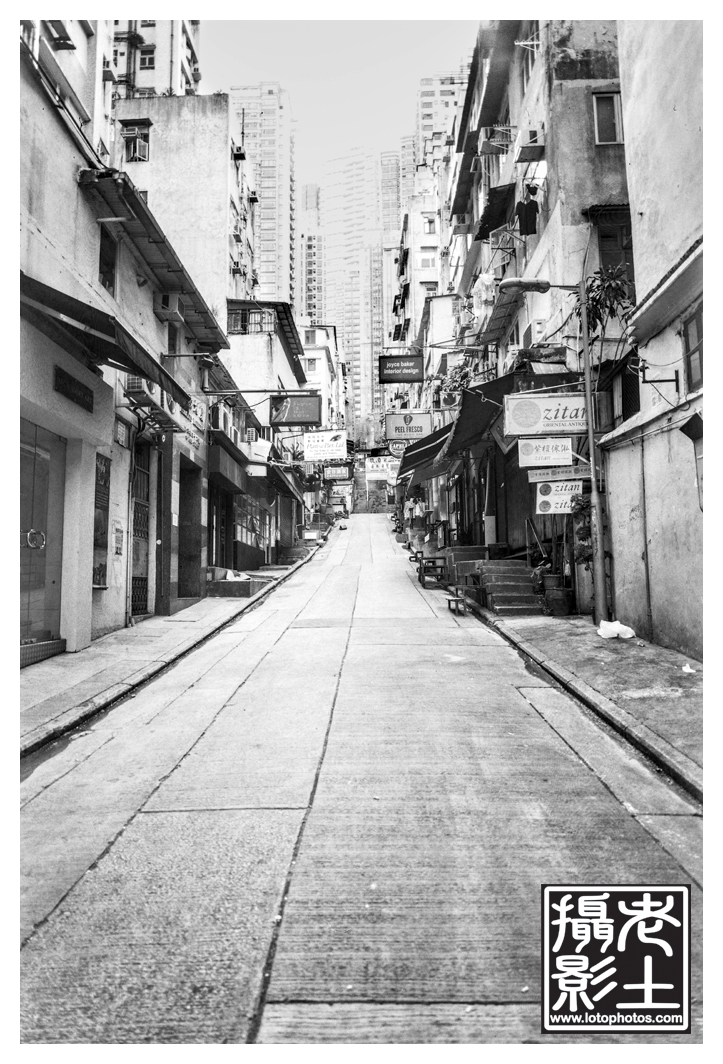
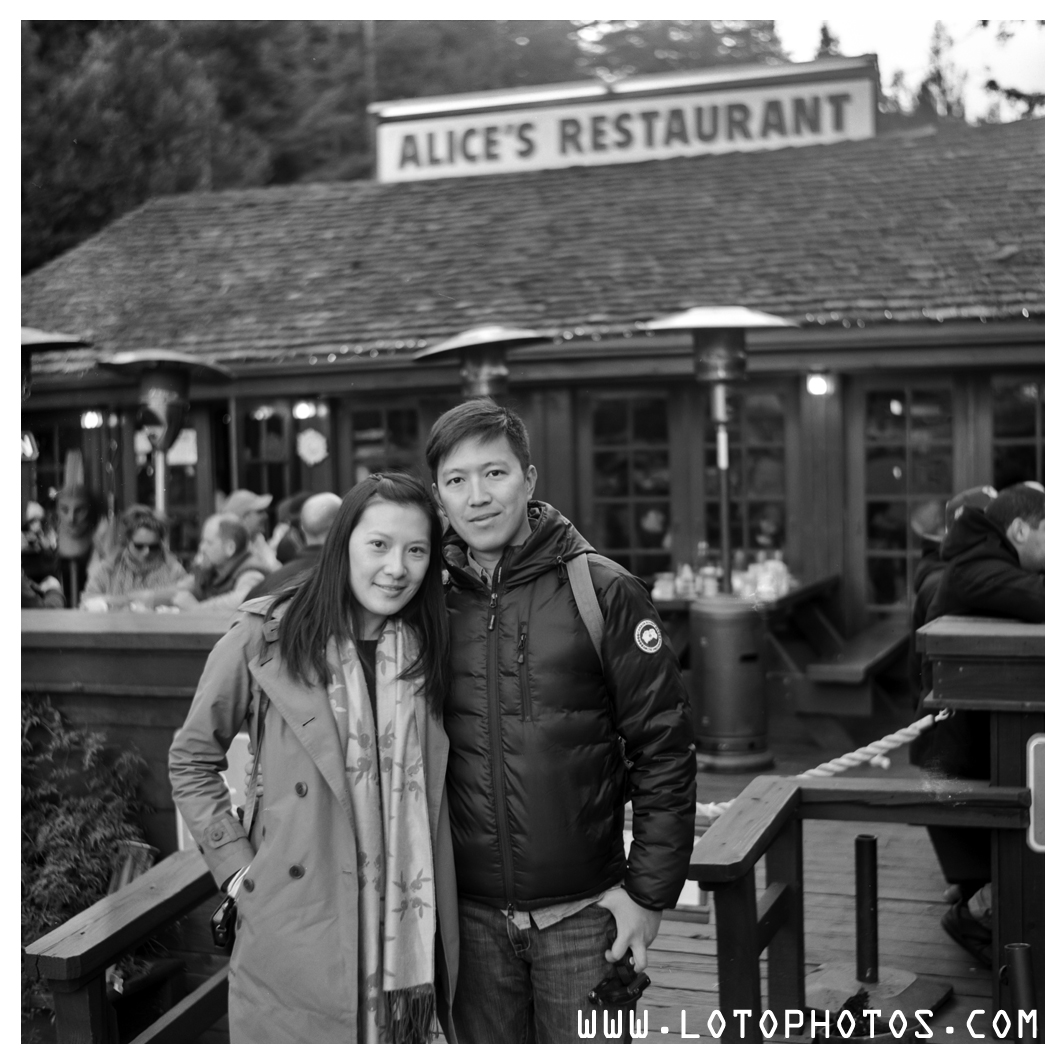
Opening the jobo tank, I see images, images that I didn’t recognize and had no recollection.  I didn’t think too much of it and let it hang dry.  I scanned some of the photos today and saw this photo.

Zeiss Ikonta 532/16, Fuji Acros, dev d76 1+1, scanned with Epson Perfection V700.

I looked at this and I was like wow.  The Zeiss Ikonta is one of those under-rated cameras.  It folds nicely, has a Zeiss Tessar at f2.8.  The rangerfinder is also easy to use and you can focus really quickly.  Looking at this photo, instantly, I wanted to go out and shoot more.  Jaded from all the moving and change in the past year, I guess this was a catalyst for me to get back into what I love doing.

Dust – number one enemy

I have been developing for quite some time now in my darkroom (aka my washroom) and I usually just hang them dry without much thought.  I do get dust in my negatives.  I do see them in my scans.  I know it exists but subconsciously, I just ignored it.  Scott Stillman referred this as the “power of positive thinking”.  This was sort of what I did until one day I opened Pandora’s box.  I was developing in my parents’ basement in Toronto and the nightmare started.  Check out this scanned negative (no processing).

Dusty negatives developed in an open environment

Let me zoom into the left corner.

Dust, dust, dust!
Dust, dust, dust!

This seemingly good photo is ruined.  The dust particles simply took over the photo and no software can fix this easily without losing some resolution.  I was not happy about this and decided to do something about it.  I researched online and saw different methods to battle dust.  The professionals have drying cabinets and built in heaters.  Due to space and wallet constraints, those solutions were not possible.  I then decided to create my own.

sock drying rack, wedding gown plastic cover, distilled water

I bought a sock drying rack, a wedding gown plastic cover and a bottle of distilled water.  I will use the distilled water in the final photoflo bath so that my negatives will be mineral/ion free.  I then fitted the sock drying rack inside the gown plastic cover and realized that it was too small.  I upgraded to a larger sock drying rack.  This rack cost $10USD (it’s made of metal!) and the gown cover cost around $3USD.  The 4.5L of distilled water was around $3USD as well.  This solution’s total cost was around $16USD.

Upgraded sock drying rack

It fitted like a glove inside the gown plastic bag.

Fits perfectly!
Fits perfectly!

Now putting it into action.

Dust cover in action.

I scanned the roll of 120 and was impressed with the result.  I will not say it’s dust-free but comparable to the ones that I get back from a professional lab.  I think I have solved my dust issue! and it didn’t cost me an arm and a leg at the end.  Check out this unprocessed scan of one of negatives.

Almost dust free negatives!!!


Pushing Shanghai GP3 to 400

Taken with Mamiya Universal + 50mm f6.3 lens + 6×7 film back.  Developed Rodinal 1:65 stand 2 hours. First two minutes agitation, then one flip at 1 hour mark.  Fixed with Kodak rapid fix.  Scanned with Epson Perfection V700.

The result was not bad at all, this photo taken on Peel St. Central, Hong Kong.

Pushing Shanghai GP3 to 400

Film Development Day

Film Development Day

For color film, I generally will save up at least six rolls before I develop them.  This is because I need to setup the water bath in my Peterson Auto Colortherm machine and it’s always a good idea to exhaust the color chemicals in one go rather than several (due to oxidation).

This weekend’s lineup, two rolls of medium format Fuji Reala 100, four rolls of 135 Fuji Xtra 400 (one roll inside the film case because it was removed from a 126 cartridge), one roll of Agfa Vista 400, one roll of Kodak TriX 400 as well as a roll of Lucky SHD 100.

The color film are developed with the Tetenal kit.  Chemical and water temperature are preheated at 38C.  First wet the film with water for 5 minutes, developer for 3:15 minutes, blix for 4 minutes, rince with 38C water for 3 minutes and stabilizer for 1 minute.  Both developer and blix agitation for first 30 seconds, then one inversion every 30 seconds.

Hong Kong is hot these days and water temperature sits at 28C.  This is difficult for BW development.  For Kodak TriX 400, first wet the film with water for 2 minutes.  Kodak HC110 (dilution H) for 5 minutes, water stop for 2 minutes, Kodak Rapid Fix for 4 minutes, wash with water for 2 minutes and finish with Kodak Photoflo.  Agitation for developer and fixer is the same.   Agitation by inversion for the first 30 seconds, followed by two inversions every 30 seconds.

For developing Lucky SHD 100 film, first wet the film with water for 2 minutes.  Kodak HC110 (dilution H) for 14 minutes, water stop for 2 minutes, Kodak Rapid Fix for 4 minutes, wash with water for 2 minutes and finish with Kodak Photoflo.  Agitation for developer and fixer is the same.   Agitation by inversion for the first 30 seconds, followed by two inversions every 30 seconds.

Nine rolls of film drying in my washroom, what a scene!

Results of the developed photos to follow.