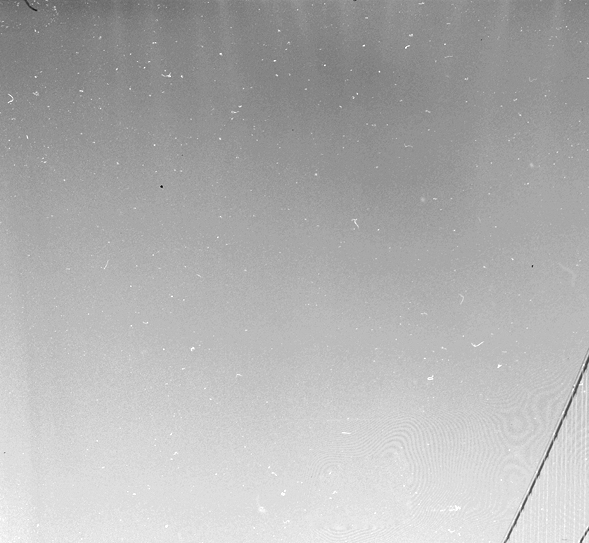
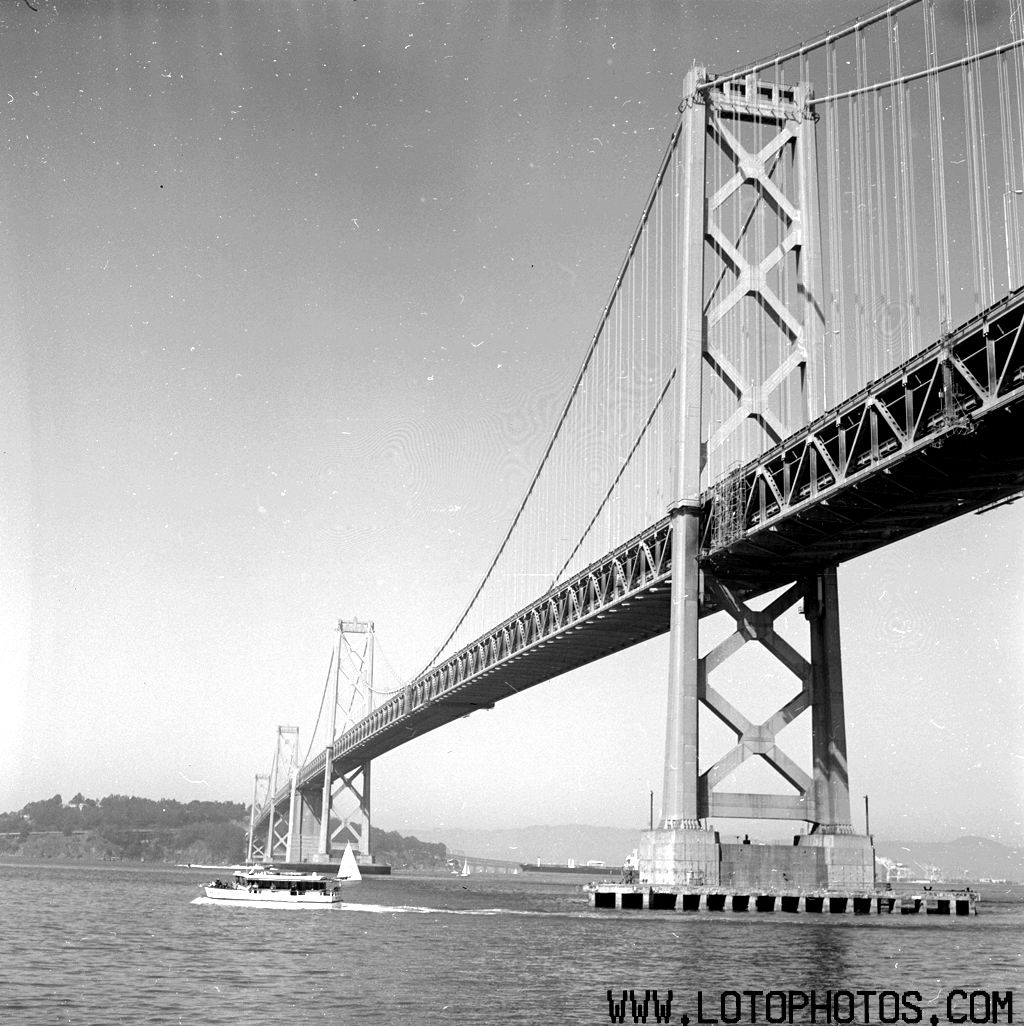
I have been developing for quite some time now in my darkroom (aka my washroom) and I usually just hang them dry without much thought. I do get dust in my negatives. I do see them in my scans. I know it exists but subconsciously, I just ignored it. Scott Stillman referred this as the “power of positive thinking”. This was sort of what I did until one day I opened Pandora’s box. I was developing in my parents’ basement in Toronto and the nightmare started. Check out this scanned negative (no processing).
Let me zoom into the left corner.

This seemingly good photo is ruined. The dust particles simply took over the photo and no software can fix this easily without losing some resolution. I was not happy about this and decided to do something about it. I researched online and saw different methods to battle dust. The professionals have drying cabinets and built in heaters. Due to space and wallet constraints, those solutions were not possible. I then decided to create my own.
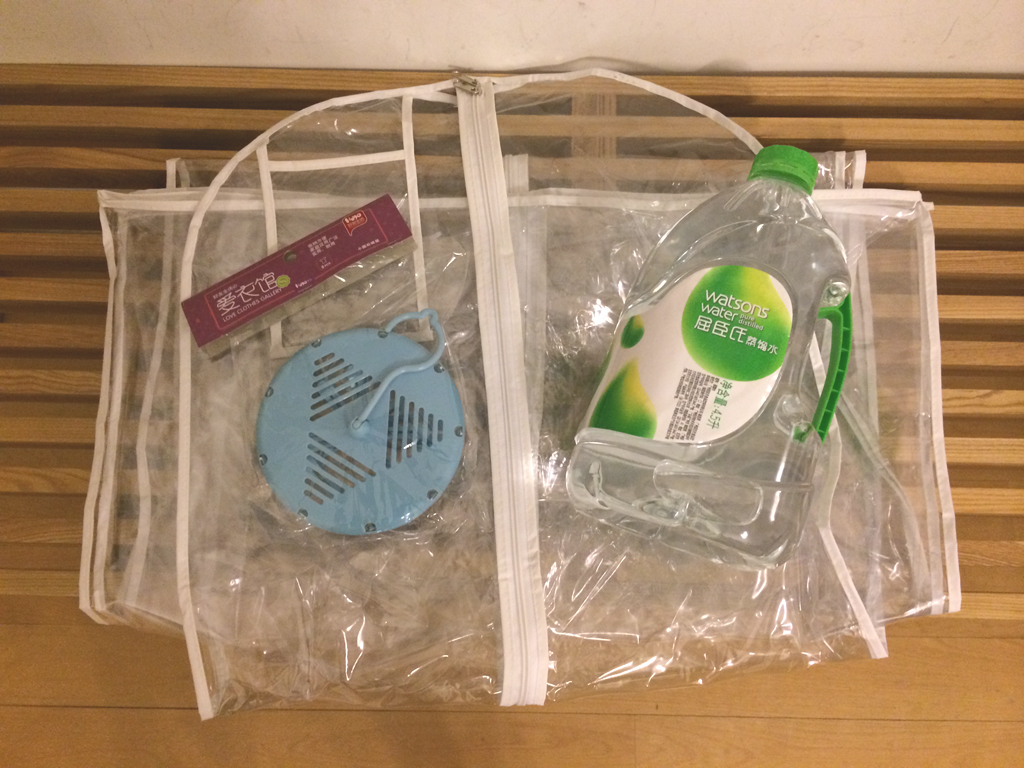
I bought a sock drying rack, a wedding gown plastic cover and a bottle of distilled water. I will use the distilled water in the final photoflo bath so that my negatives will be mineral/ion free. I then fitted the sock drying rack inside the gown plastic cover and realized that it was too small. I upgraded to a larger sock drying rack. This rack cost $10USD (it’s made of metal!) and the gown cover cost around $3USD. The 4.5L of distilled water was around $3USD as well. This solution’s total cost was around $16USD.
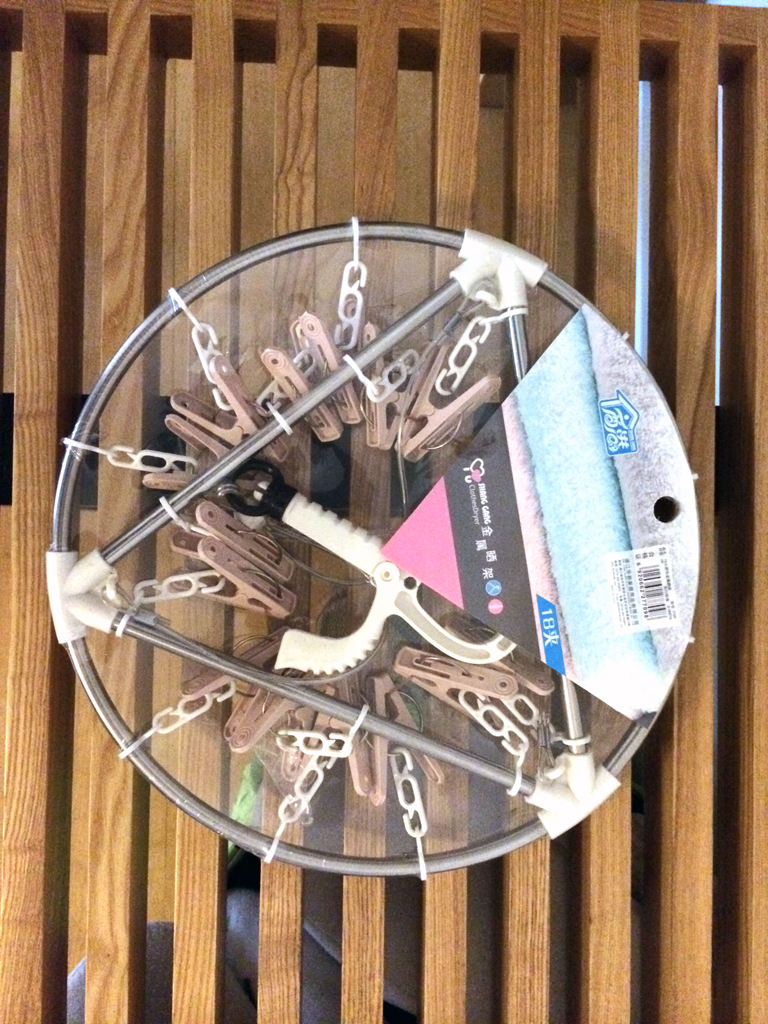
It fitted like a glove inside the gown plastic bag.
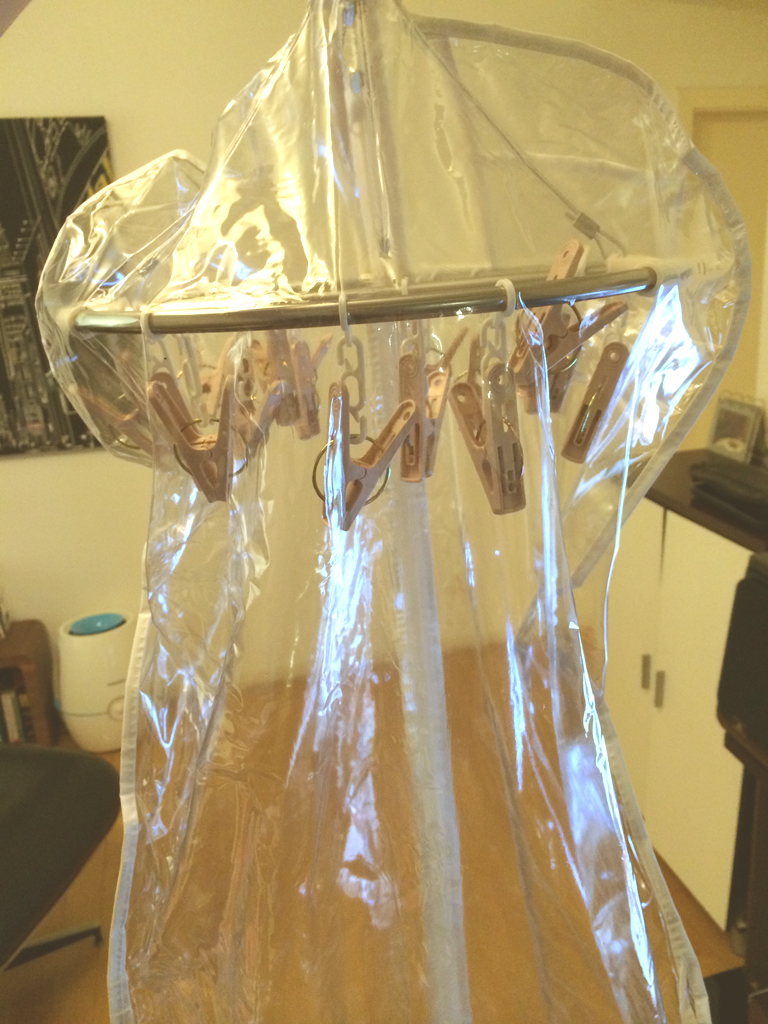
Now putting it into action.

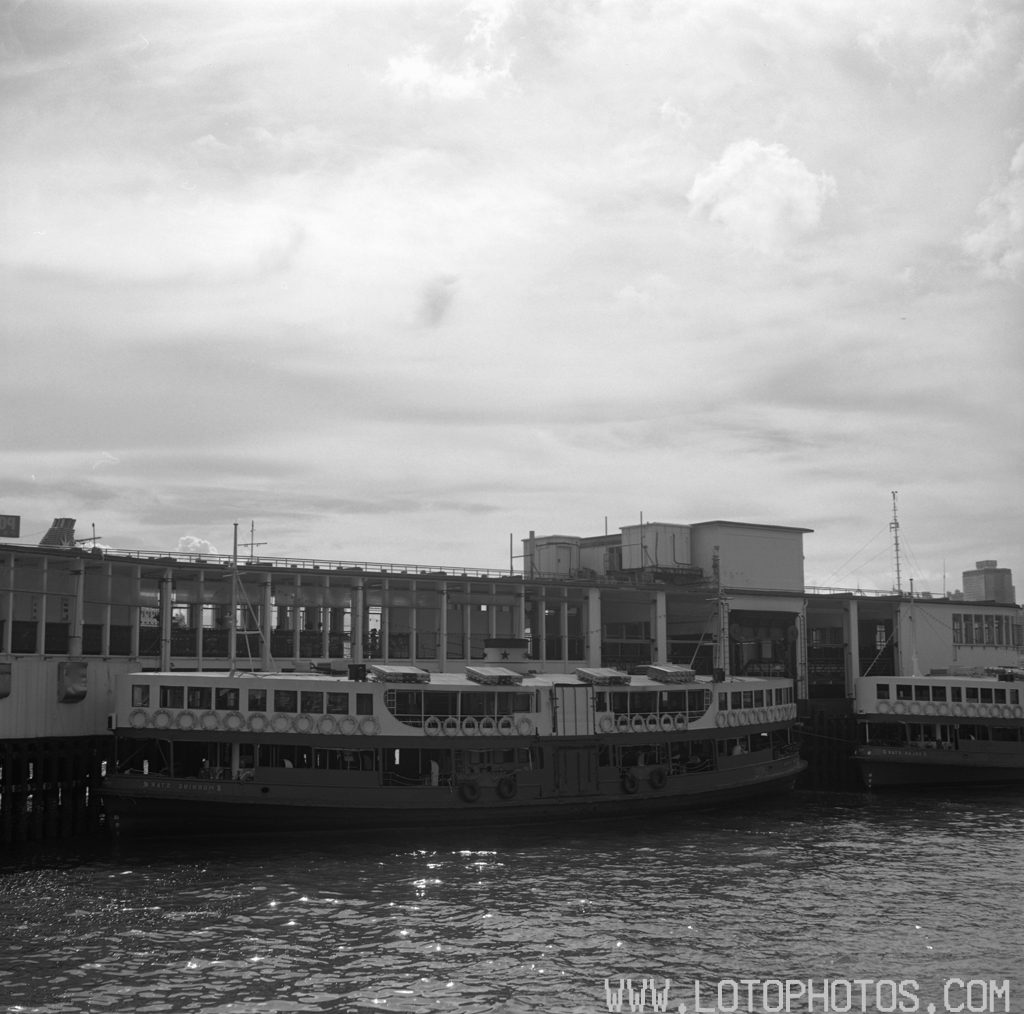
I scanned the roll of 120 and was impressed with the result. I will not say it’s dust-free but comparable to the ones that I get back from a professional lab. I think I have solved my dust issue! and it didn’t cost me an arm and a leg at the end. Check out this unprocessed scan of one of negatives.