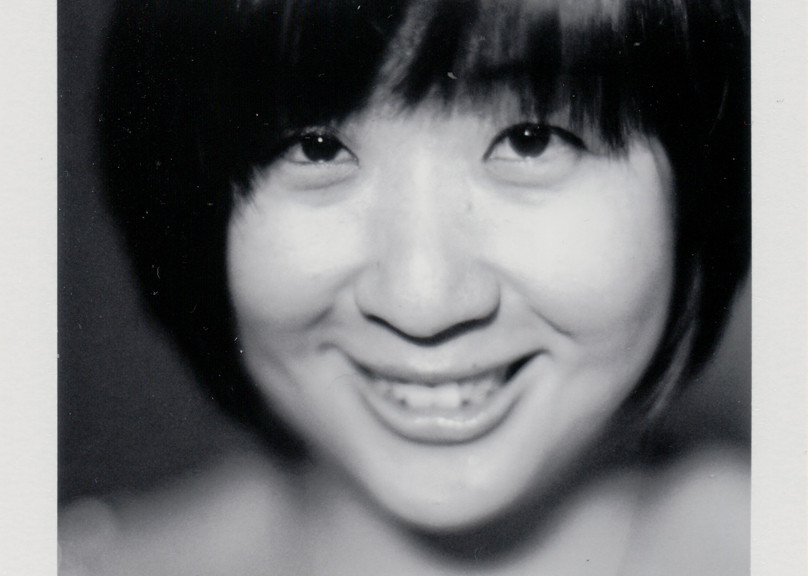
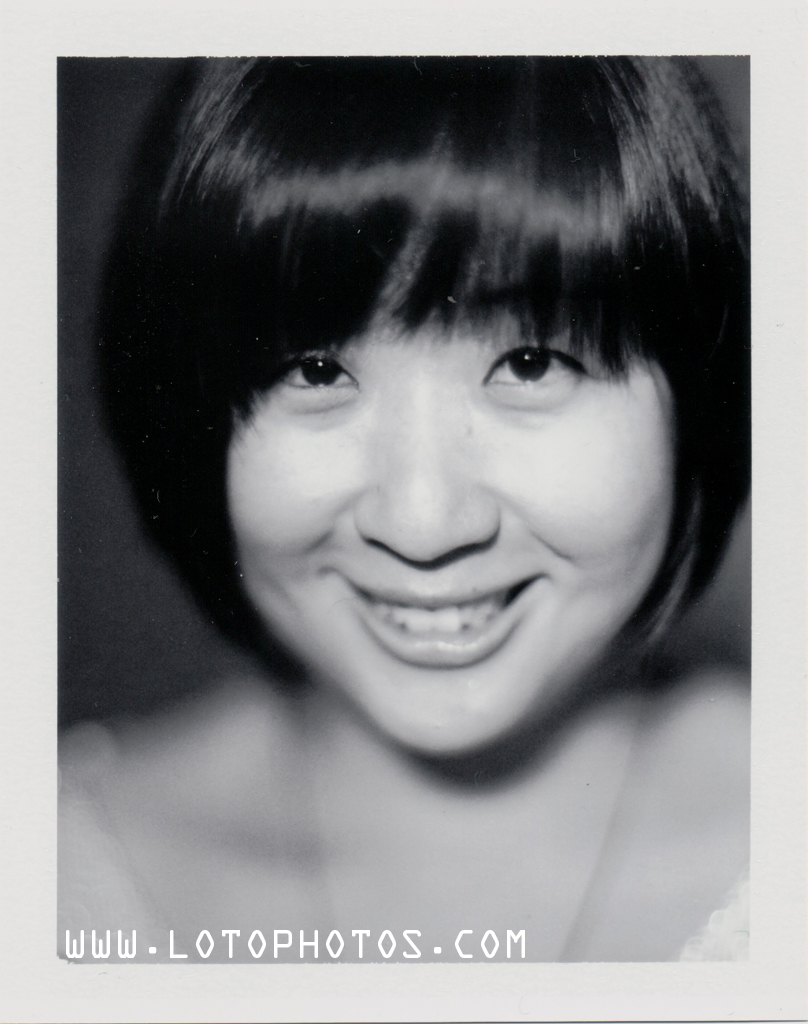
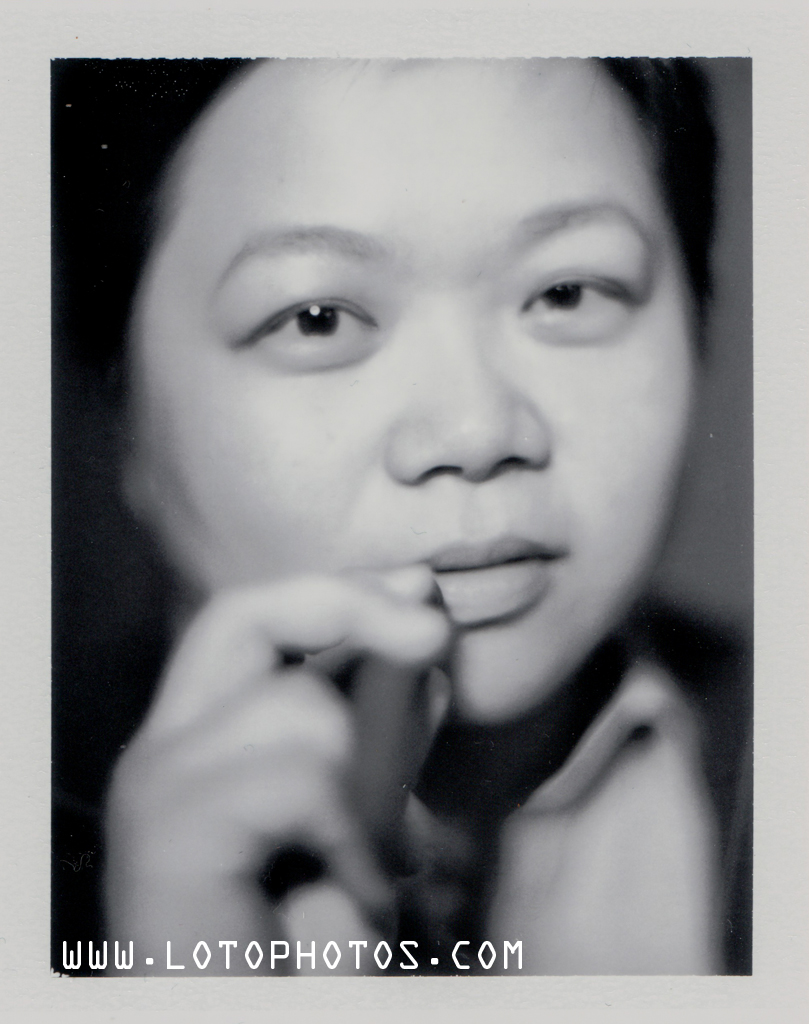
Each time I use the Graflex Speed Graphic with the Kodak Aero Ektar lens, I am always so amazed on what I get. After a professional photo sitting Sunday afternoon, I threw in a pack of Fuji FP3000b and took some portraits. For lighting I used an Aputure Amaran AL-528S LED hitting directly at the subject from the front. All polaroids scanned with Doxie Flip scanner. Here are results of that session.
I was nominated by Joyce Peng to do a 7-day self-portrait challenge: 7 days, 7 self-portraits, and 7 nominations to keep this going with other artists/photographers. I invite Frederic Chiu to take the time to extend the fun.
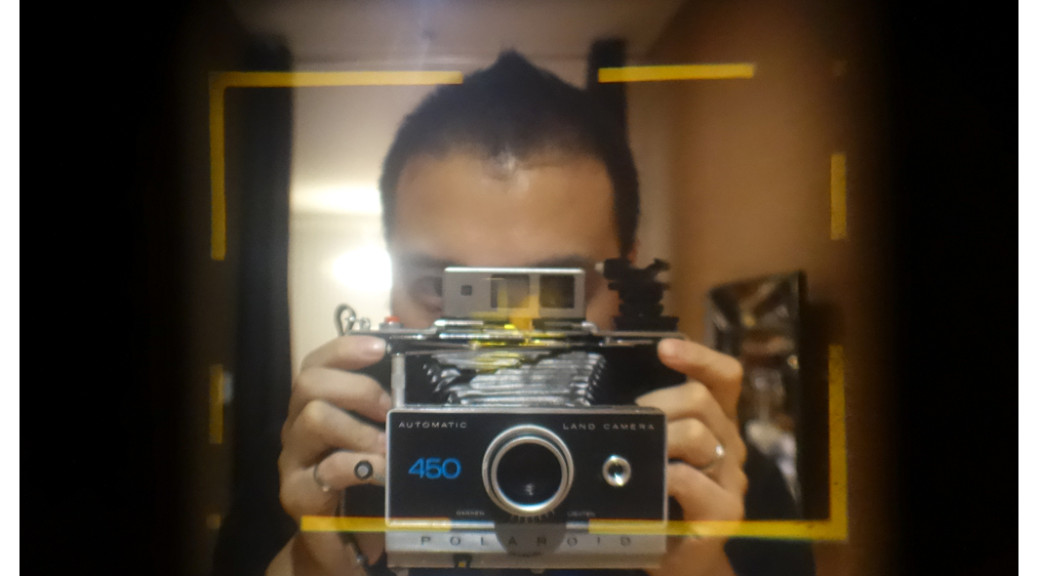
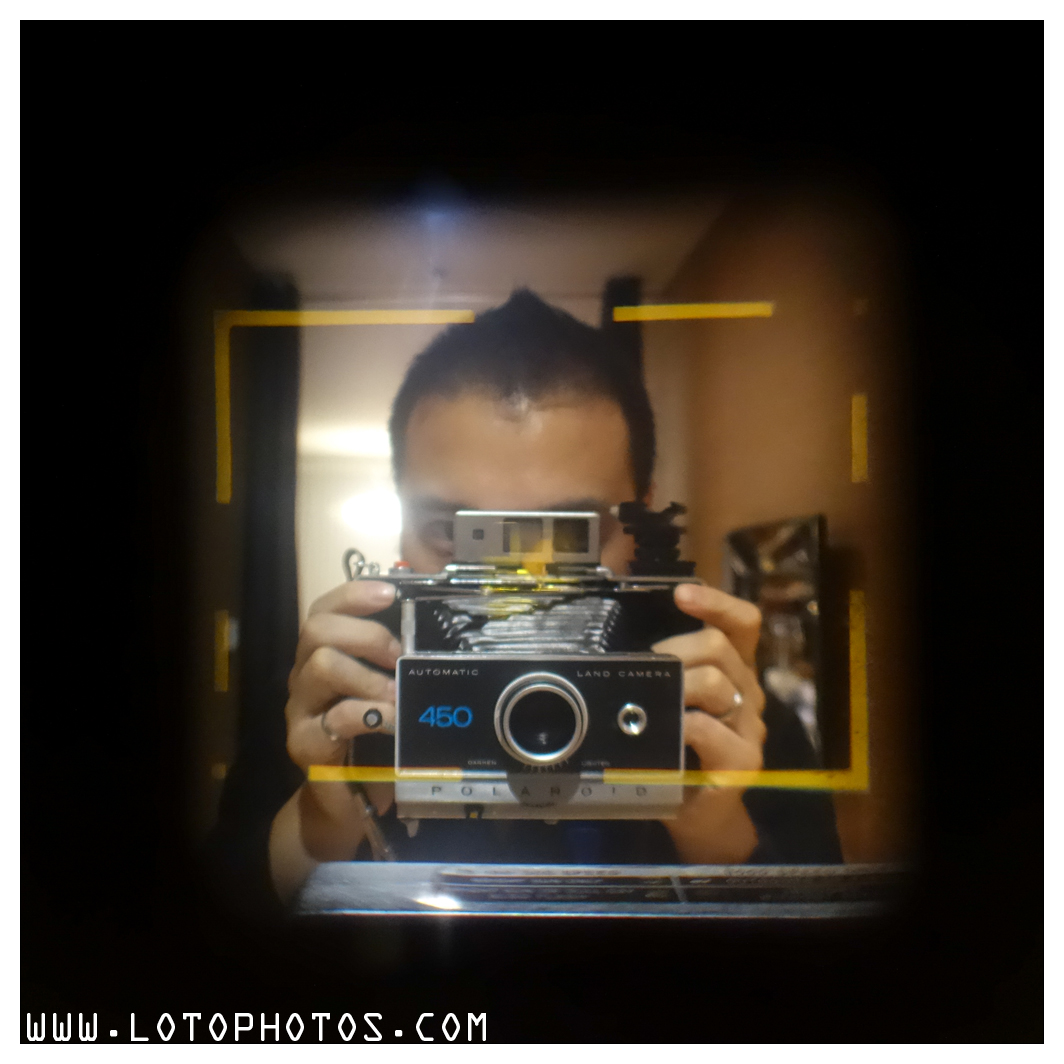
I put a small twist to this challenge as well. I will be composing self-portraits through the viewfinders of different cameras.
Today, I am viewing through my 1968 Polaroid Land 250 camera. The model 250 has a Zeiss-ikon viewfinder made from West Germany. As seen in the photo, the rangefinder is bright and quite easy to focus. The camera that I am holding is a 1972 Polaroid Land 450 camera. It’s basically identical to that of the model 250 except for a timer at the back and the flash adapter.
Since the disappearance of Fuji FP3000b, I was almost too sad to open another pack. This weekend in Napa, I took the Polaroid Land 250 out again and took a bunch of photos. It’s like riding a bicycle and the photos turned out to be amazing as usual.
Here is a shot of Rebecca and Melissa on their visit to Napa this past weekend.
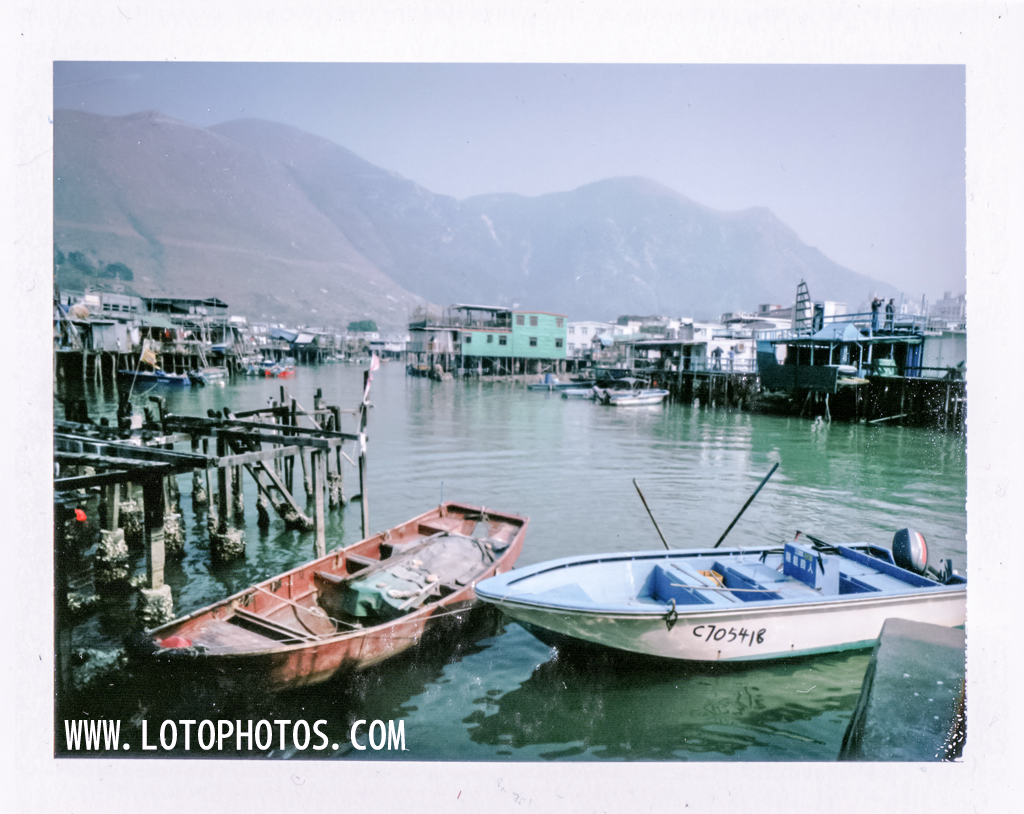
To offset the BW challenge, i am posting a color photo. This is a test shot I did of the stilt houses in Tai O, Hong Kong. Photo shot with Graflex Speed Graphic + Fujinon W 65mm f5.6 lens + Fuji FP100c scanned with Doxie Flip.
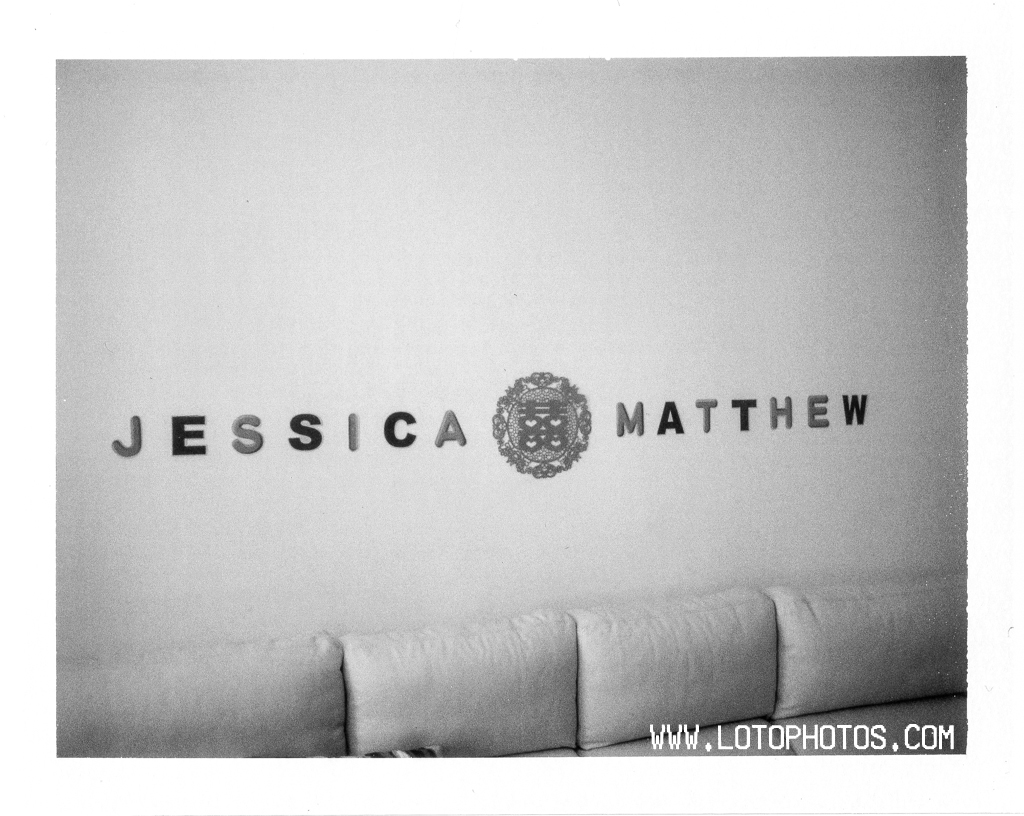
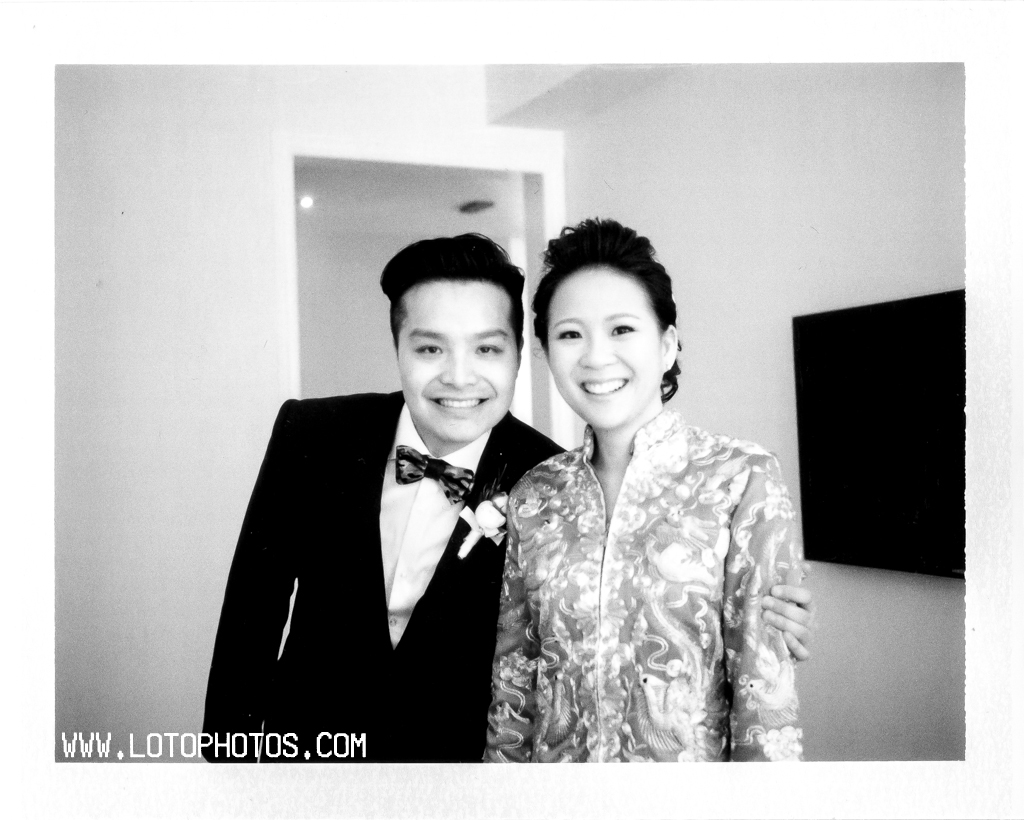
Shot Matthew and Jessica’s wedding old school in FP3000b. I was equipped with two Polaroid Land 250 cameras a couple of packs of the discontinued FP3000b. The images turned out nice and again reminded me of images seen from my parents wedding.
Nice decorationHappy couple.Start of long day.This is very old school looking. F42 in action.All ready.Bride enters.Ceremony starts.All done and happy.Another old school photo, love the contrast.
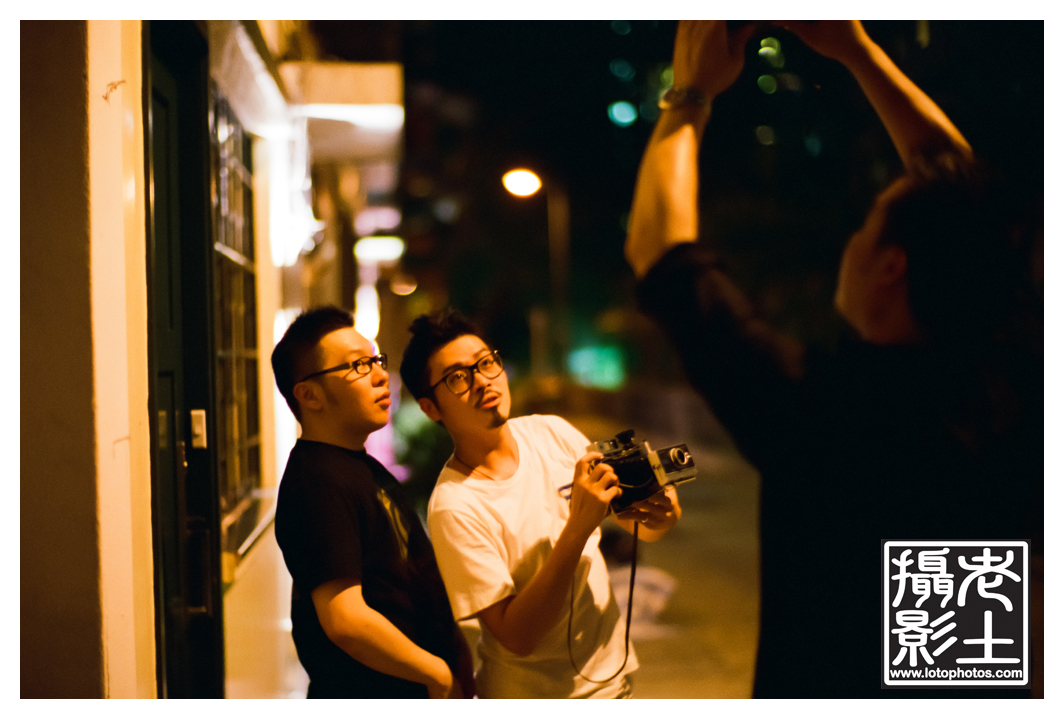
Just had dinner one summer night with Tung Tang, Peter Yen, Joseph Wei and myself near Soho. After dinner, Tung and Peter were already armed with their Leicas + 50mm f1.0 lenses! We strolled around Soho and we settled on a spot to shoot some photos.
I didn’t picked the proper equipment for the night shoot and I only had my Polaroid Land 250 with me. It was loaded with a pack of FP100c. I also brought a flash, an old Sunpak 411 flash which I think works perfect with the Polaroid cameras. After a quick look in the area, we quickly settled a spot in front of an old door. Joseph is the model. Tung is the photographer. Peter was taking some action shots and was holding two iphone LED lights on the right of the subject. I was the flash light remote and stand.
Tung checking the lighting here.
Tung checking lighting. (Photo Courtesy of Peter Yen)
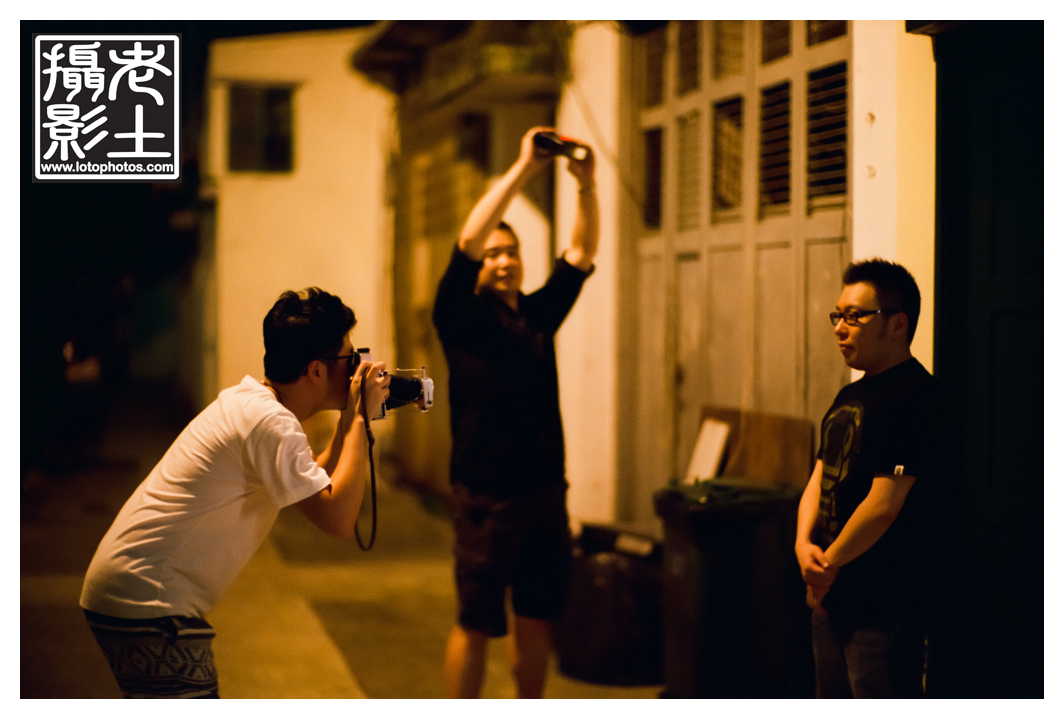
Here is the setup.
Human flash remote. (Photo Courtesy of Peter Yen)
Not shown on the above shot was Peter, who was holding two iphones with LEDs opposite of the flash. Here is the flow of the shot. Tung will start the trigger. I will hear a click, then I press the test fire button on the Sunpak flash. Tung sees the flash and will let go of the trigger and completed the shot. The whole process is very raw and manual.
To our surprise, the shot turned out quite nice.
Result from the FP100c photo.
It was a lot of fun and I look forward to more shoots!
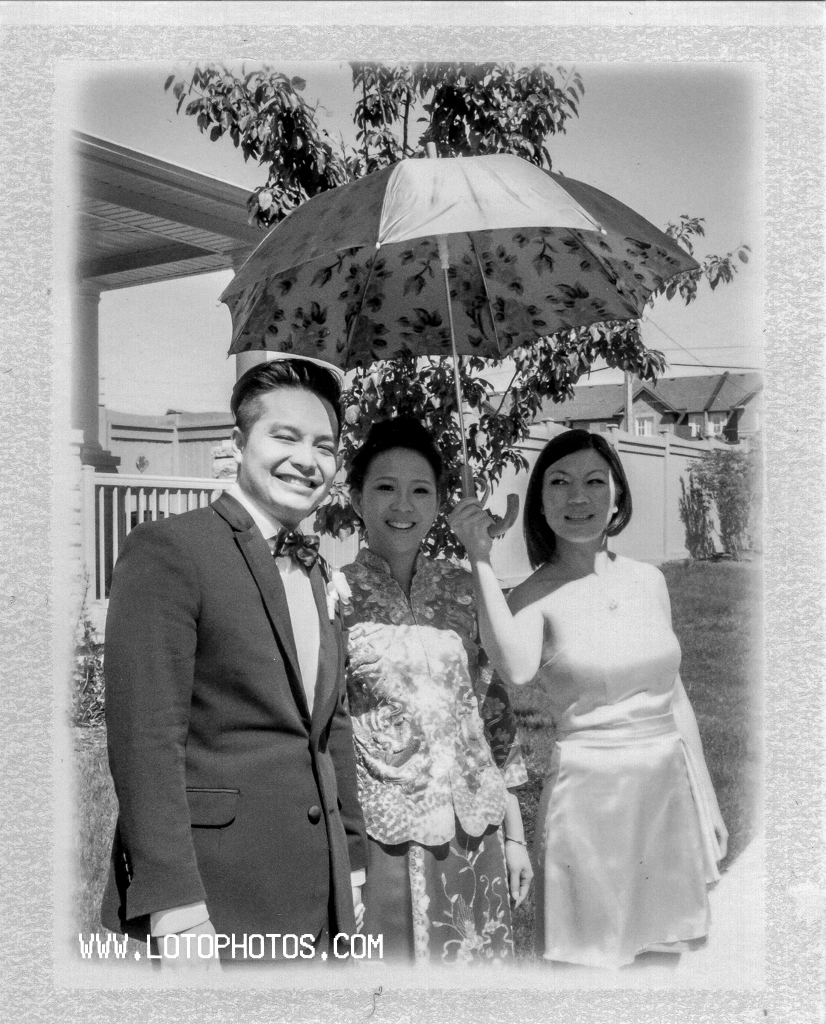
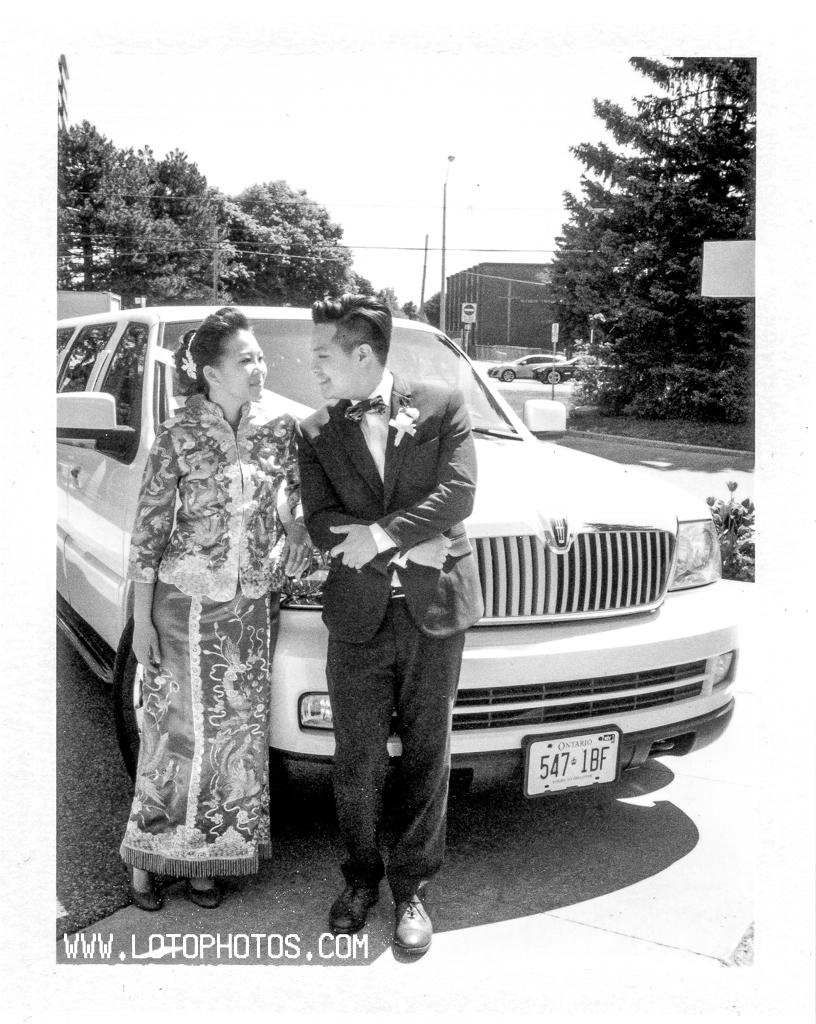
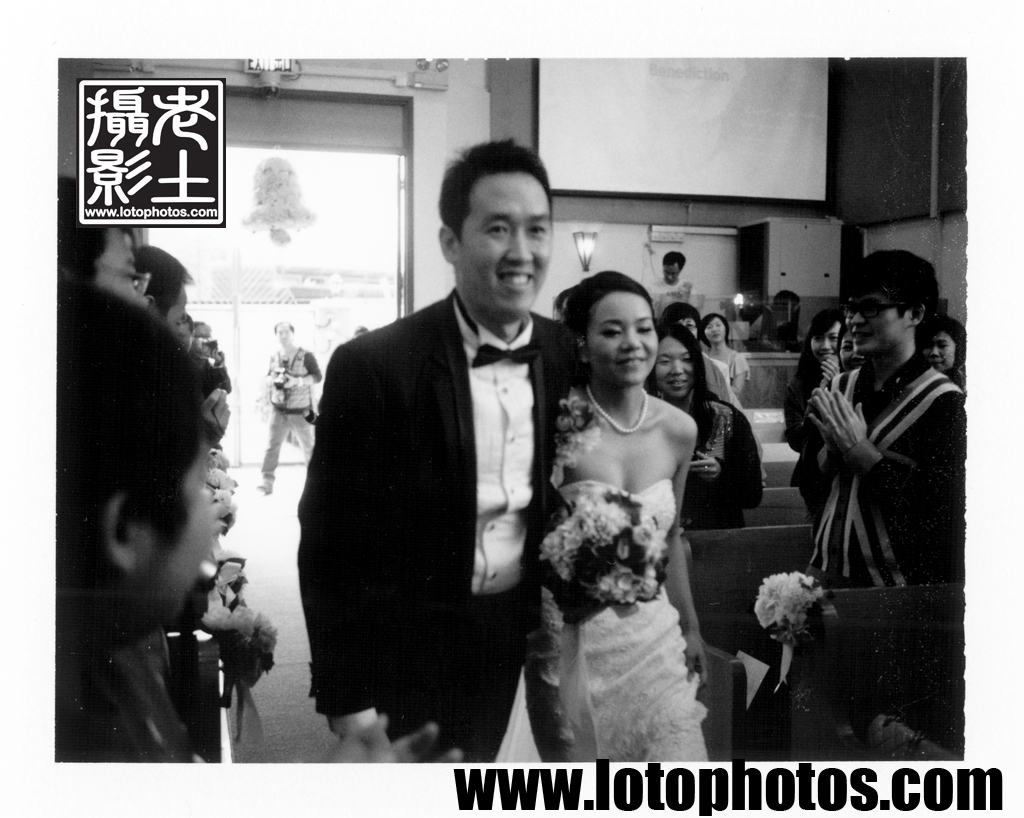
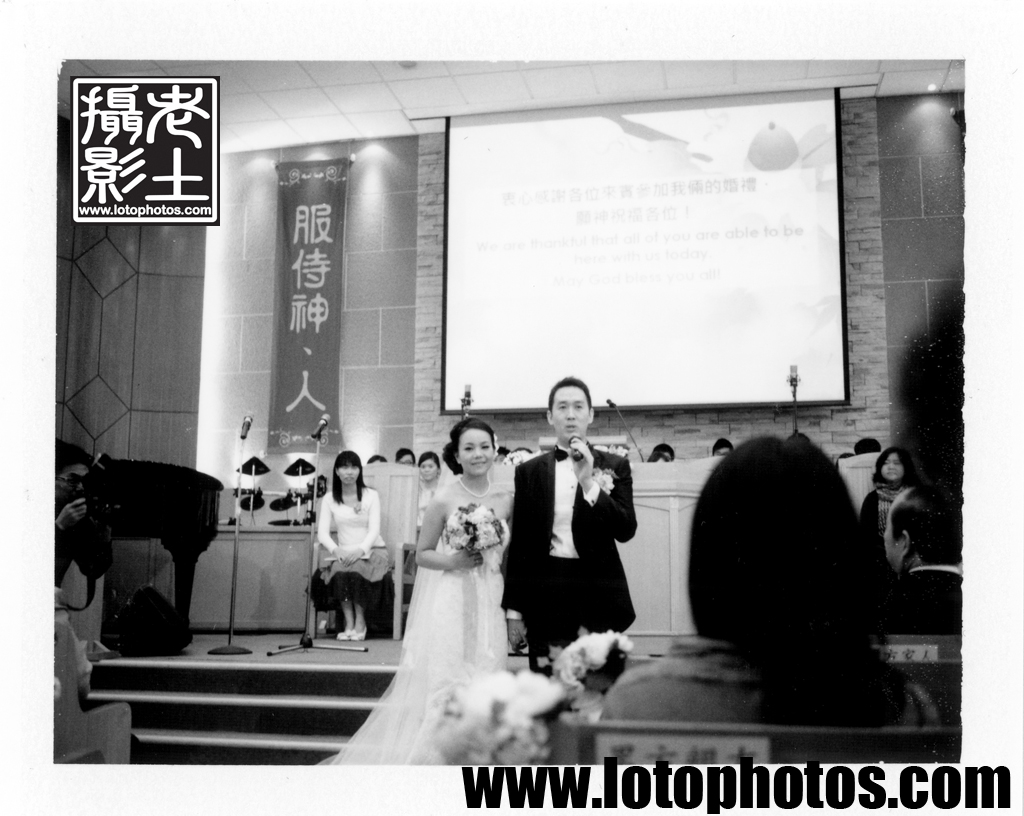
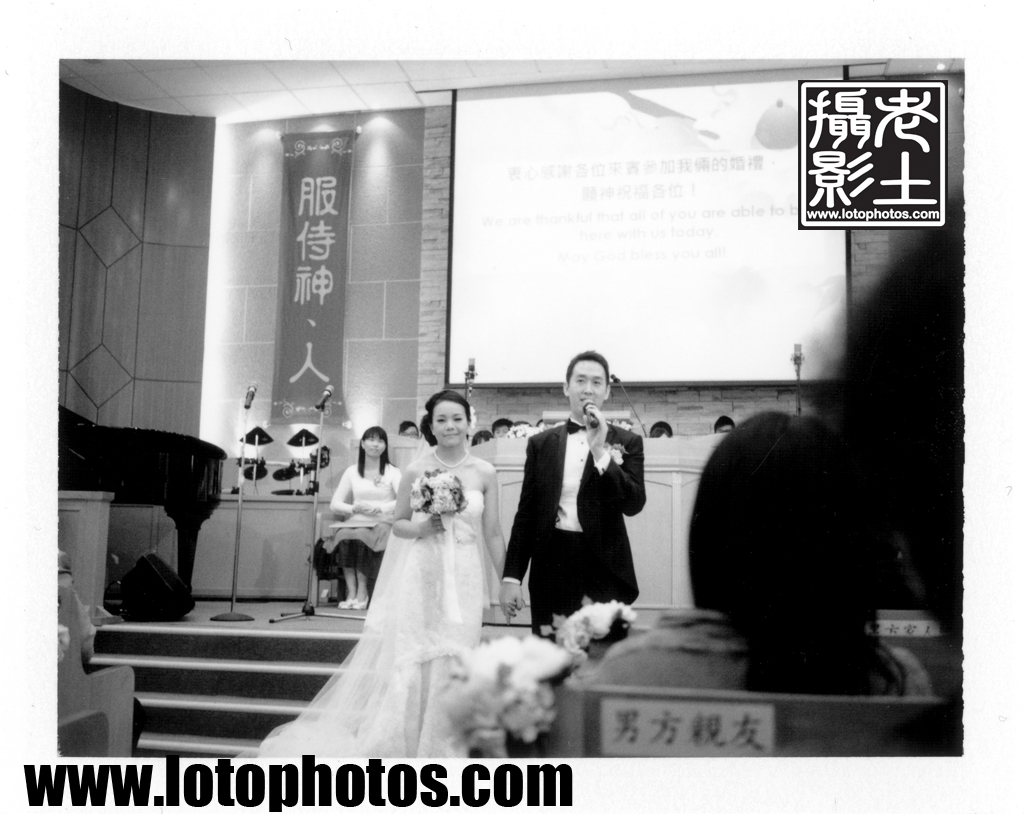
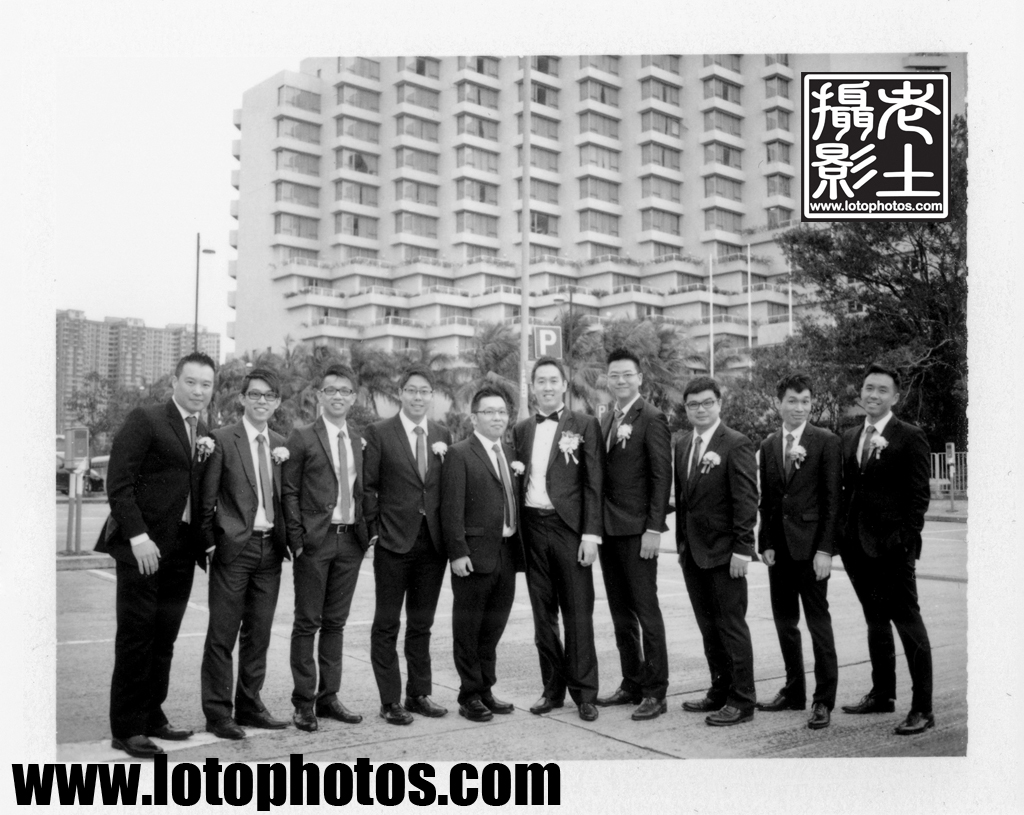
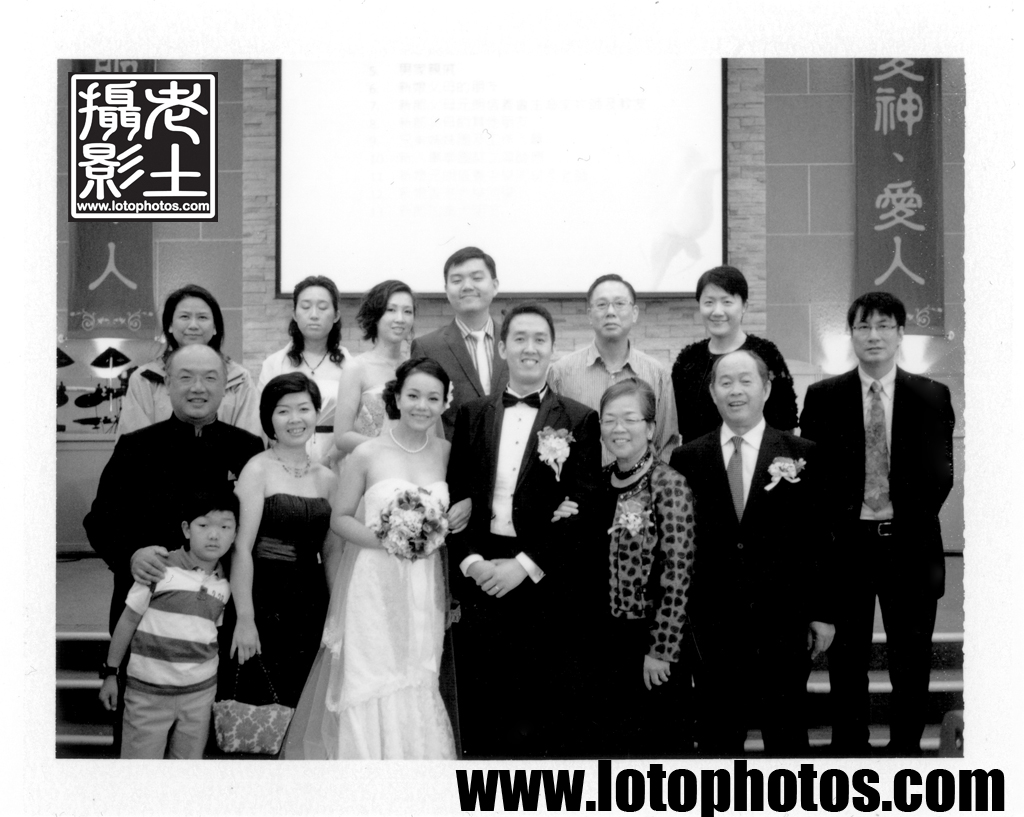
A little while back, I attended Dennis’ and Rachel’s wedding. As usual, I planned to shoot some lotophotos with my vintage equipment.
In my bag was a Canon QL17 + Canolite D flash + Ilford XP2 film, Canon Powershot S90, Mamiya Universal + 127mm F4.7 lens + Polaroid back with FP3000b and a overhauled Polaroid Land 250 (I just fixed this and wanted to test it out) + Portrait Lens kit.
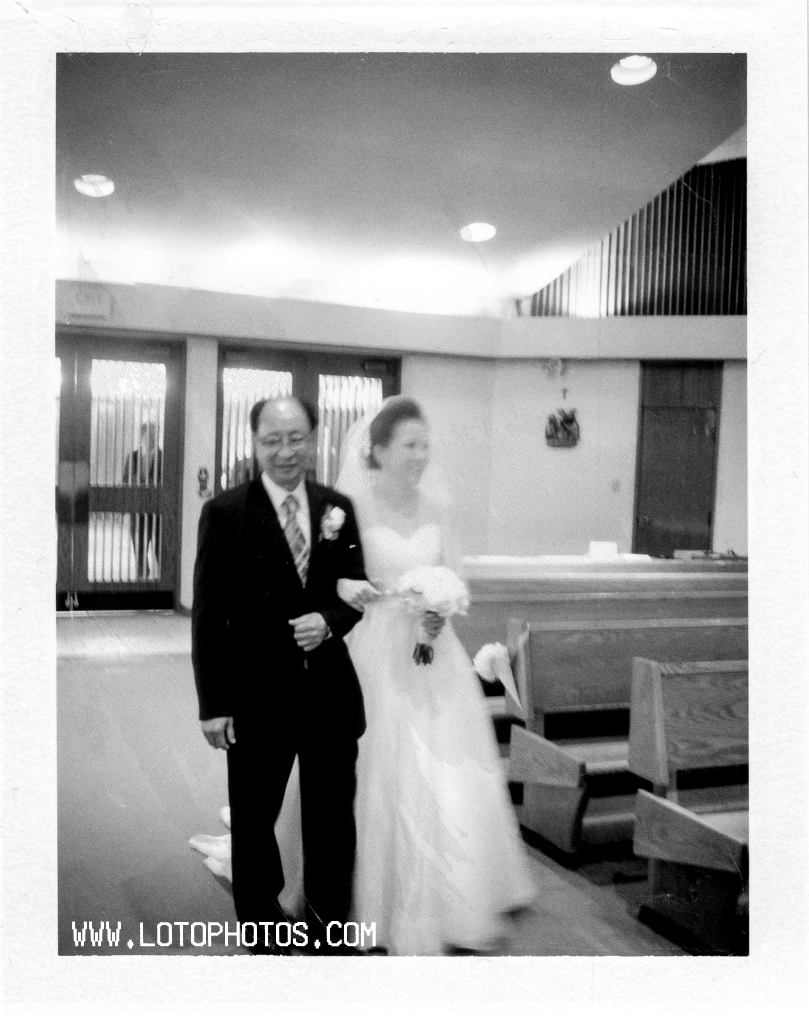
My Mamiya Universal had not seen light for a while and I figured will be the perfect camera to shoot during the ceremony. Manual exposure, F4.7 lens, nice shutter release and hand grip, everything ready. Just before the bridal party started the march in, I took the Universal for a test shot at the groom’s family. Weight lifting the 15 pound machine, I clicked the shutter. I hear no “click” sound, crap. I knew somehow the shutter didn’t go off and somehow it was stuck. I dashed back to my seat, pulled the film out and just as I suspected, it was completely black.
Frantically, as the bridal party started to march in, I took the film pack out of the Mamiya Universal and inserted it in the Polaroid Land 250. I did not have my dark bag with me nor did I had time to waste. By taking the pack of film out like this, I openly exposed one shot. I pulled the dead shot from the Polaroid Land 250 and it was ready to go. Life is good again.
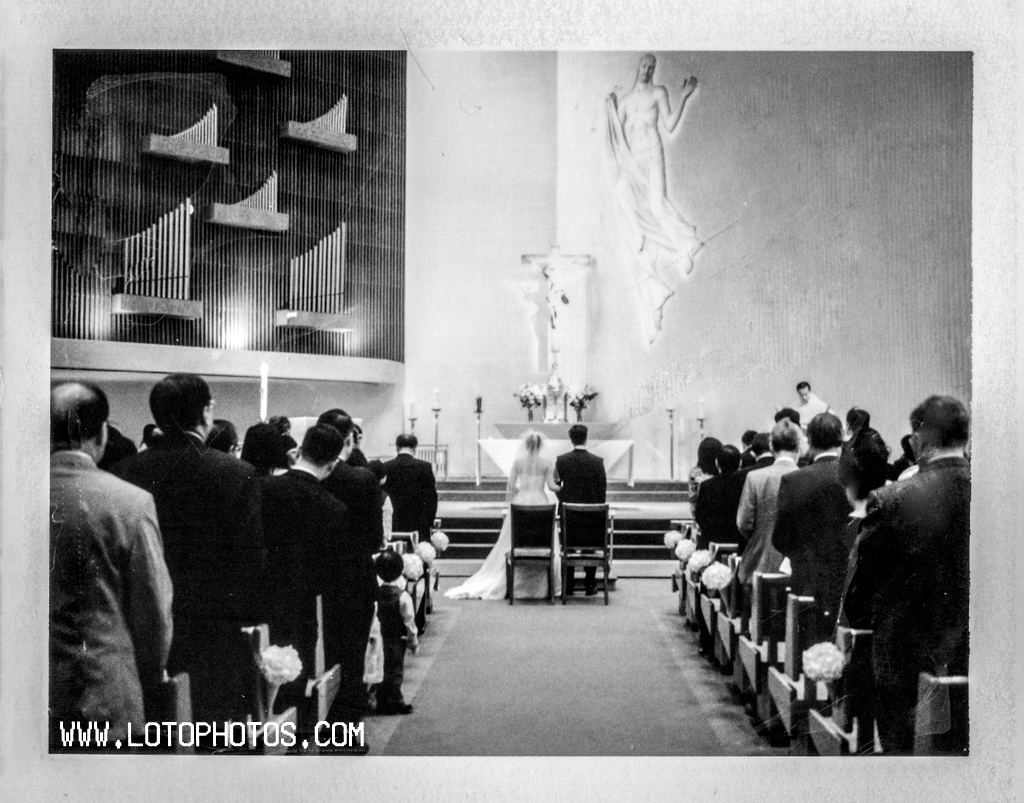
The church was well-lit and the FP3000b film was good enough for hand held shots. Here are the lotophotos taken with the Polaroid Land 250 that day.
Even with ISO 3000 film, action shots were proven difficult with the wide opened f8.8 aperture. Both of the following shots were slightly blurred but exhibited strong sense of movement.
Action Shot 1
This shot I particularly liked the flower bell bokeh.
Action Shot 2
Semi-still shots were acceptable, given the couple weren’t moving too much.
Semi Still Shots 1Semi Still Shots 2
With still shots, this is when the Polaroid Land 250 performed the best. These cameras were made for still shots and the resulting photos were all super sharp. The following shot was taken with a tripod and a modified Polaroid self timer #192. I will post another blog featuring this timer and why it has to be modified in the near future.
Still Shot 1
Family photos are among my favorites and below is a lotophoto that I took of Dennis’ family. Always loved to see some people with their eyes closed. With film, this was the way it was. You won’t be able to see the result until you develop it, long after the event. With that mentality, I didn’t even bother taking another shot with my Polaroid.
Lotophoto of Dennis’ Family
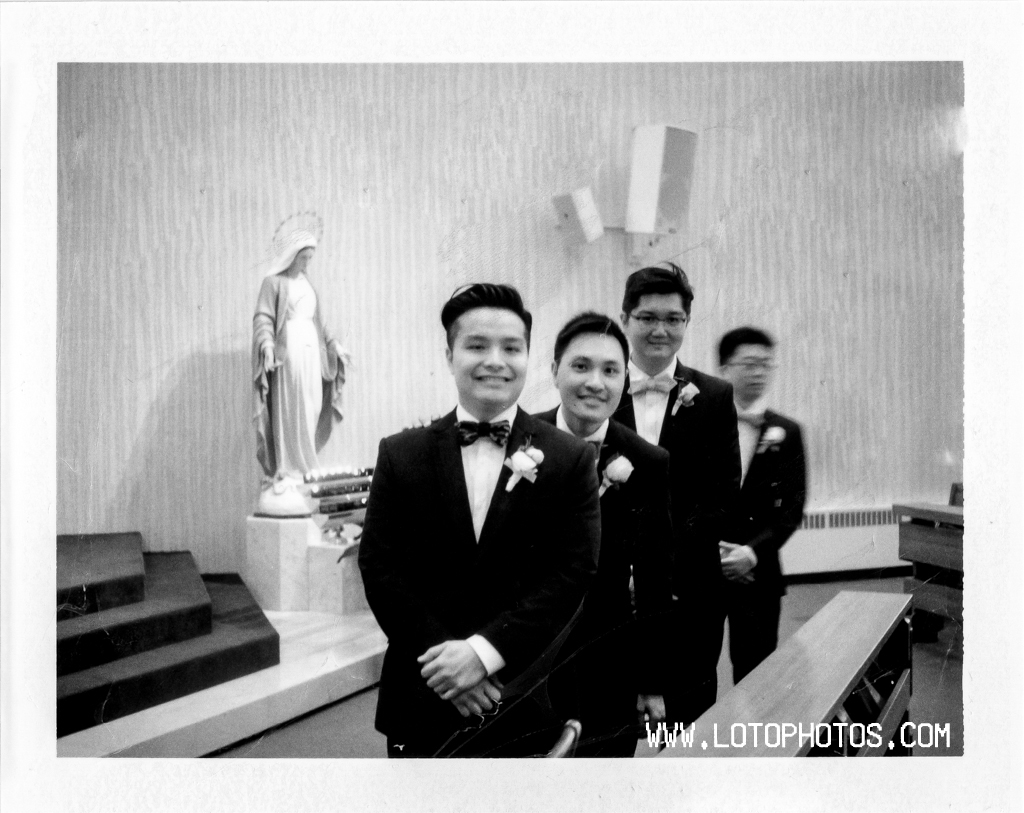
I attached the portrait lens kit with the following two lovely shots. Here is Joseph, the best man and the groom.
Joseph and Dennis looking sharp
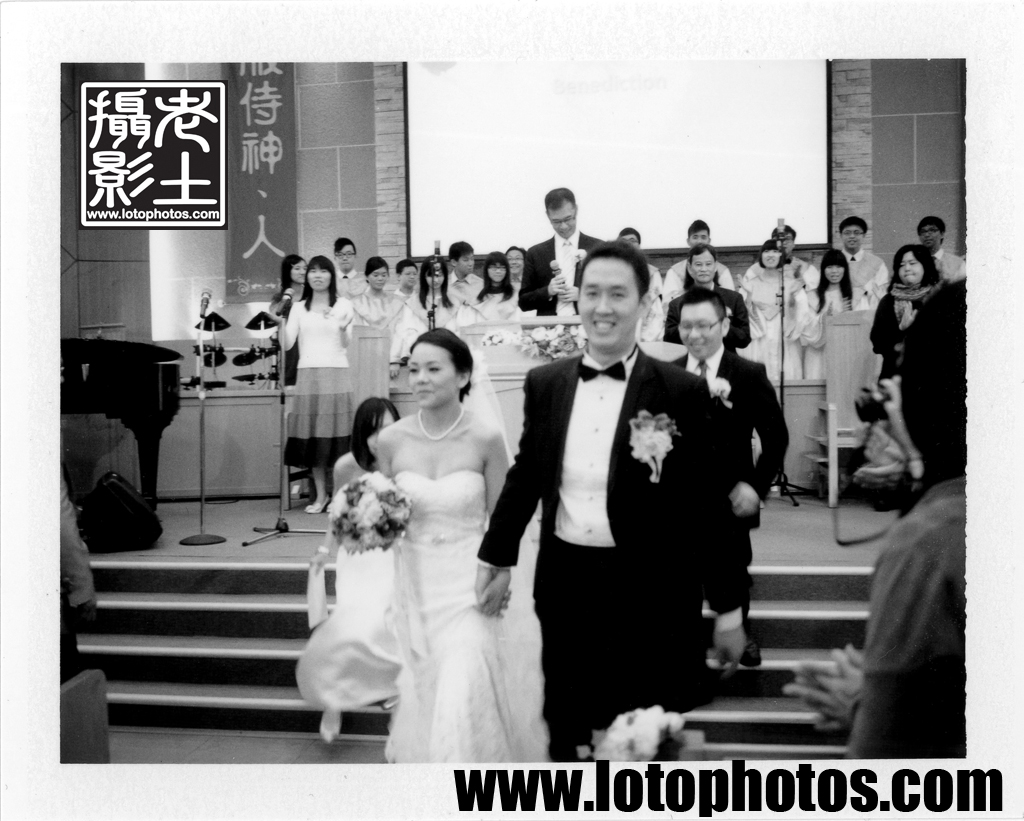
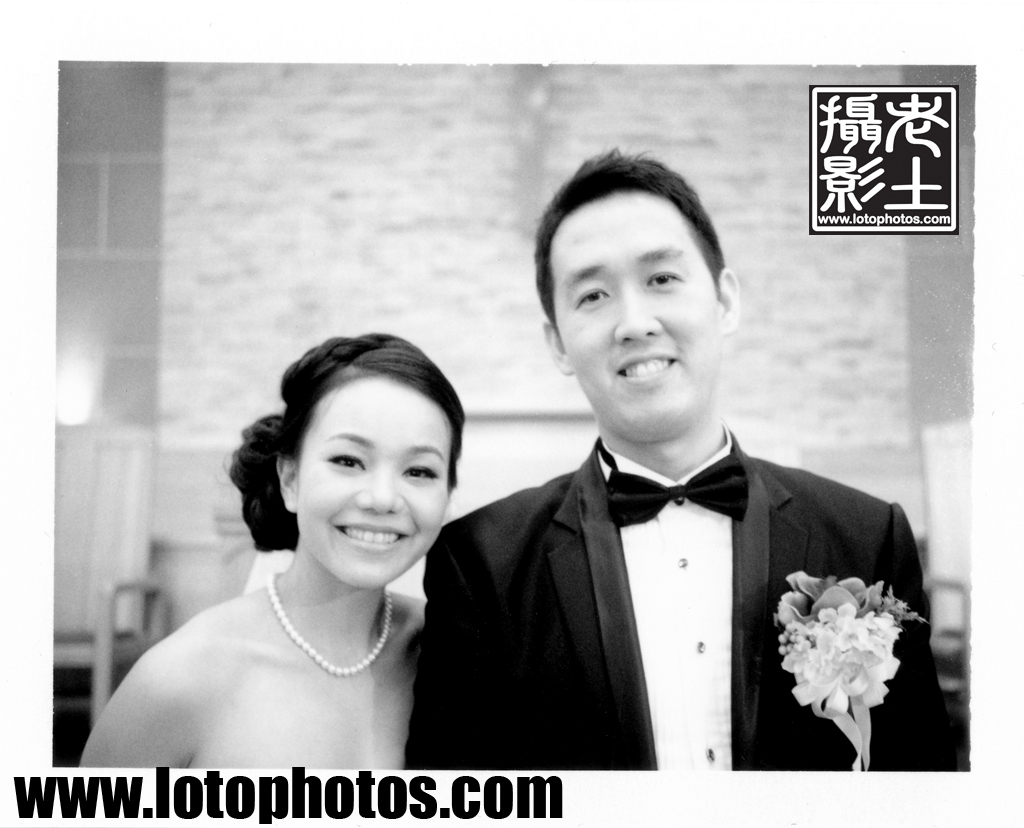
The last and certainly my favorite shot of the day. I was delighted to capture the genuinely happy couple in this photo.
Happy Bride and Groom!
The shoot was proven successful. It’s amazing what you can achieve with simply a pack of film and an old camera. The overhauled Polaroid Land 250’s exposure was dead on. Particularly the last shot, totally reminded me of the 2R sized photos of my parents of their wedding day that are still in their wallets. With the Polaroid Land 250, a camera that was made in the mid 1960s, even after almost half a century later, continues to capture the special moments for the reason of its first existence. Looking at the eight shots I made, reminded me of my parents’ lotophotos of their wedding day and the dusty albums that I loved going through when I was a child. I hope one day, the children of the happily wedded couple will enjoy them the same way as I did with the ones of my parents.
Not only can Polaroid land cameras produce an instant print, with the wonderful modern technology of scanning, the once throw-away negative can now be processed into a digital photo. For Fuji FP-3000b, the negative is actually a paper negative. There is no need to do anything with it, simply let it dry and you can scan it on a normal positive scanner. However, I had a lot of issues with these negatives, as it is virtually impossible to keep them dust free. They had to be laid flat or the chemicals (also called goop) will slide around and distort the image. The only reliable way to keep this as a useable negative is to blow dry it immediately after peeling, which proven to be difficult in the field.
FP3000b processed negative
See the above photo, the goop moved around and you can see clearly the straight lines are bent. The clock arms also disintegrated. The FP3000b negatives are quite unpredictable.
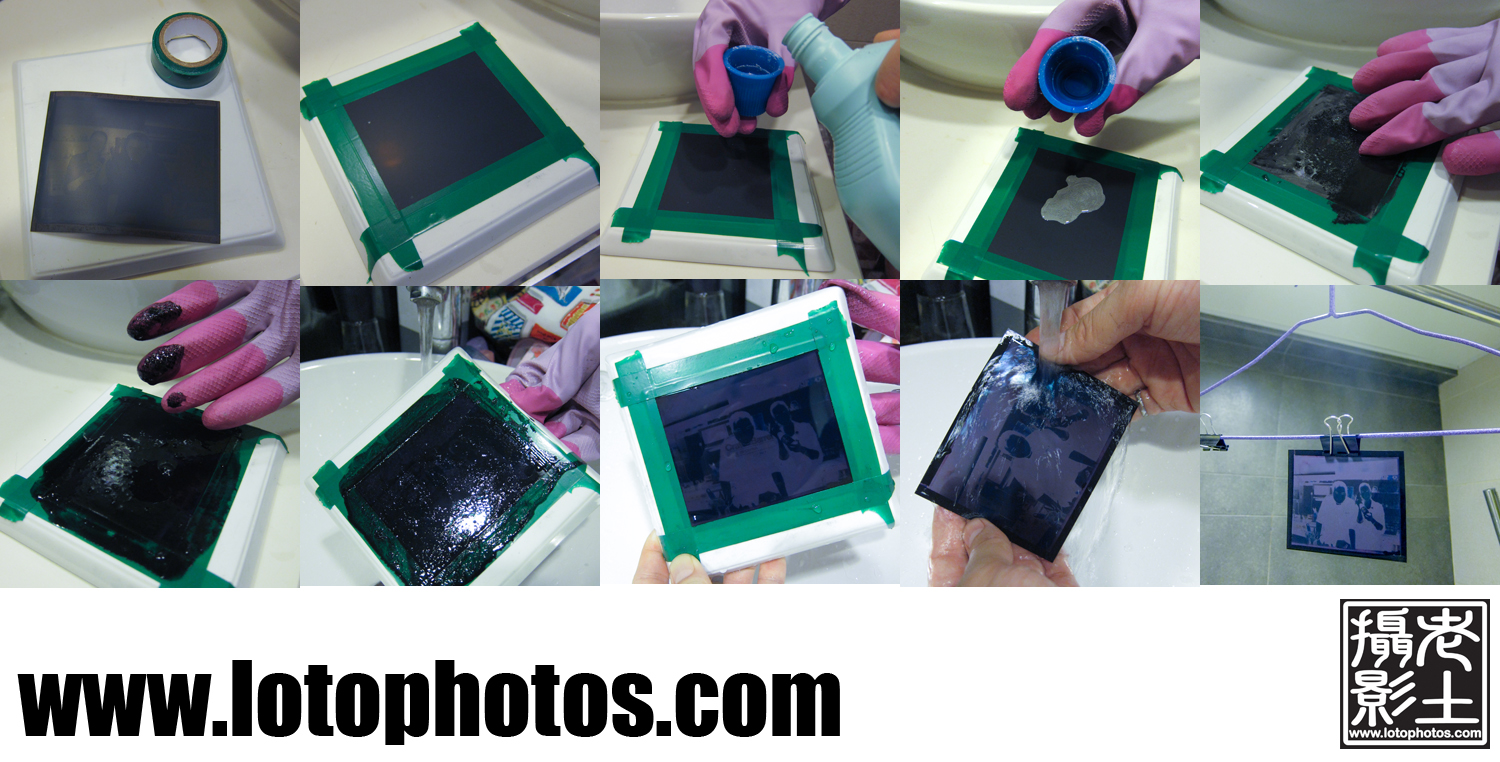
FP-100b film however is a different technology. The negative is actually plastic. They hold up a lot better than its FP-3000b counterpart. The goop however sometimes will continue to develop and all sort of wonderful things (depends how you look at it) like color distortion or image fuzziness will occur. Like FP-3000b, one side is the goop but the other is an opaque black dark side. Both of these sides had to be processed before you can scan this on a negative scanner. If you look online, there are many ways to do this. Below is my version of it, shown in the photo below.
FP100c negative processing
1. Wash the goop off the negative with clean running water, then you will need two things, a piece of tile and a roll of electrical tape.
2. With dark side up, tape up the four sides nicely (make sure no leaks).
3/4. With care, pour household bleach on the dark side.
5. Spread the bleach completely over the dark side.
6. Wait for a couple of minutes and the black nasty stuff will come off.
7. Wash the nasty black stuff off with running water.
8. With the black stuff washed out, you should be able to see a clear image in the negative.
9. Take the negative off the tile, wash thoroughly with water.
10. Hang the negative to dry.
Since the negative is huge (3.25″x4.25″), most negative scanners won’t be able to process this. Before I got my Epson V700, here are two ways how I digitized my negatives. The first one is to put the negative on your window during the day and use your digital camera to take a photo of it. The other is to place the negative on a positive scanner with a piece of white paper on top, shine a big lamp on it and scan. Both of these methods will then require some post processing work in some kind of photo utility for color inversion.
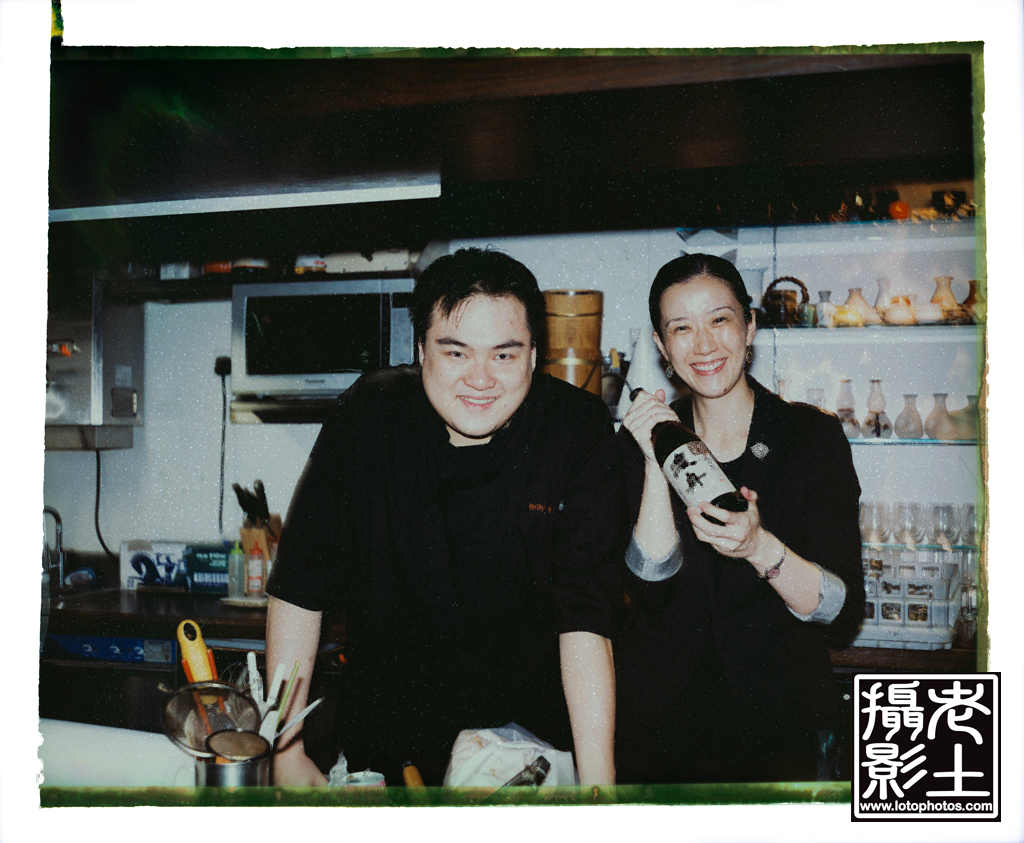
Here is an example result from my work flow. The happy campers are Ayuchi and Billy at the Sake Bar Ginn in LKF.